This post and photos may contain Amazon or other affiliate links. If you purchase something through any link, I may receive a small commission at no extra charge to you. Any supplies used may be given to me free of charge, however, all projects and opinions are my own.
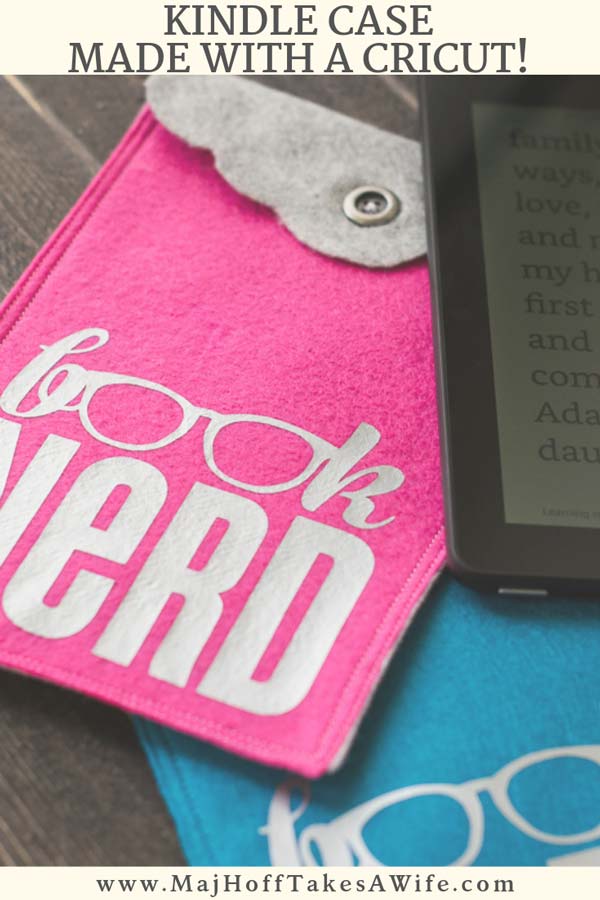
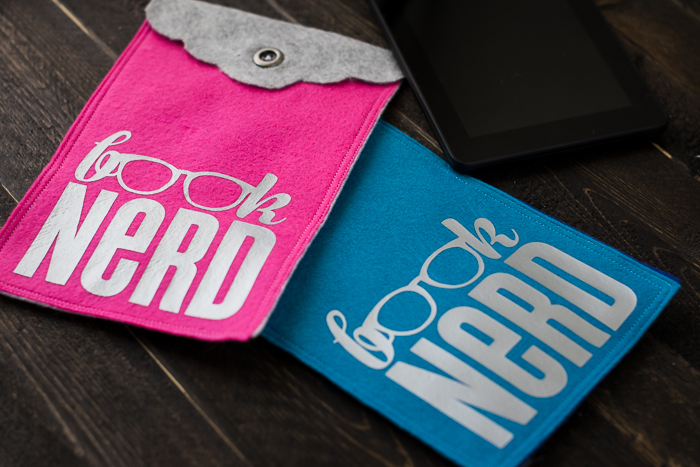
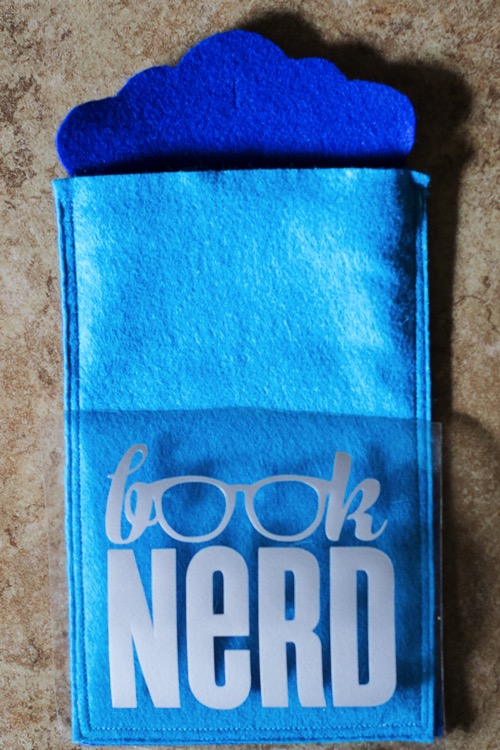
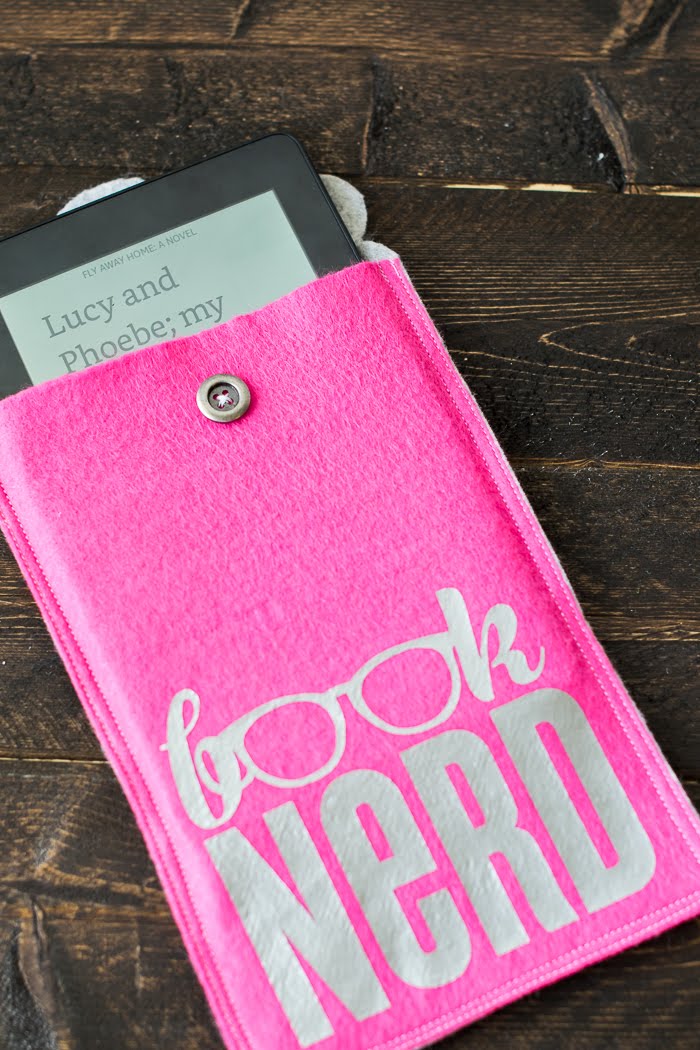
Learn how easy it is to make a DIY KINDLE CASE from inexpensive Felt. Complete the fun look with the “Book Nerd” Iron On Transfer!
This post is brought to you by a partnership with Cricut.com. I received a Cricut Explore Air 2 to review along with supplies. I am a proud owner of a Cricut Explore Air and a Cricut Expression machine, and have used their products for years. This post also contains affiliate links. I only recommend products or services I use personally and believe would be a good fit for my readers. This comes as no added cost to you!
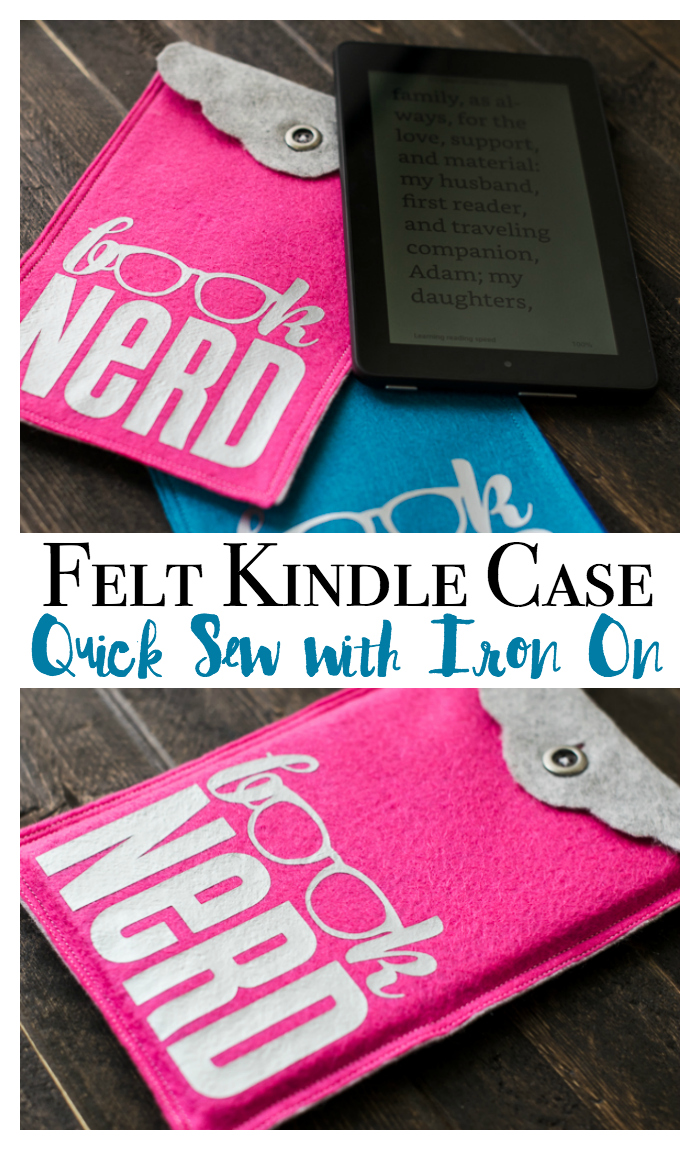
How stinkin’ cute is this fun Kindle Fire Case that I whipped up? There is so much I want to share with you about this simple project! How amazing would this be to make for a fun Holiday gift? They are perfect for all the book nerds in your life! I made 2 covers in less than an hour and they are very inexpensive. I’m sharing the full pattern for the kindle cover along with the tips and tricks I used to make these. You'll fall in love with these like I did and will want to make a ton of Kindle covers!
If you follow me on Instagram, you might have noticed that the amazing Cricut company sent me a Cricut Explore Air 2. You might have seen my sweet rescue pup trying to confiscate the machine for himself.
To say I was excited when the machine showed up would be an understatement. I couldn’t wait to get started with a project. My biggest problem was picking just one! I started by browsing the Cricut Design Studio for inspiration. I found the “Book Nerd” file and immediatly knew I wanted a cover for my Kindle Fire. I have the 7” inch so the pattern is made to fit that size (but I think it could easily be manipulated to fit more).
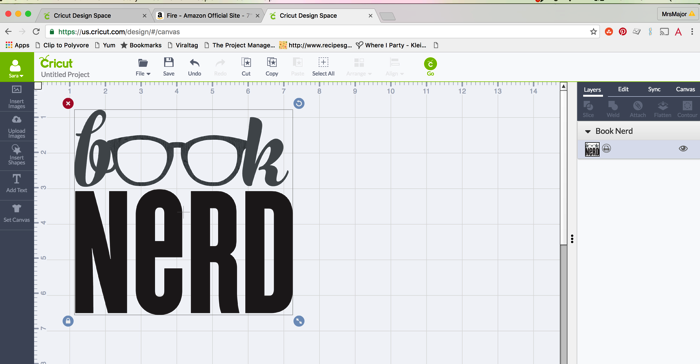
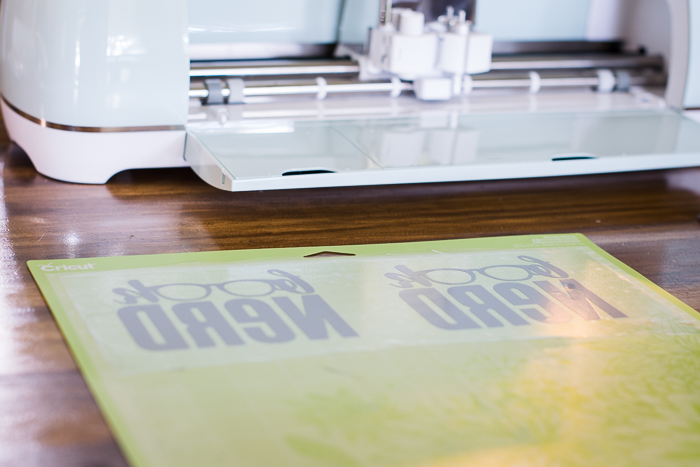
The first thing I did was go ahead and cut the “Book Nerd” File. To do this, I opened Cricut Design Space and opened a new project. I clicked on “Insert Images” which is found on the left sidebar. From there, I put “Book Nerd” in the search bar found in the upper right hand corner. The software pulls several options, but I went with image #M1390082. It does cost 99 cents. I love that I can pick and choose single images!
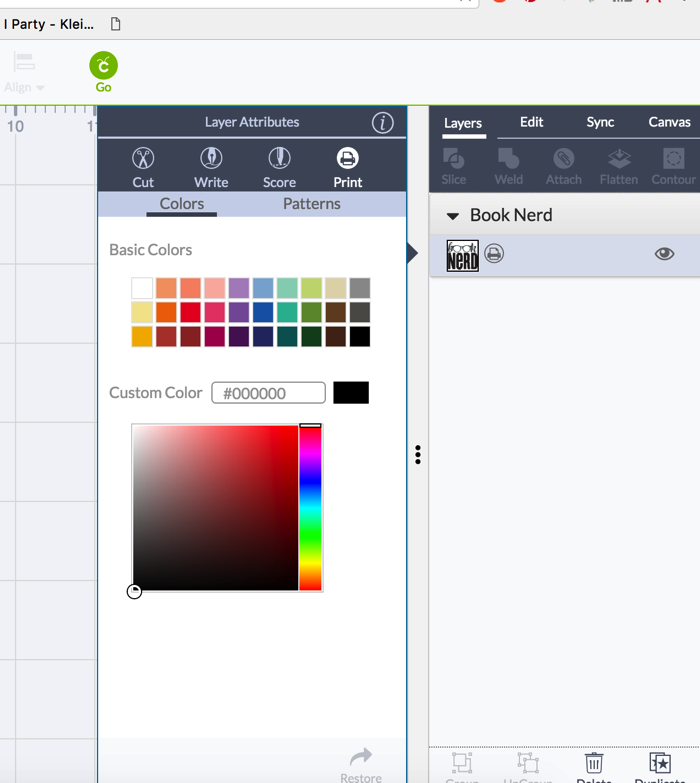
So something to note here. This is a PRINT THEN CUT FILE. I realized that after I bought it and thought I was out of luck. But never fear! I have a solution for that. If you look in the right hand corner, you’ll see Book Nerd and underneath the file. There is a little printer next to it in a circle. Click on that. A new pop up appears that looks like this:
You will want to click on the scissor button that is on the far left of the top list.
THAT’S IT!!! MAGIC! You just changed that from a “print then cut” file to a cut file! YAY! I sized mine about 4 x 4 inches.
I cut 2 because I figured if I was making one, I should make another to give to a friend.
The next part took a bit of time for me, but will be so easy for you because I created the file for you.
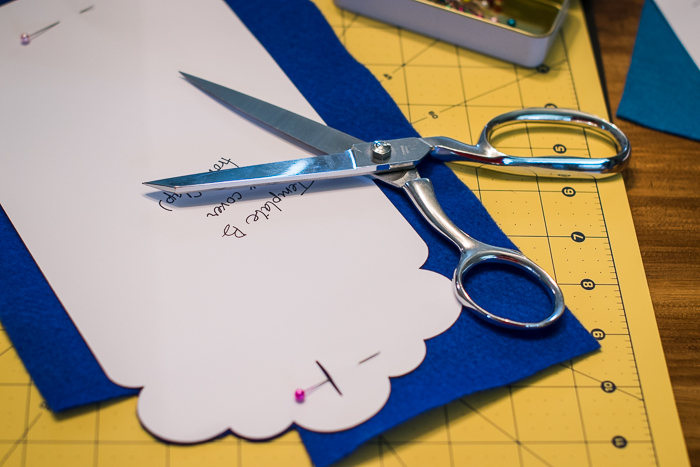
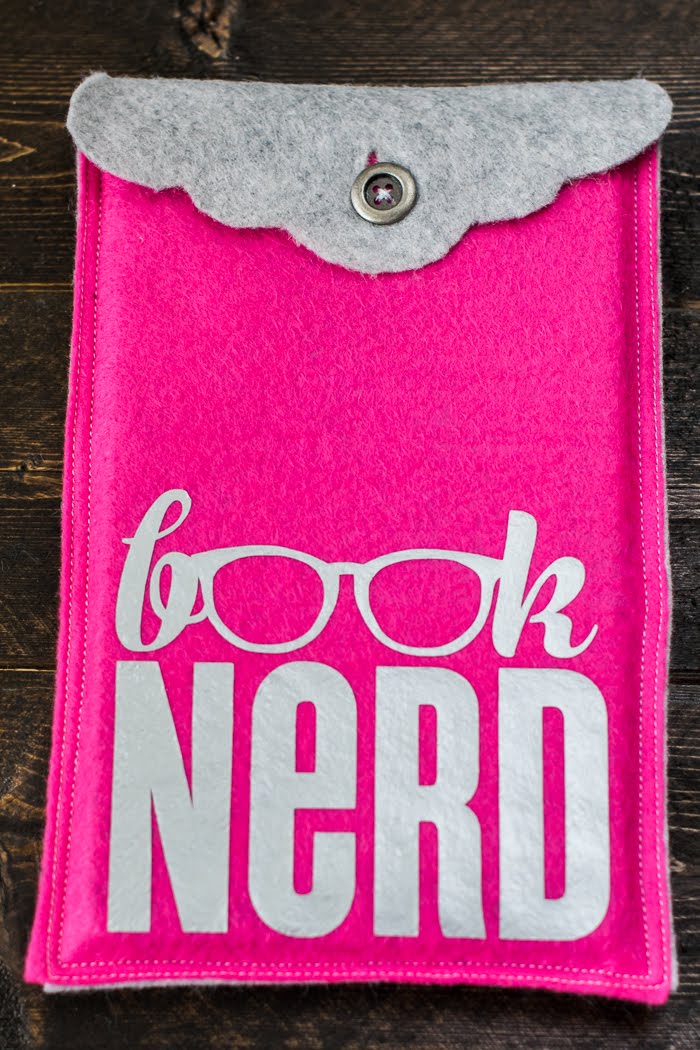
Once you cut those out, you’ll want to use them as a sewing pattern for your case. The curvy edge piece is for the back, and the smaller part is for the front. I used 2 sheets of 8.5 x 11 inch felt. You’ll want to make sure you use at LEAST 20 % wool or your felt won’t keep it’s shape very well at all. I have a hard time finding this felt in our craft stores, so I ordered off Amazon (click for the exact felt package I ordered). Don’t forget to make a cut where the button hole goes!
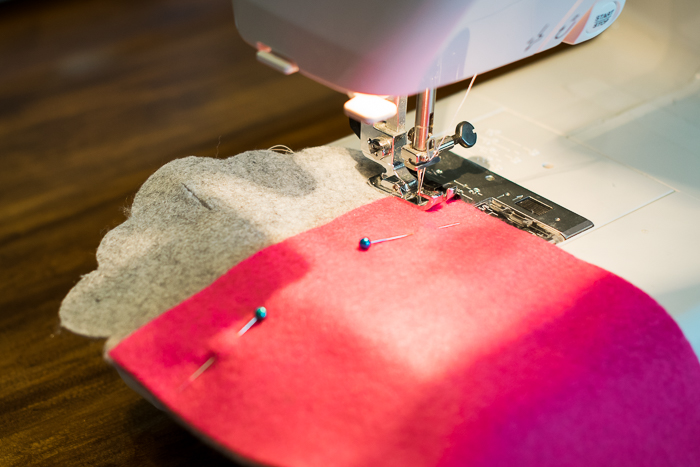
The reason why I chose felt was because I didn’t want to hem or hide seams or really spend a lot of time creating these. With felt, you can leave the edges raw. This is such basic sewing. It’s great for a beginners project. Place the smaller piece on top of the piece with the curvy edge. Line up the bottom and each side. Stitch a row of stitching ¼ inch along those 3 sides. I went ahead and doubled up and did another seam that was ⅛th of in inch.
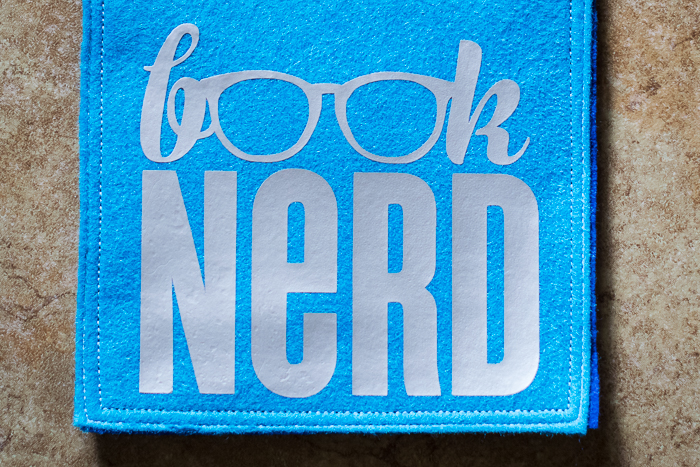
Once that was done, I ironed on my Book Nerd Transfer.
Start by ironing the felt a bit to get it warm. Be very careful ironing felt, because it does shrink a bit. It’s a bit finicky, but I was able to use the iron on without any issues. Place your vinyl where you’d like it.
Be sure to place a towel or thin fabric over this before you iron it to prevent the plastic from melting!
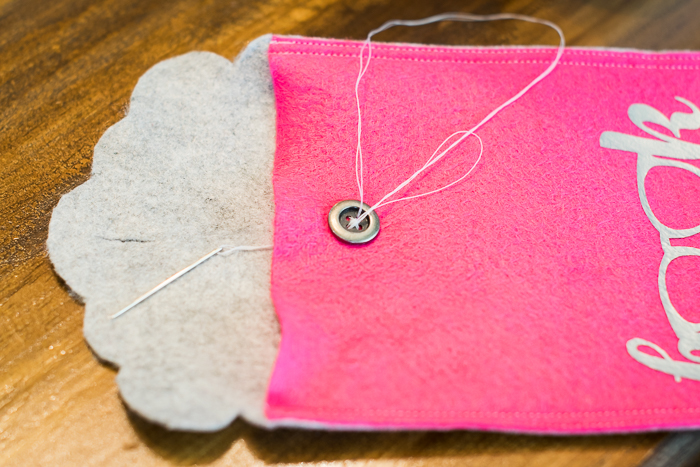
Finally, sew on your button. I marked where the button hole fell and placed the button right there.
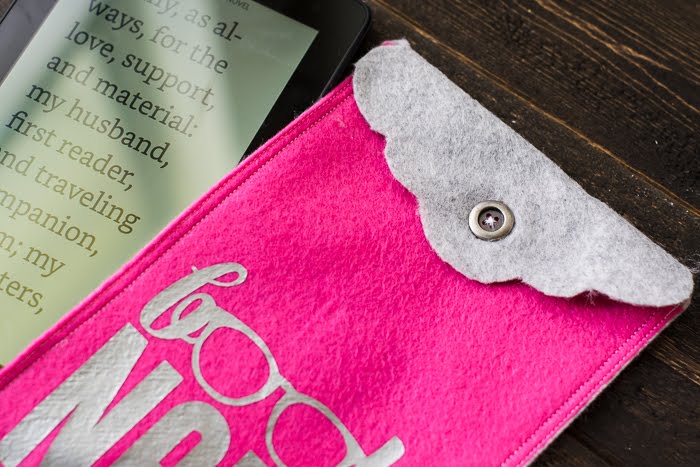
That’s it! Now you have a great case for your Kindle! See how easy that was? Can’t you imagine sewing 4 or 5 at a time? Want to know the best part of the Cricut Explore Air 2? You can cut up to 2x’s faster in some situations. So for me, that means more time reading or sewing - or hey - just crafting! I’m all about cutting time! I feel like Cricut has done an amazing job with education for their machines. There are plenty of you tube videos and tutorials on their websites, so I feel like I don’t waste a lot of my time trying to figure something out. I watch a quick tutorial and dive right in.
Do you like the two tone colors? What sassy saying would your case say? Share your creations on Instagram and tag me!
On a personal note----
I purchased my Cricut Expression years ago and used it for so many projects. Besides my sewing machines, it was one of the best investments I made for my craft room. I did go ahead and upgrade to a Cricut Explore Air last year and was so glad I did. I love creating in the Cricut Design Space and not having to worry about cartridges, and being able to find inspiration immediatly just by browsing the Cricut Design Studio. I’ve always had an ad on my sidebar that is specifically for Cricut because it really is truly a product I use and adore. I'm so very happy that I have a relationship with the Cricut Company and that I can continue to share posts with you regarding their products.




Comments
No Comments