This post and photos may contain Amazon or other affiliate links. If you purchase something through any link, I may receive a small commission at no extra charge to you. Any supplies used may be given to me free of charge, however, all projects and opinions are my own.
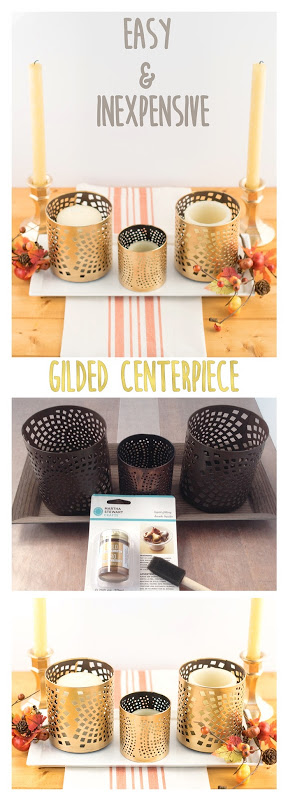
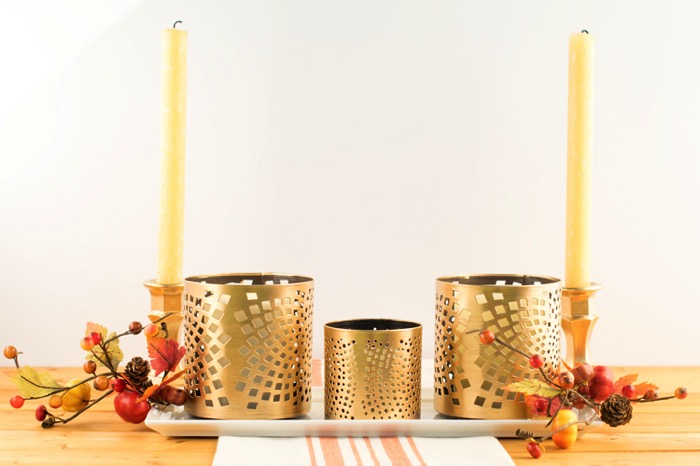
Learn how to gild a centerpiece by using liquid gilding found at a craft store. It doesn't end at centerpieces though- See how to decorate unconventional items as well!
This post contains affiliate links. I only recommend products or services I use personally and believe would be a good fit for my readers. This comes at no added cost to you!
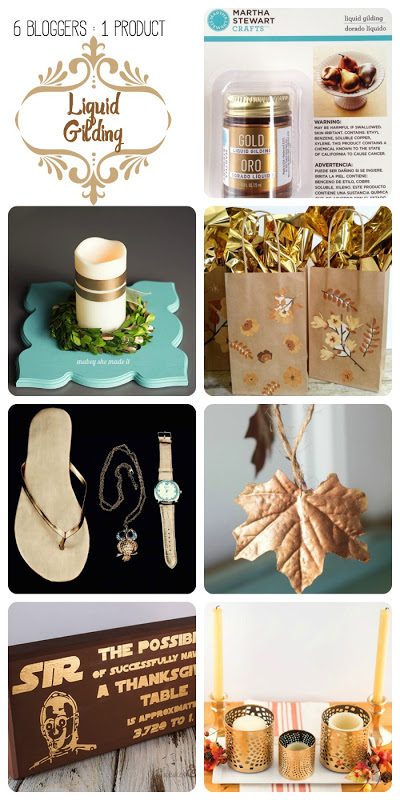
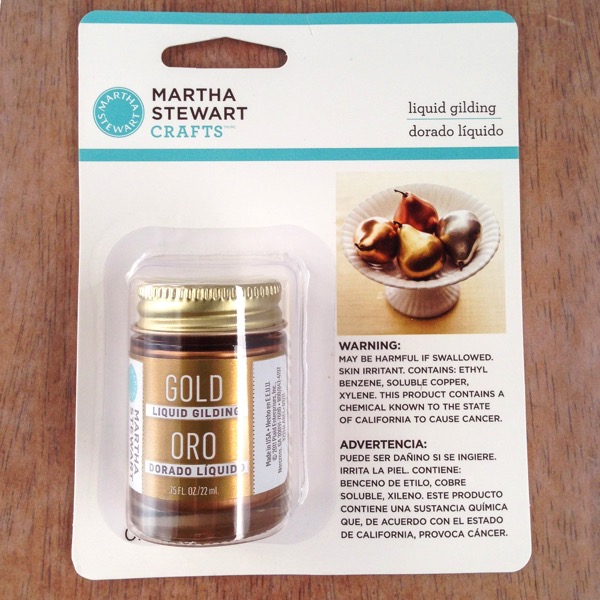
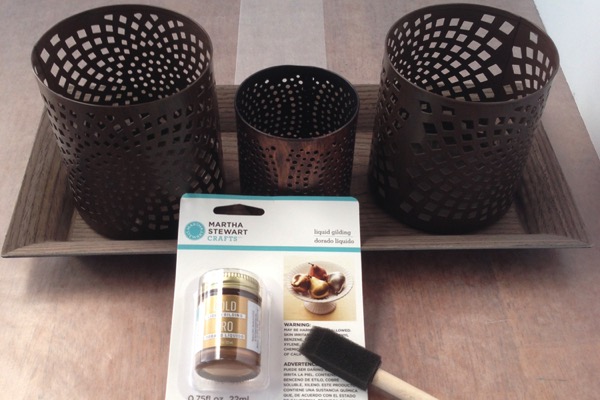
If you remember, last month, a group of my blogging friends got together to host the "Pumpkin Smash” wooden pumpkin challenge. The premise is simple: a group of bloggers have the same item, and we each have free will with what we choose to do with it. This month we chose Martha Stewart Crafts Liquid Gilding. It comes in several colors like gold, silver, and copper. I chose gold for this challenge. My friends told me once I started gilding, I’d want to gild everything in sight. They were not lying! This stuff is addicting. It’s fast, it’s cheap, it’s versatile, and it’s so easy to use!
You can find the liquid gilding at Michaels or on Amazon.com. It’s a small bottle, but a little goes a long way!
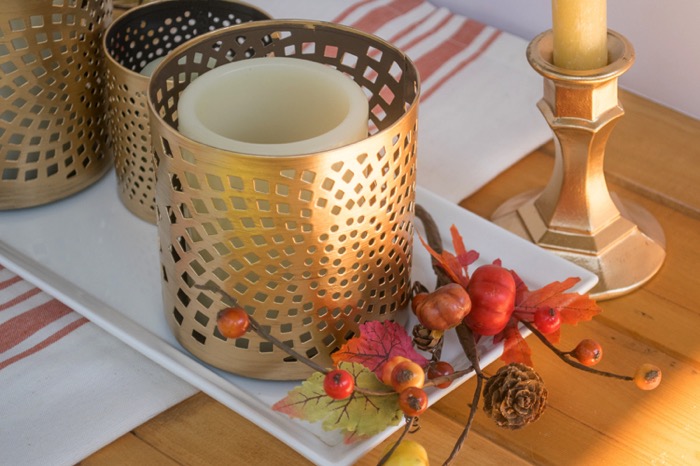
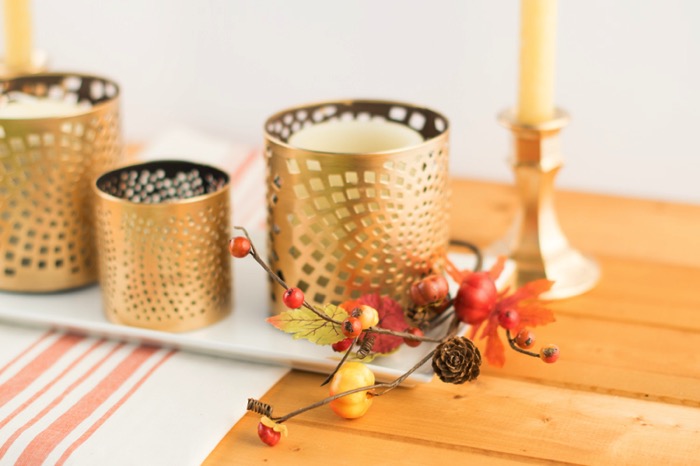
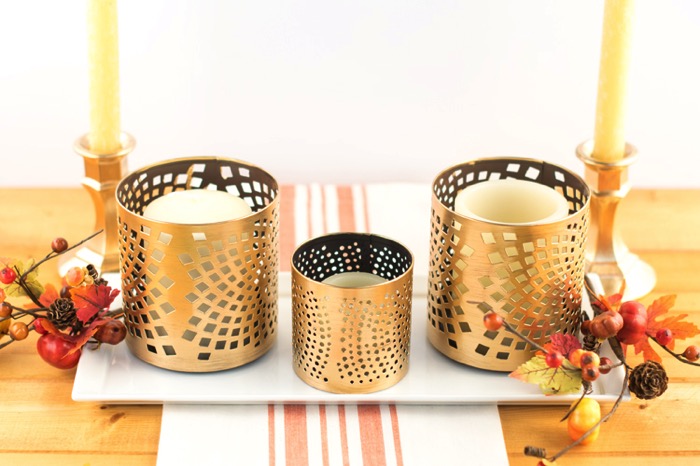
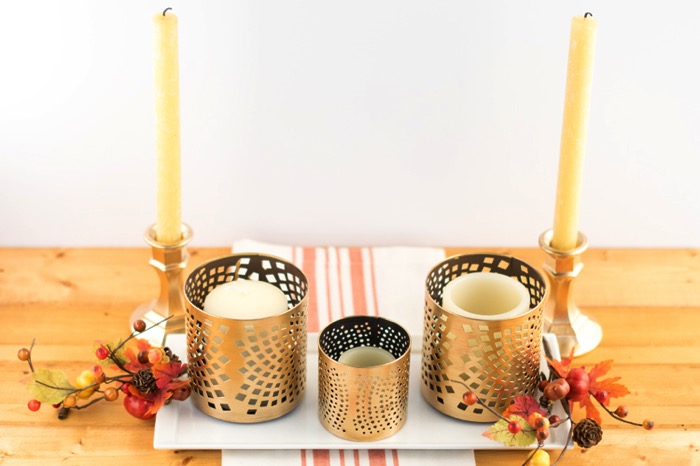
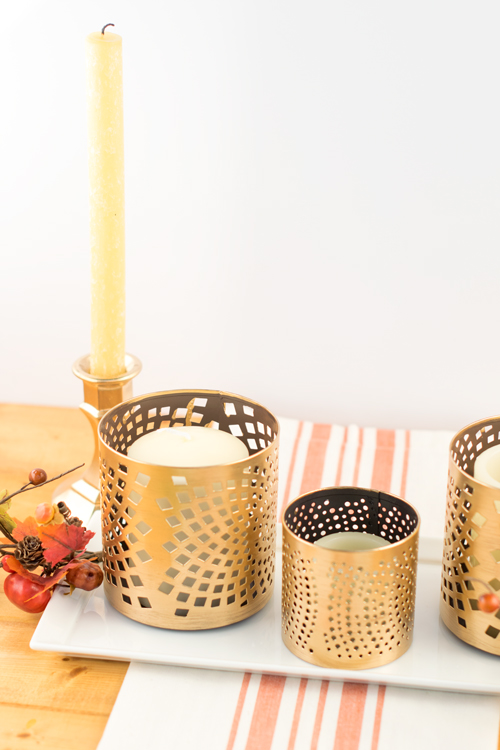
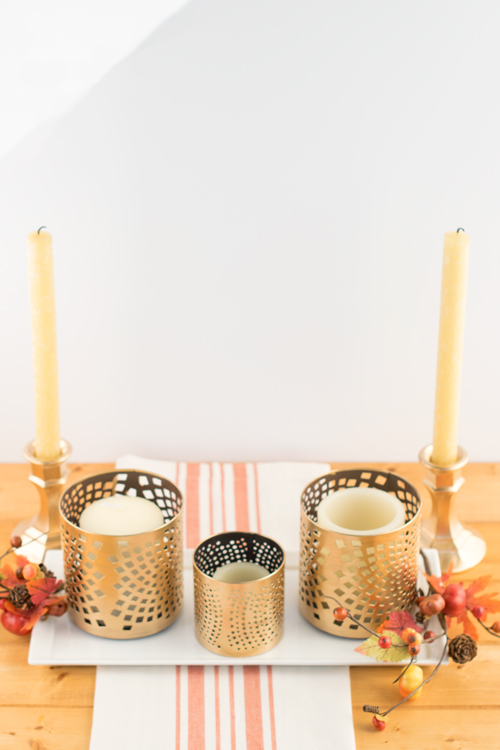
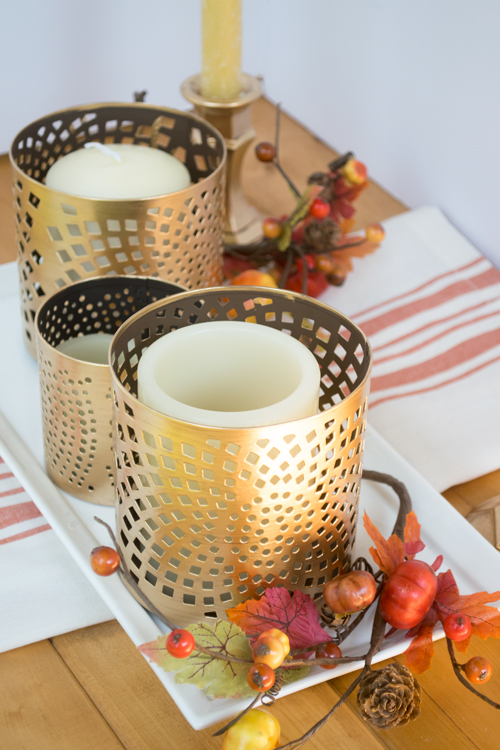
I picked up these candle holders while I was at Michaels. They were on sale and inexpensive. I liked the design of them, but knew they’d look even better with the popular gold sheen we are seeing all over pinterest right now!
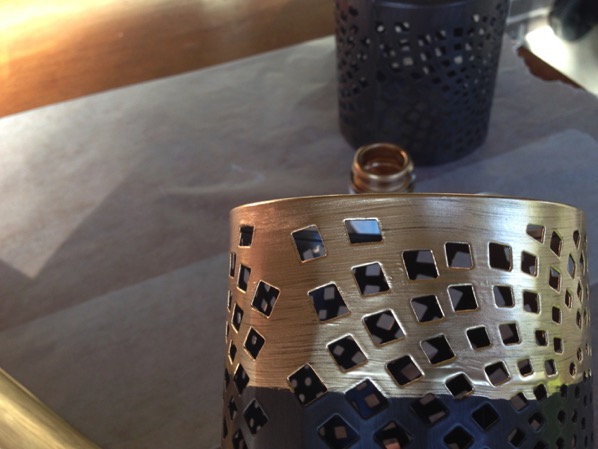
I also just used a small foam brush to apply my gilding. I know it says to use a paint brush, but I was fine with the foam brush.
There were a little bit of brush strokes, but it was minimal. They seemed to flatten out. I worked around the candle holder slowly moving up as I worked. I was amazed at how easy it was, and it made me think of Martha’s old show (am I the only one in America that misses watching it everyday???).
Remember how guests would come on and be put to tasks in the craft room claiming they had no talent and then suddenly being surprised with how easy it was? And then they’d always say, “Well, I’m no Martha, but hey, I can do this!”. YEP. I may have been saying that as I worked with the gilding.
I will warn you, you will want to go back over it. RESIST ALL TEMPTATION. It will not work well. Just let it be. It will clump up and streak and not be smooth. If you’ve done an area and missed spots, wait at least an hour or 2 before going back over it.
Then, in like 10 minutes, its all over.
You might start to feel empty inside.
You might feel like the experience didn’t last long enough.
You might run inside and grab the candle sticks from Dollar Tree and decide, “Hey they are only a buck, let’s see how this works on glass!”.
It streaks a little more on glass, so I used the foam brush and stippled it on, which gave it a very cool, almost “hammered” metal look.
You might then realize that the centerpiece is totally done. So then you grab glass coffee mugs to gild the bottom. You grab plastic fruit (also works fabulously on it!) and even a wooden acorn (wood is a winner too folks!).
You might start considering if you should buy enough to gild your table legs…..
At this point your husband *might* come outside and ask you if you would kindly “gild his dinner”.
You’ll definitely want to work outside, cause it does have a weird slightly noticeable smell to it.
Or all the crafts I’ve ever done, I would rank this as one of the easiest. The impact it makes is impressive. My friends are right, once you start—you won’t want to stop.
Are you on the “Gild EVERYTHING! Team?”. Come join us!
Be sure to check out all the other awesome crafts that my talented friends came up with.
Seriously—is there anything you can’t gild?
You can see all the projects here:
Like the projects you’ve seen today? We’d love it if you pinned them to share with everyone!



Mabey She Made It says
These candle holders are so pretty gilded!
Atta Girl Amy says
I loved this challenge. I am ready to gild everything, too! But it could just be the fumes. Love how your centerpiece turned out. So festive!
MrsMajor Hoff says
Thanks so much!
MrsMajor Hoff says
I'm so glad you liked it Amy! It is always so neat to see what everyone creates!
ashley @ my craftily ever after says
I love your candle holders! And your candle sticks! And if you'd shown them to me I probably would love your acorns, fruit and your coffee mugs toooo! Heck I support gilding your table legs! I am totally team gilding!
Julie's Lifestyle says
You did such a great job painting the candle holders gold.
Thanks for sharing this at Cooking and Crafting with J & J.
We love having you and hope to see you next week.
Julie xo
Jess says
This is so beautiful and elegant! Love it! 🙂
Thanks for joining Cooking and Crafting with J & J!
Cheryl Bush says
These turned out so nice! I've used the gilding sheets, but never the liquid - my painting skills are minimal so I didn't think it would turn out. Now I want to try it.
Lori@thestonybrookhouse says
Love this stuff!! All the projects look awesome!
Joanita Theron says
Beautiful 🙂 Thank you so much for sharing!
Joanita
Cathy McInnes says
Oh my goodness, I am loving this!! I have to try this out on something I have hanging around! Thank you so much for sharing this on MMM! I am so glad that you came!! 🙂
Cathy@threekidsandafish{dot}com
Sherry Nappa says
These candle holders are stunning! I just love the transformation. Thanks so much for sharing with us at Merry Monday.