This post and photos may contain Amazon or other affiliate links. If you purchase something through any link, I may receive a small commission at no extra charge to you. Any supplies used may be given to me free of charge, however, all projects and opinions are my own.
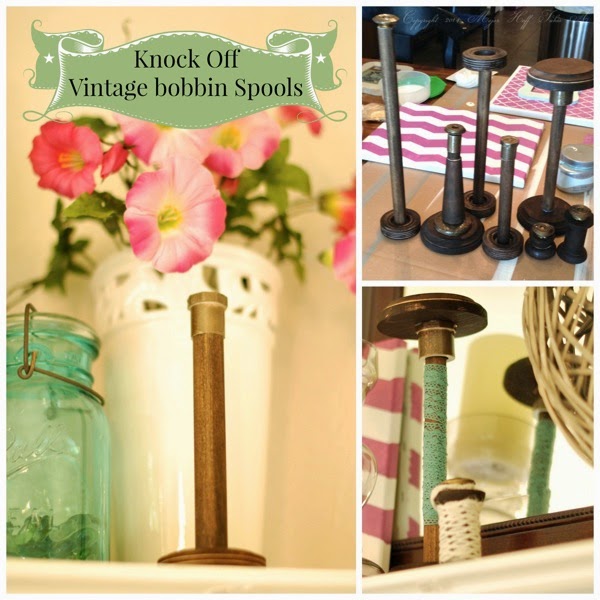
I had a couple people comment on the bobbin spools in my Spring Mantel Post, so I thought I would do a step by step tutorial on how easy these are to make!
You can find vintage spools or bobbins ,in all shapes and sizes, at all different price points, at thrift stores, antique shows or on websites like Etsy or Ebay. But they are just as easy to make yourself!
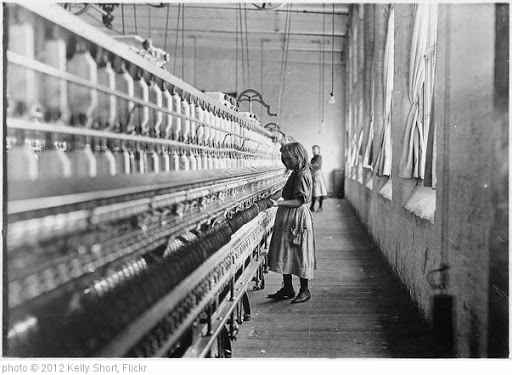
I have a very sentimental attachment to bobbins and spools. I was a seamstress long before I was a blogger, and my Great Grandmother was a weaver in a cotton mill in England. This was in fact-not a glamourous job at all. Factory life was hard. This was pre- child labor laws. Lots of ladies went deaf from the noise, lost fingers or worse in the machines, or suffered respiratory ailments from the cotton dust in the air.
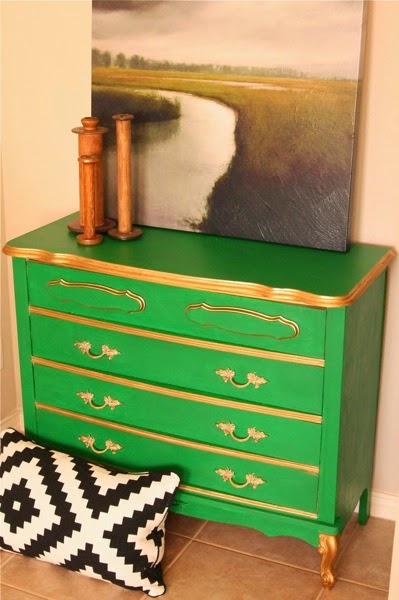
With industrial salvage all the rage now, you've probably eyed bobbins, spools, or more on your favorite blogs. Last week, Bee of Windgate Lane posted this fabulous dresser make over that had large bobbins sitting on top in a pretty display!
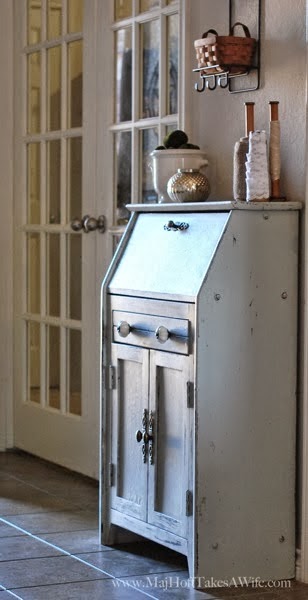
I've showcased some of my vintage bobbin collection on top of my Secretary Desk:
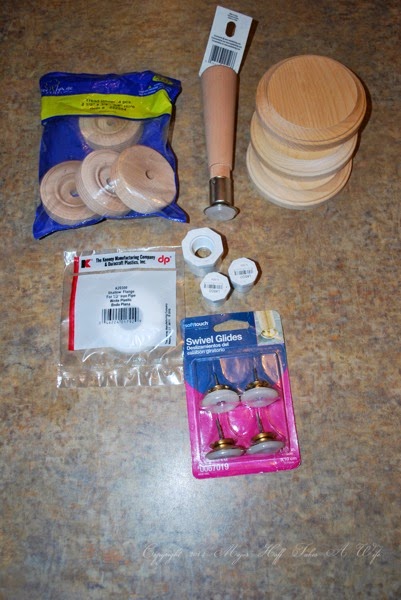
So lets get started! There are no rules about these. Make them however you think looks best. You can use much wider dowels, or other industrial looking gadget-y things you can find. Here is what I started with for these:
I have basic round blocks from Hobby Lobby, as well as "wheels" from the same section there. From Lowes, I picked up the dowel (not pictured), pvc parts that fit the dowel, Swivel glides (to protect floors from chairs), and a little leg from the wood leg/trim department.
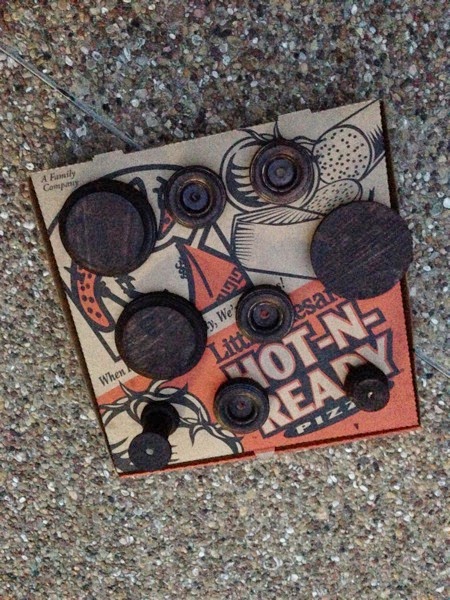
The parts I wanted to look like metal, I spray painted with Rust-oleum Universal Forged Hammered Spray Paint in Chestnut. I sprayed the PVC parts, the swivel guides and the bottom of the little leg. I then stained all the wood pieces using Minwax Stain I had on hand.
Here is a not so great iPhone pic of that process: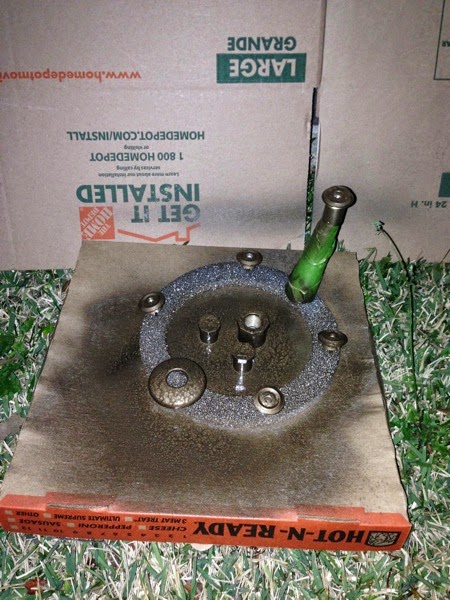
Keepin' it real people!
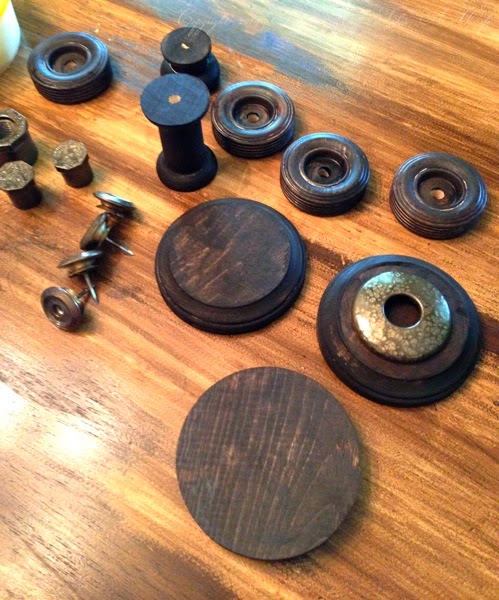
After everything has dried you need to determine what pieces you will use for each one, and how tall you want them.
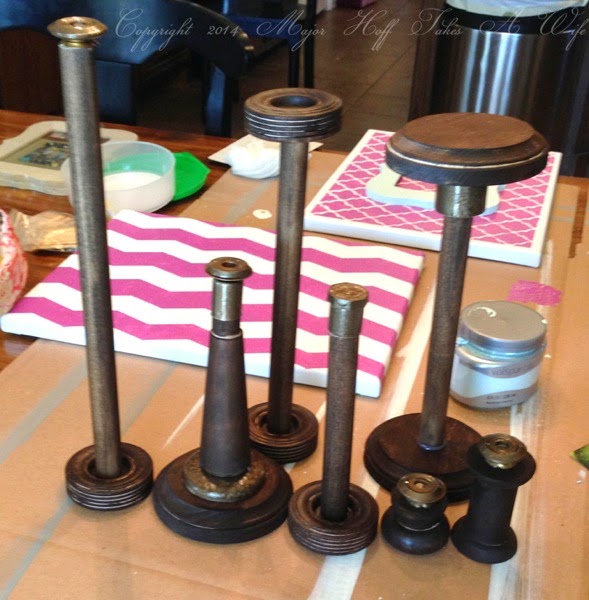
I laid mine out like this:
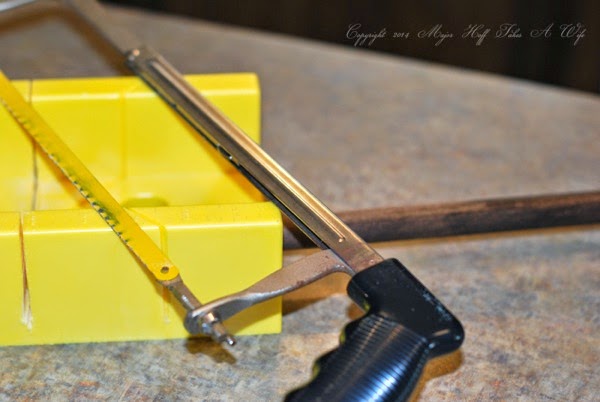
Next, cut the dowel to the length's you would like. I started out using the miter saw and box I had on hand, but since I was in a hurry and I wanted the ends to be as straight as possible, I ditched that and used my Power Miter Saw. Either works
Now for the assembly part. Don't get so excited here. Because I thought of a million different adhesives to use. And decided to give one in particular a shot. And sweet fancy moses -- it worked! I used my GLUE GUN people! You do need to hold the item in place for at least 10-15 seconds, but it will hold. If any seeps out, let it dry and later pry that part off. Easy peasy.
Here they are all waiting to be cleaned up and displayed:
I really love the little leg one. I didn't end up using it on my mantel, but will use it in my craft studio for sure. I did the little spools because I thought they would be fun.
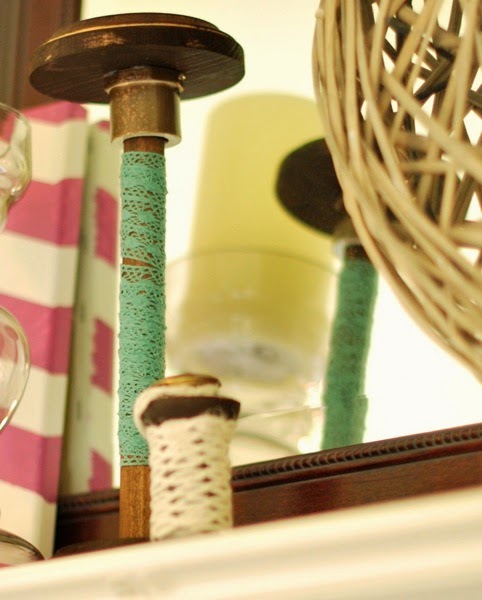
Here is a look back at them on my mantel.
What do you think? Close enough to the real deal? Are you incorporating "Industrial Chic" into your house this year?






Heather says
I have some spools I bought at Canton YEARS ago. Now I'm going to have to find them!
TheKimSix Fix says
What a great idea.. to make your own. I have a big collection of real spools but I never put them out since the kids always play with them and I don't want them to get ruined. I wouldn't have to worry if I just DIY'd them!
Karen @ karensuponthehill says
What a great idea! I love the style of these, and they look so good! I would love for you to stop by my blog and join our Something to Talk About link party each week!
Have a great day!
Karen