
This post and photos may contain Amazon or other affiliate links. If you purchase something through any link, I may receive a small commission at no extra charge to you. Any supplies used may be given to me free of charge, however, all projects and opinions are my own.

I don’t know about you, but I think it’s getting pretty expensive to decorate for the holidays. I love all the fun new home decor items, but my wallet doesn’t. I was so thrilled when I found the Dollar Tree $1 pumpkins this year! I may have grabbed a ton! These pumpkins are so easy to make, you only need a bit of paint, a bit of burlap, some fold over elastic and some optional trim. The white pumpkins are totally in this year, and you don’t have to break the bank. Here is my tutorial on turning a standard dollar store pumpkin into a great fall decor piece!
This is where I started. She is a little oddly shaped (but no pumpkin is perfect), but she is so easy to work with.

I went ahead and painted about 5 of these guys at a time, assembly line style. I’d do a coat and walk away, and come back later and do another coat. I used Tulip brand paint, just some regular acrylic type that I had in my craft stash. For 1 I used some American Decor Chalky paint, and it took less coats, but the acrylic works just fine.

After the pumpkins were painted and dry, I cut out some basic oval leave shapes from burlap. They are really wonky and not precise at all. Remember, burlap can fray, so don’t get obsessed about perfection. Just a basic shape is all you need. You can see that I laid the leaves on the pumpkins before glueing down, so that I could get them to scale.

To add some shape and character to the leaves, on some of them, I took a dab of hot glue and using a little bit, I pinched the end together and made it have more of a shape to it.

I simply glued the leaves onto the pumpkin where I felt that they would look right. My blue finger protectors are amazing. You can find them on amazon (affiliate link!). CLICK HERE!

To cover up the stem, I used fold over elastic (you can usually find in craft stores now). I had initially planned on using something else, but could not find it when I was looking for it. I thought about twine, but the color was too close to the burlap. I am so thankful I had brown FOE on hand! I cut a small piece and glued it over the top and 2 edges. I then took a longer piece and worked it around the stem twice, going higher the second time around. The good thing about it is that it stretches and has a bit of give and can fit into those odd shaped areas. I used hot glue to have it pinched at the top. I added a bit of green trim that I had on hand for some of them, just as a finishing touch.

So what do you think? Worth the effort? I think so! What an impact they made, and all for only $1 to start with. In all, the supplies were very inexpensive. I would guess it was under $10 to make 5 of them (and $5 that is in pumpkins!). So now I have 5 for less than one of the popular pumpkins could cost you. I used these pumpkins as part of my Fall Home Decor Tour (Click to view how I decorated for the season!).
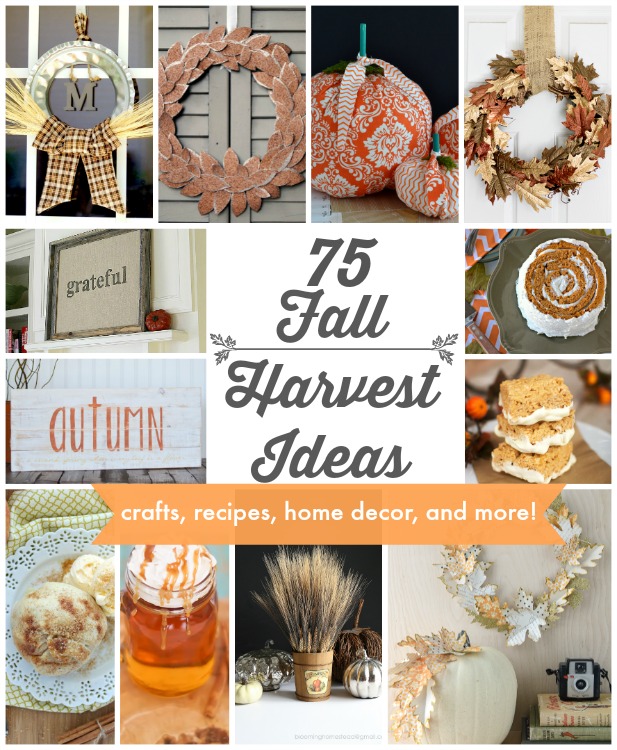
It turns out that I’m not the only one who loves Fall Harvest Ideas! I can’t get enough of all the home decor posts, the crafts, and oh—the recipes—yum! That is why I’m so excited to let you know that this post is part of a group effort by some talented bloggers who want to bring you 75 Fall Harvest Ideas. Yes, you read that right, 75! Be sure to check out all the posts below. Pin away my friends, soak up all the Fall inspiration, and enjoy this wonderful season!
**Special Thanks to Abbey from The Cards We Drew for organizing all this awesomeness!**
Check the gallery below and visit some of my blogging friends to see their awesome ideas!!


Mabey She Made It says
Great transformation!
inkhappi says
Awesome! I love these pumpkins and the burlap look! I did some of these $1 pumpkins last year and have some waiting to be painted and "glittered" this year. There is so much you can do with them and i like that they don't ROT!
Laura - Eye Candy Creative Studio says
super cute idea. I love doing different things with pumpkins - so much fun!
Lindsay Fekitoa says
Great idea! Looks great!
Yvette says
So cute! Where did you get those blue finger gloves?
MrsMajHoff says
Hi Yvette! Aren't they cool? I picked them up at my local craft store. Not sure which one, but I'm sure Michael's, Joann's, or Hobby Lobby will have them. The exact ones I have can be found on amazon here: http://amzn.to/2gSRdlZ (affiliate link). I adore them, they are so handy!