This post and photos may contain Amazon or other affiliate links. If you purchase something through any link, I may receive a small commission at no extra charge to you. Any supplies used may be given to me free of charge, however, all projects and opinions are my own.
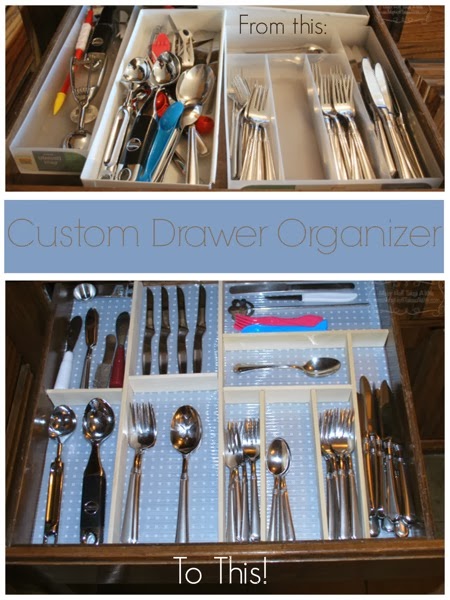
DIY drawer dividers are a cinch to make! You'll wonder why you didn't do this before. Your organized cutlery drawer will make you smile every day!
DIY Drawer Dividers
This post contains affiliate links. I only recommend products or services I use personally and believe would be a good fit for my readers. This comes as no added cost to you!
I read once that being organized is the American Dream and I’d have to agree with that! What I wouldn’t give to be more organized! Slowly, over the years, I’ve discovered that the best way to do this is to make the space truly yours. Sometimes just buying bins, boxes, or clever containers just don’t do the job right because they simply aren’t the perfect fit.
Ana-White posted this tutorial a few years ago, but since it involved power tools and nails, I stayed away from it. Not necessarily because of the tools, but more for the “permanency” the project left. I think the military trained my brain to always think of resale value, passing housing inspections, and an easy way to take it with you. So I was very intrigued when I saw Becki over at Infarrantly Creative posted this tutorial (and video!) about Drawer Organizers using Hot Glue!
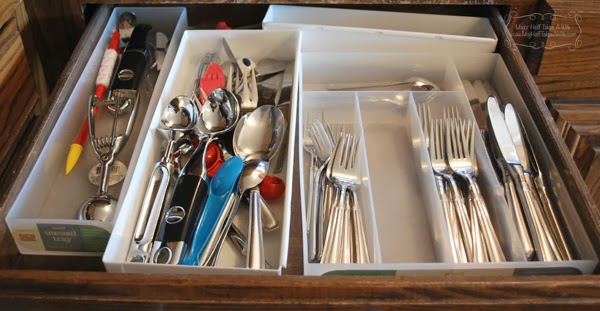
Hot Glue—I can jump on that train. It’s easy to remove if you need to (less permanent) and it looked like it would do what I wanted. So this is where I started:
HELLO UGLY DRAWER!
I’m so ashamed to think I lived with it like this for so long. Don’t you love how the back basket is at an angle? The randomness of a Snowman head drinking straw, and a random corn holder. Sigh.
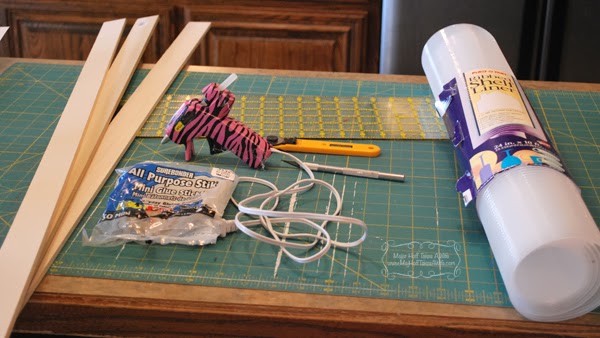
So I got my supplies out and knocked this out in about an hour.
One of the things I did differently, was that I placed a clear shelf liner down into the bottom of the drawer so I was not gluing the wood to that part of the wooden drawer. Before I placed the shelf liner down, I cut a piece of pretty wrapping paper to fit, and then cut the shelf liner to fit as well. I used my quilting olfa mat because it is just so easy to use the grid. Please think that I must quilt all the time since my mat is in such poor shape! I have an olfa rotary cutter that I use exclusively for paper so I used it on the paper and liner. I would not recommend using your good fabric blades. The wood strips I picked up are pine and sold in 2 foot lengths. I bought the quarter inch width size.
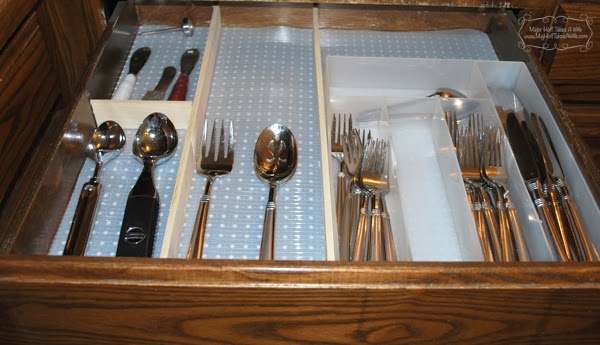
After measuring my drawer, I laid of two long strips of wood to run lengthwise in the drawer. I knew the silverware holder had worked well in the past, so I sat it in the drawer and used it as a template. All the lumber was cut with the old basic miter yellow box thingy (real technical name!) and a regular little saw that fits into it. I could have used my miter saw, but I let the little boys hold the wood further down the counter, so they were in heaven!
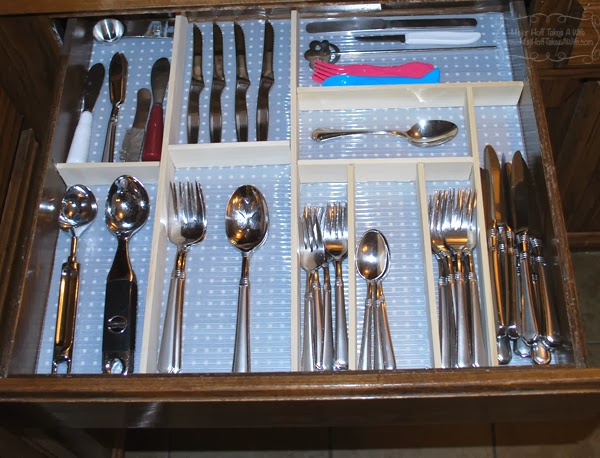
I glued the wood directly to the liner (it’s removable remember!) and did a few dots of glue along the drawer sides. If it has to come out, it won’t cause significant damage. Pretty soon I ended up with this:
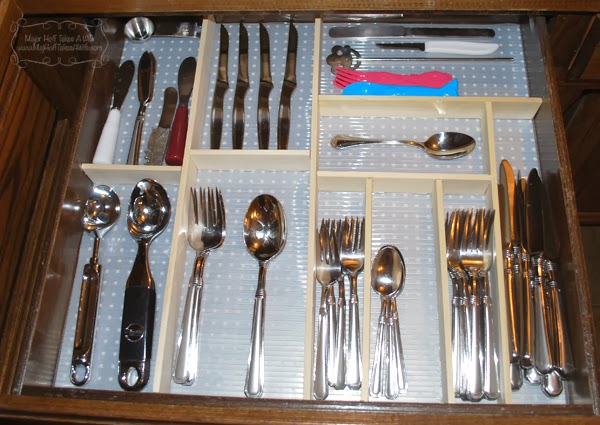
and one more time:
The hubs was very happy for this little improvement-and so am I. I wish I would have done it sooner. I can’t wait to do all my drawers! I’m ready for a good Spring Cleaning Week—what about you?
***Edited to say--- these dividers lasted 2 years before the glue started to come up. I could have simply re-glued, but since they held up so well, I decided I had no issue with using a nail gun to keep them there for a more permanent solution.






TheKimSix Fix says
Wow! Looks good. I also love that because it isn't permanent you can rearrange the drawer if you get new utensils. I always seem to have random spoons and spatulas that don't fit in those store bought organizers.
Mary says
Love this! I just may have to try this with two of my drawers. Thanks for sharing 🙂
MrsMajor Hoff says
exactly Kim!
MrsMajor Hoff says
Thanks Mary! Let me know how yours goes!
msbreez says
As a retired military wife, I completely understand the temporary thoughts! My mr. has been retired for 5 years and I still question and debate whether or not to use nails and screws in the walls/doors of OUR house. Oh bother! This is my next project!! Love it, thanks for sharing!!
MrsMajor Hoff says
MsBreez, that is so funny! I am the same way! But yet I always want to buy stuff that hangs on a wall. Pretty pictures and clocks are always calling my name! Ha!
Anonymous says
I love the non permanent because I want to be organized but I don't want to spend money if I'm renting a place and then move out and have to start all over lol I'm always looking for the way that would work for me I love that you can "fit it to your needs" and now I can hang pictures and decorative stuff on my walls with the new scotch velcro