This post and photos may contain Amazon or other affiliate links. If you purchase something through any link, I may receive a small commission at no extra charge to you. Any supplies used may be given to me free of charge, however, all projects and opinions are my own.
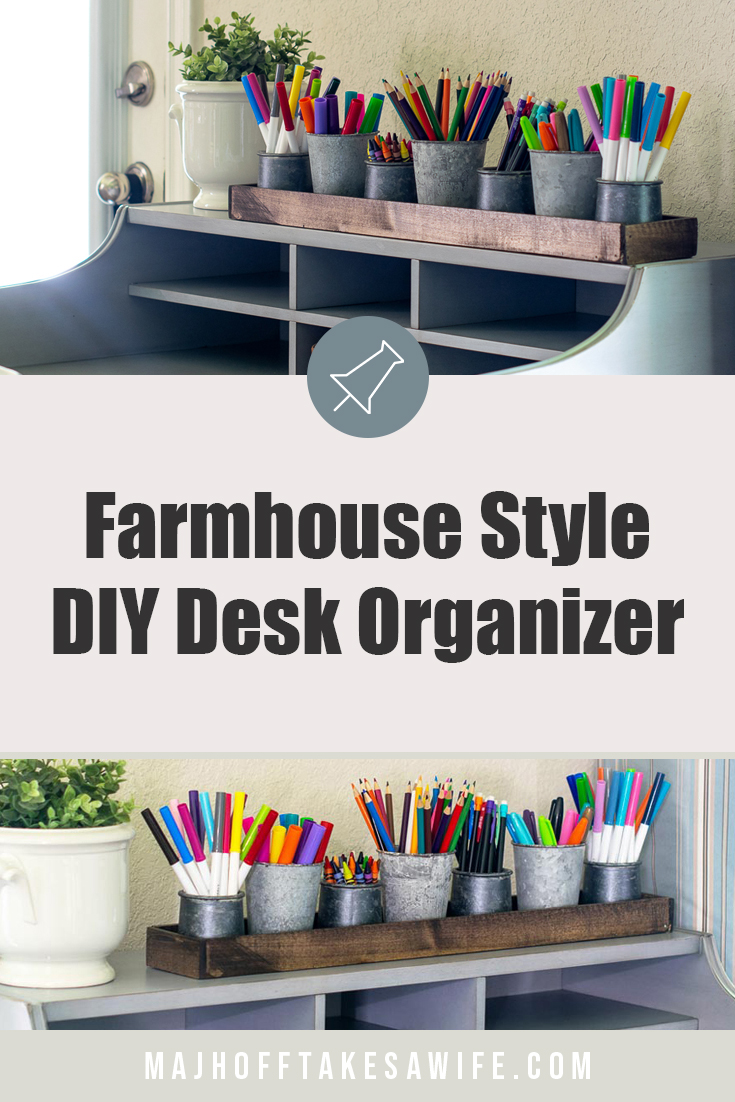
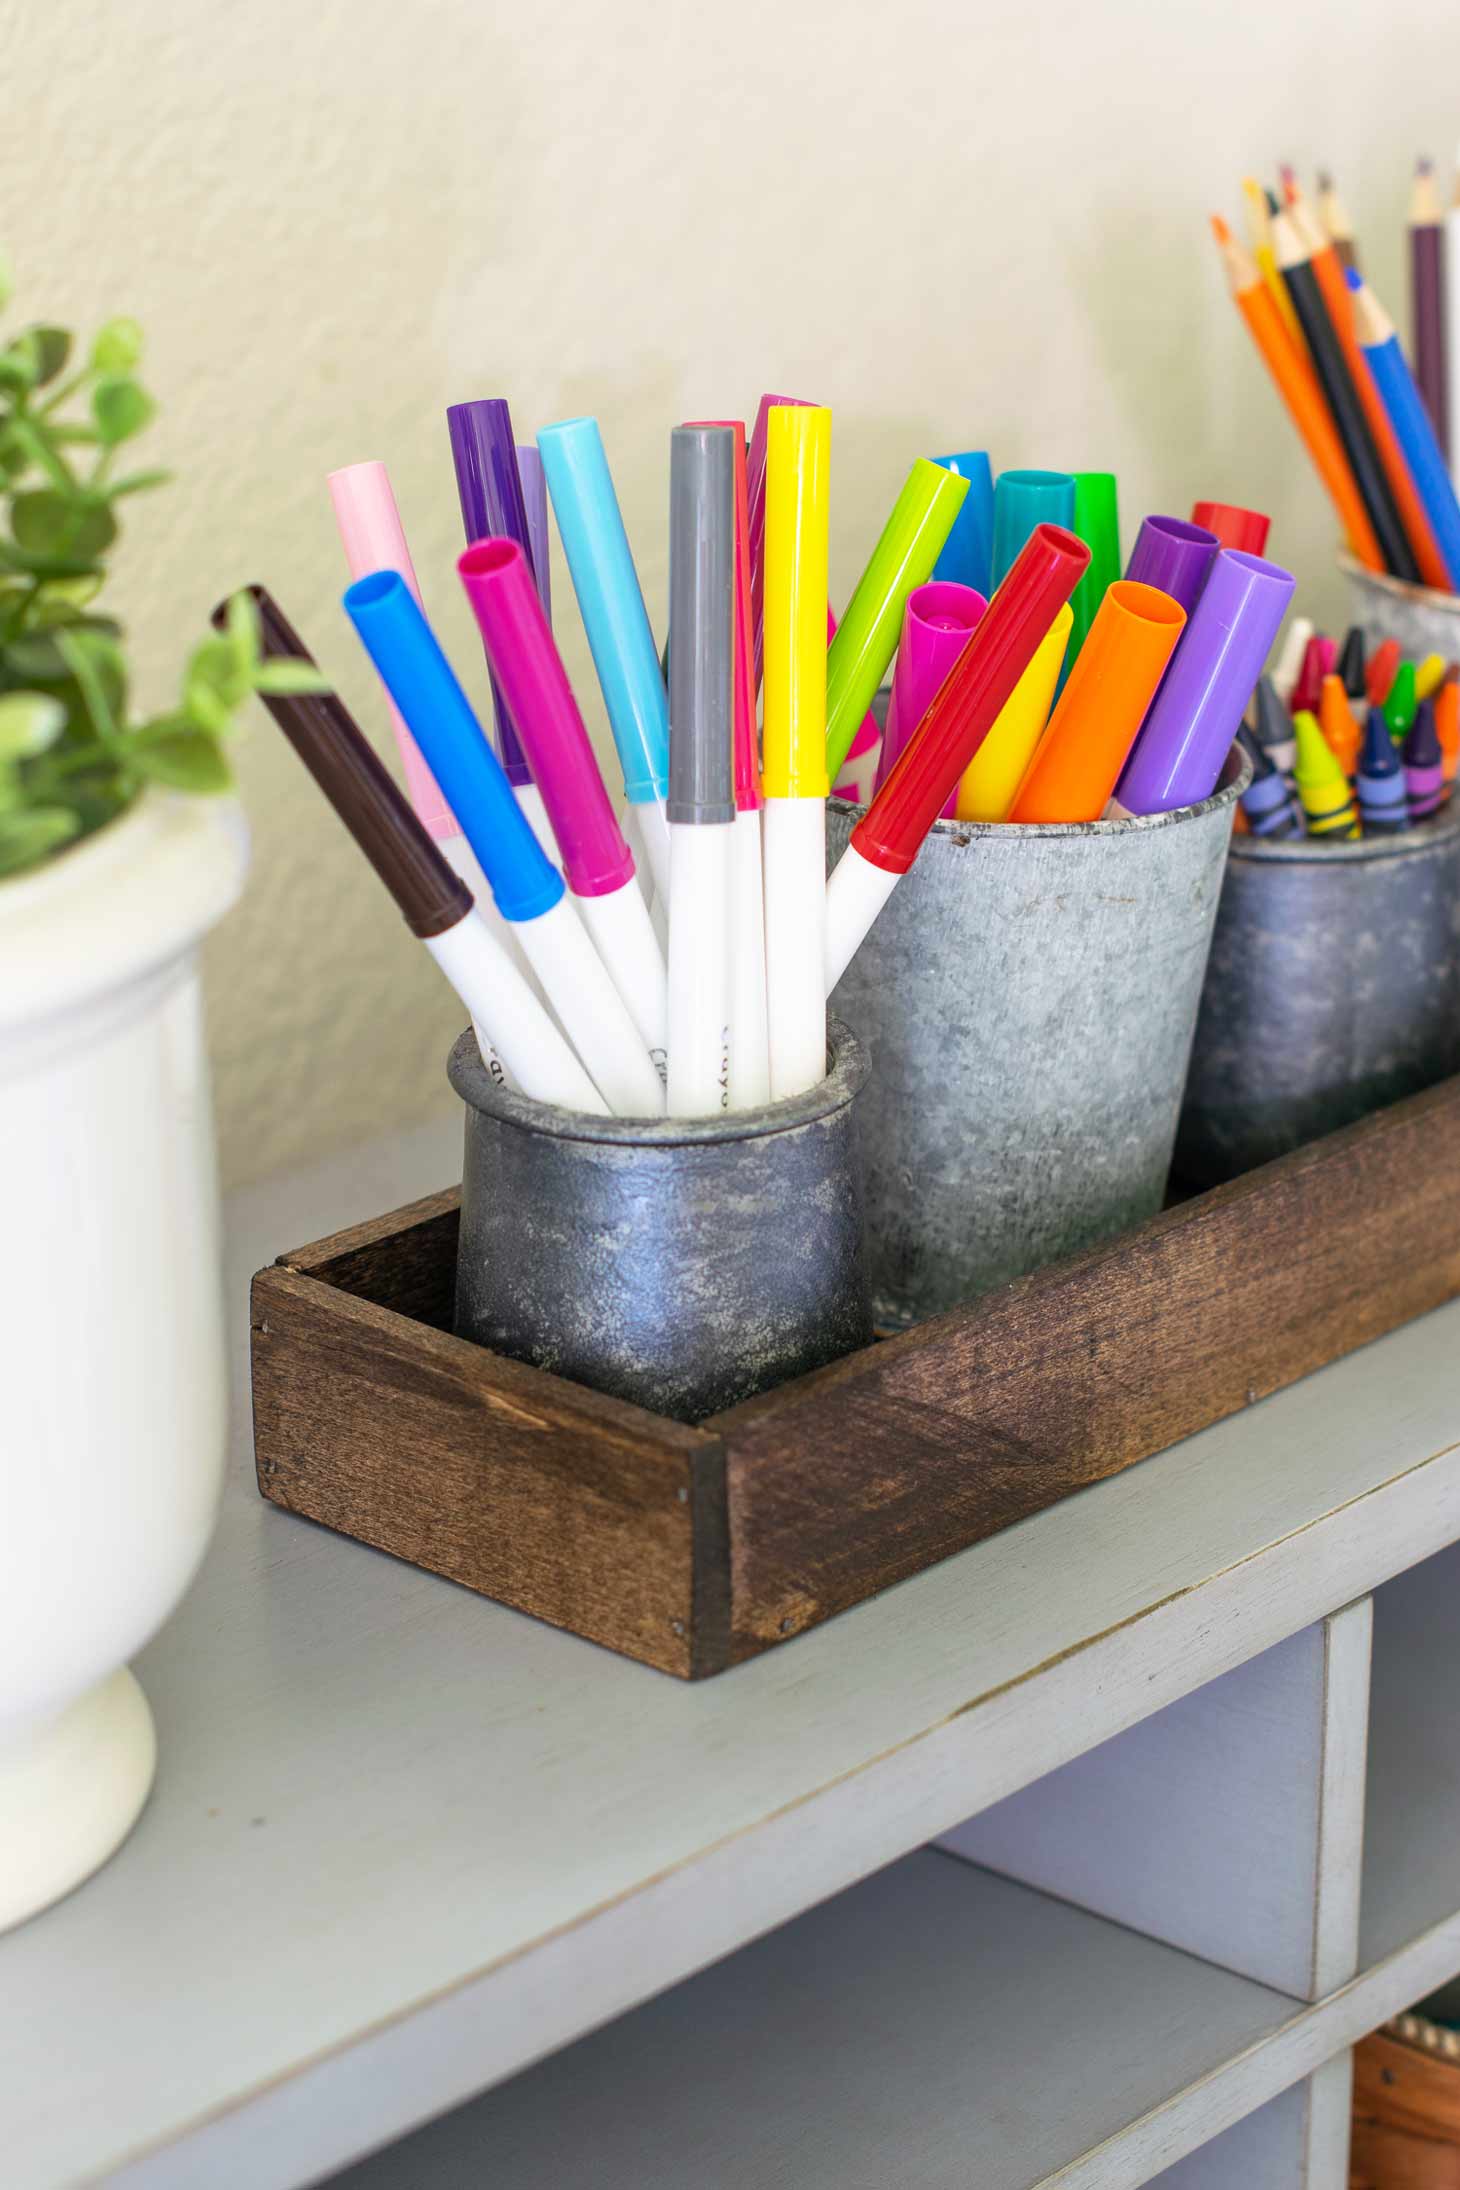
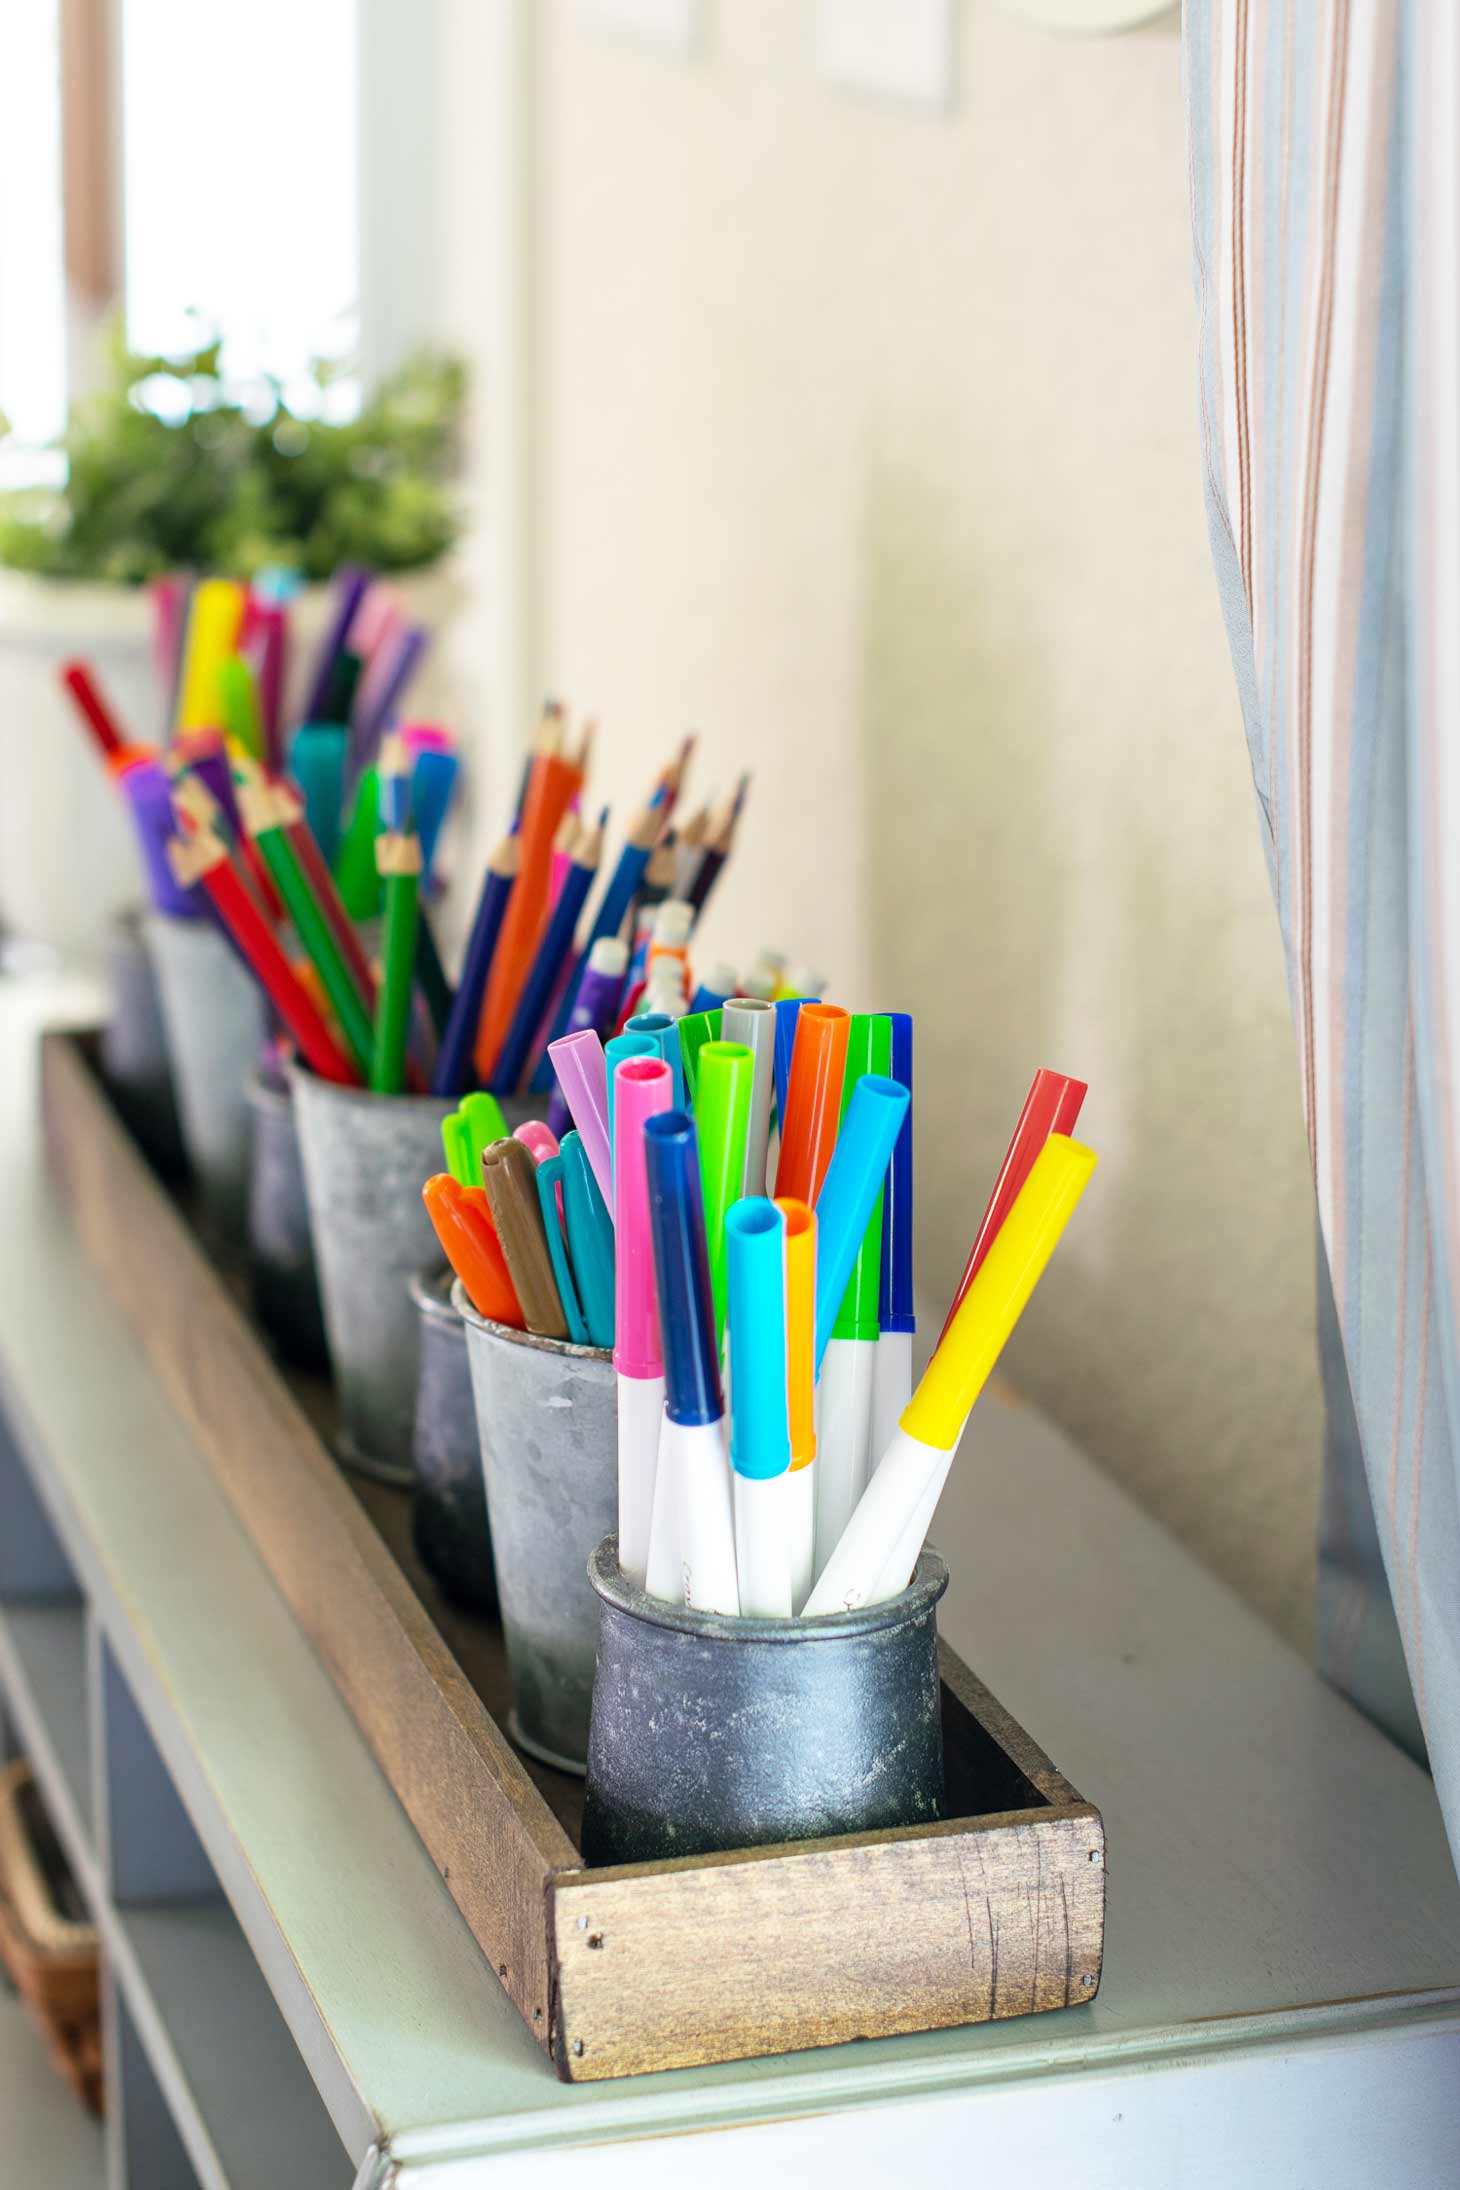
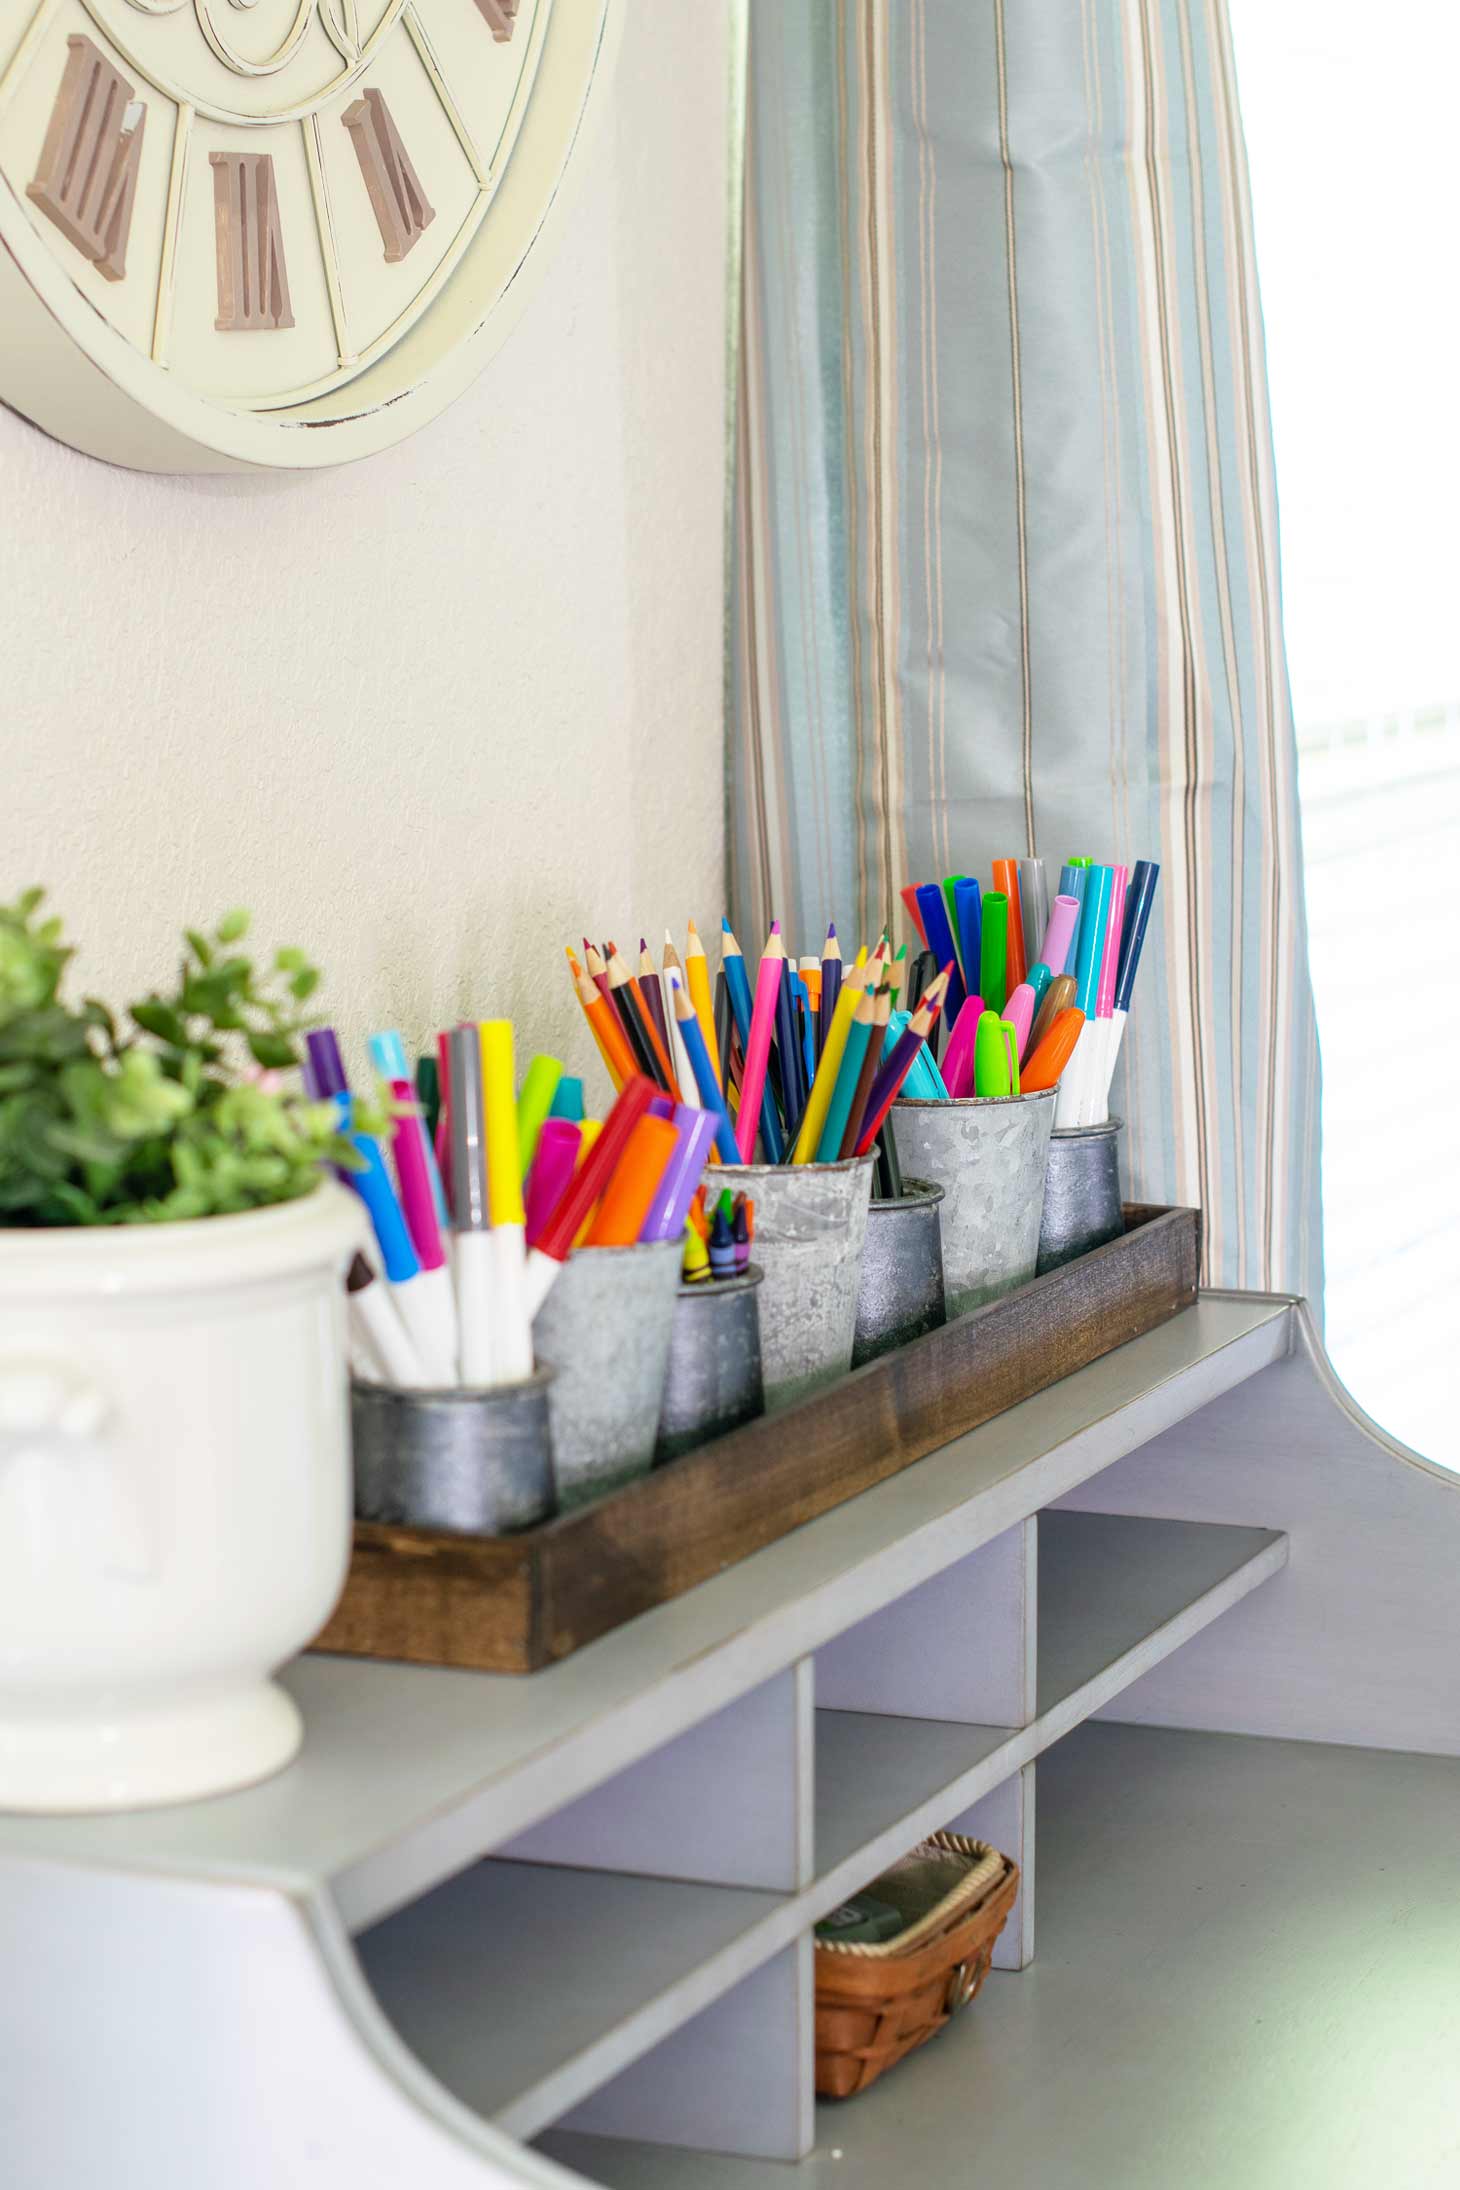
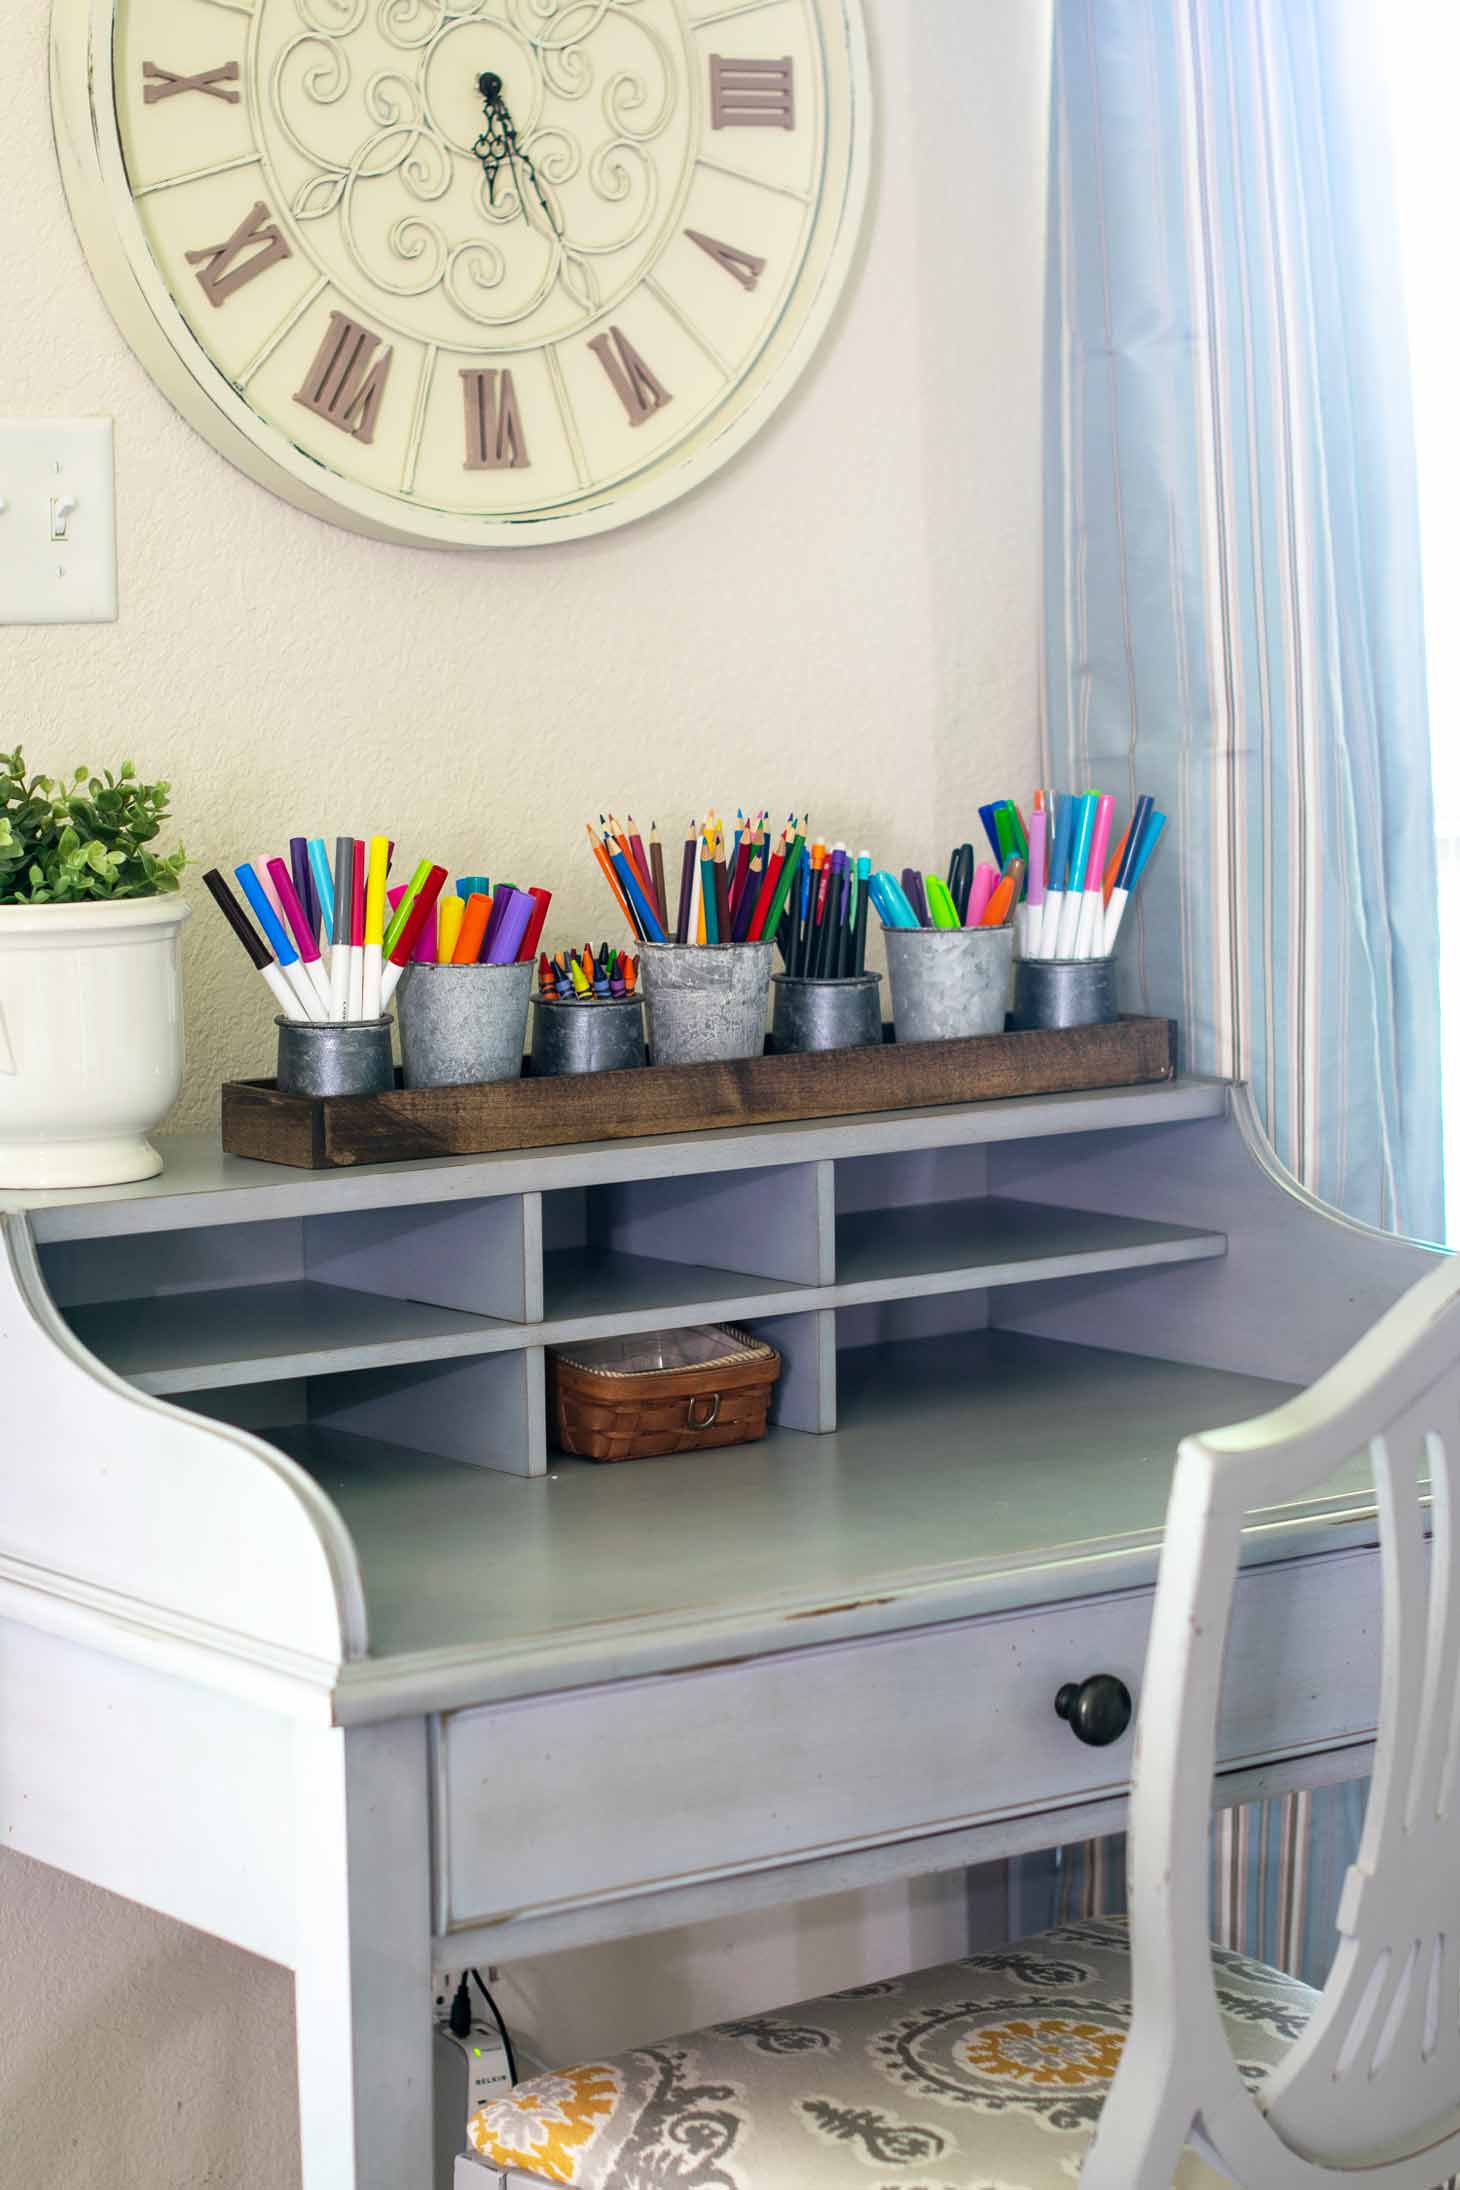
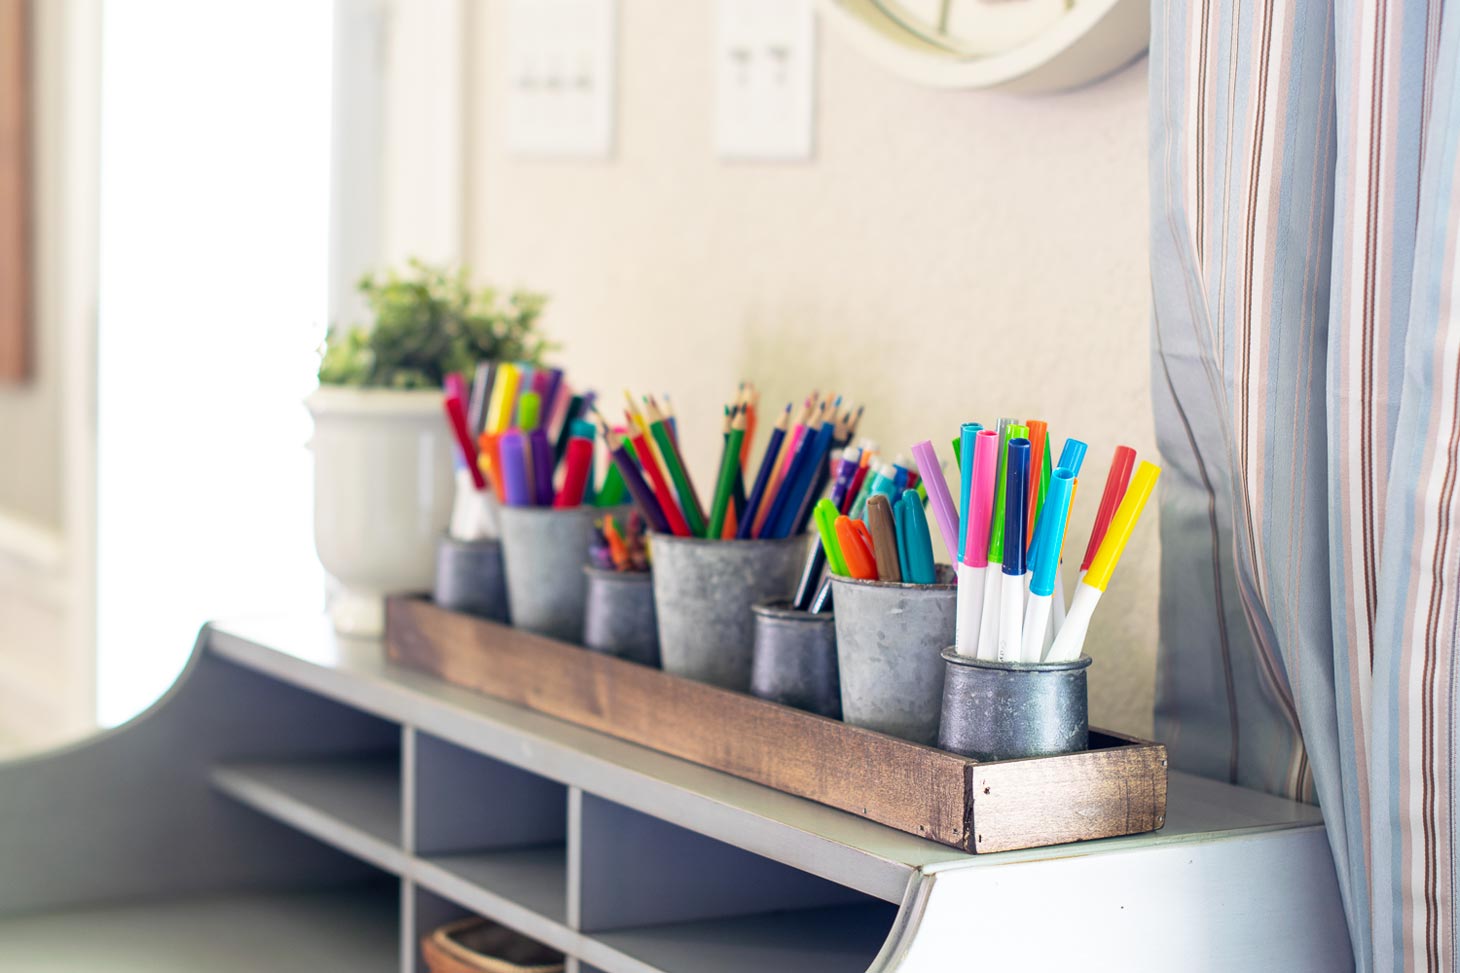
Looking for a way to keep all those school supplies organized? This easy DIY desk organizer will keep the markers, pencils and crayons within reach! It doubles as a cute farmhouse decor piece as well as a kids art caddy!
DIY Desk Organizer For School Supplies
This post is sponsored by Workman's Friend. All opinions are my own. This post also contains affiliate links. I only recommend products or services I use personally and believe would be a good fit for my readers. This comes at no added cost to you!
This past week I was totally overwhelmed. Overwhelmed with so many things. I had finally got my jet lag shrugged off and then we took a 1,000 + mile trip to drop my oldest at his University. That was physically and emotionally overwhelming. Then, it was off to the store for so.many.school.supplies. I was overwhelmed with stuff - markers, pencils, crayons, colored pencils. I needed something to keep them all in check. I just couldn't figure out where they were going to go. Since I knew I had more room on the desktop than the drawer, the idea for this desktop organizer was born.
I figured it would probably be much easier to have everything organized in the jars of the wooden tray then trying to shove them back into boxes or containers in the drawers. The actual building is deceptively simple. And the jars- the majority are those recycled Oui yogurt jars that I painted last fall. I used stock craft lumber, and only had to make a few minimal cuts. The hardest worker on the job- it's a "new to me" product I'd love to introduce you to.
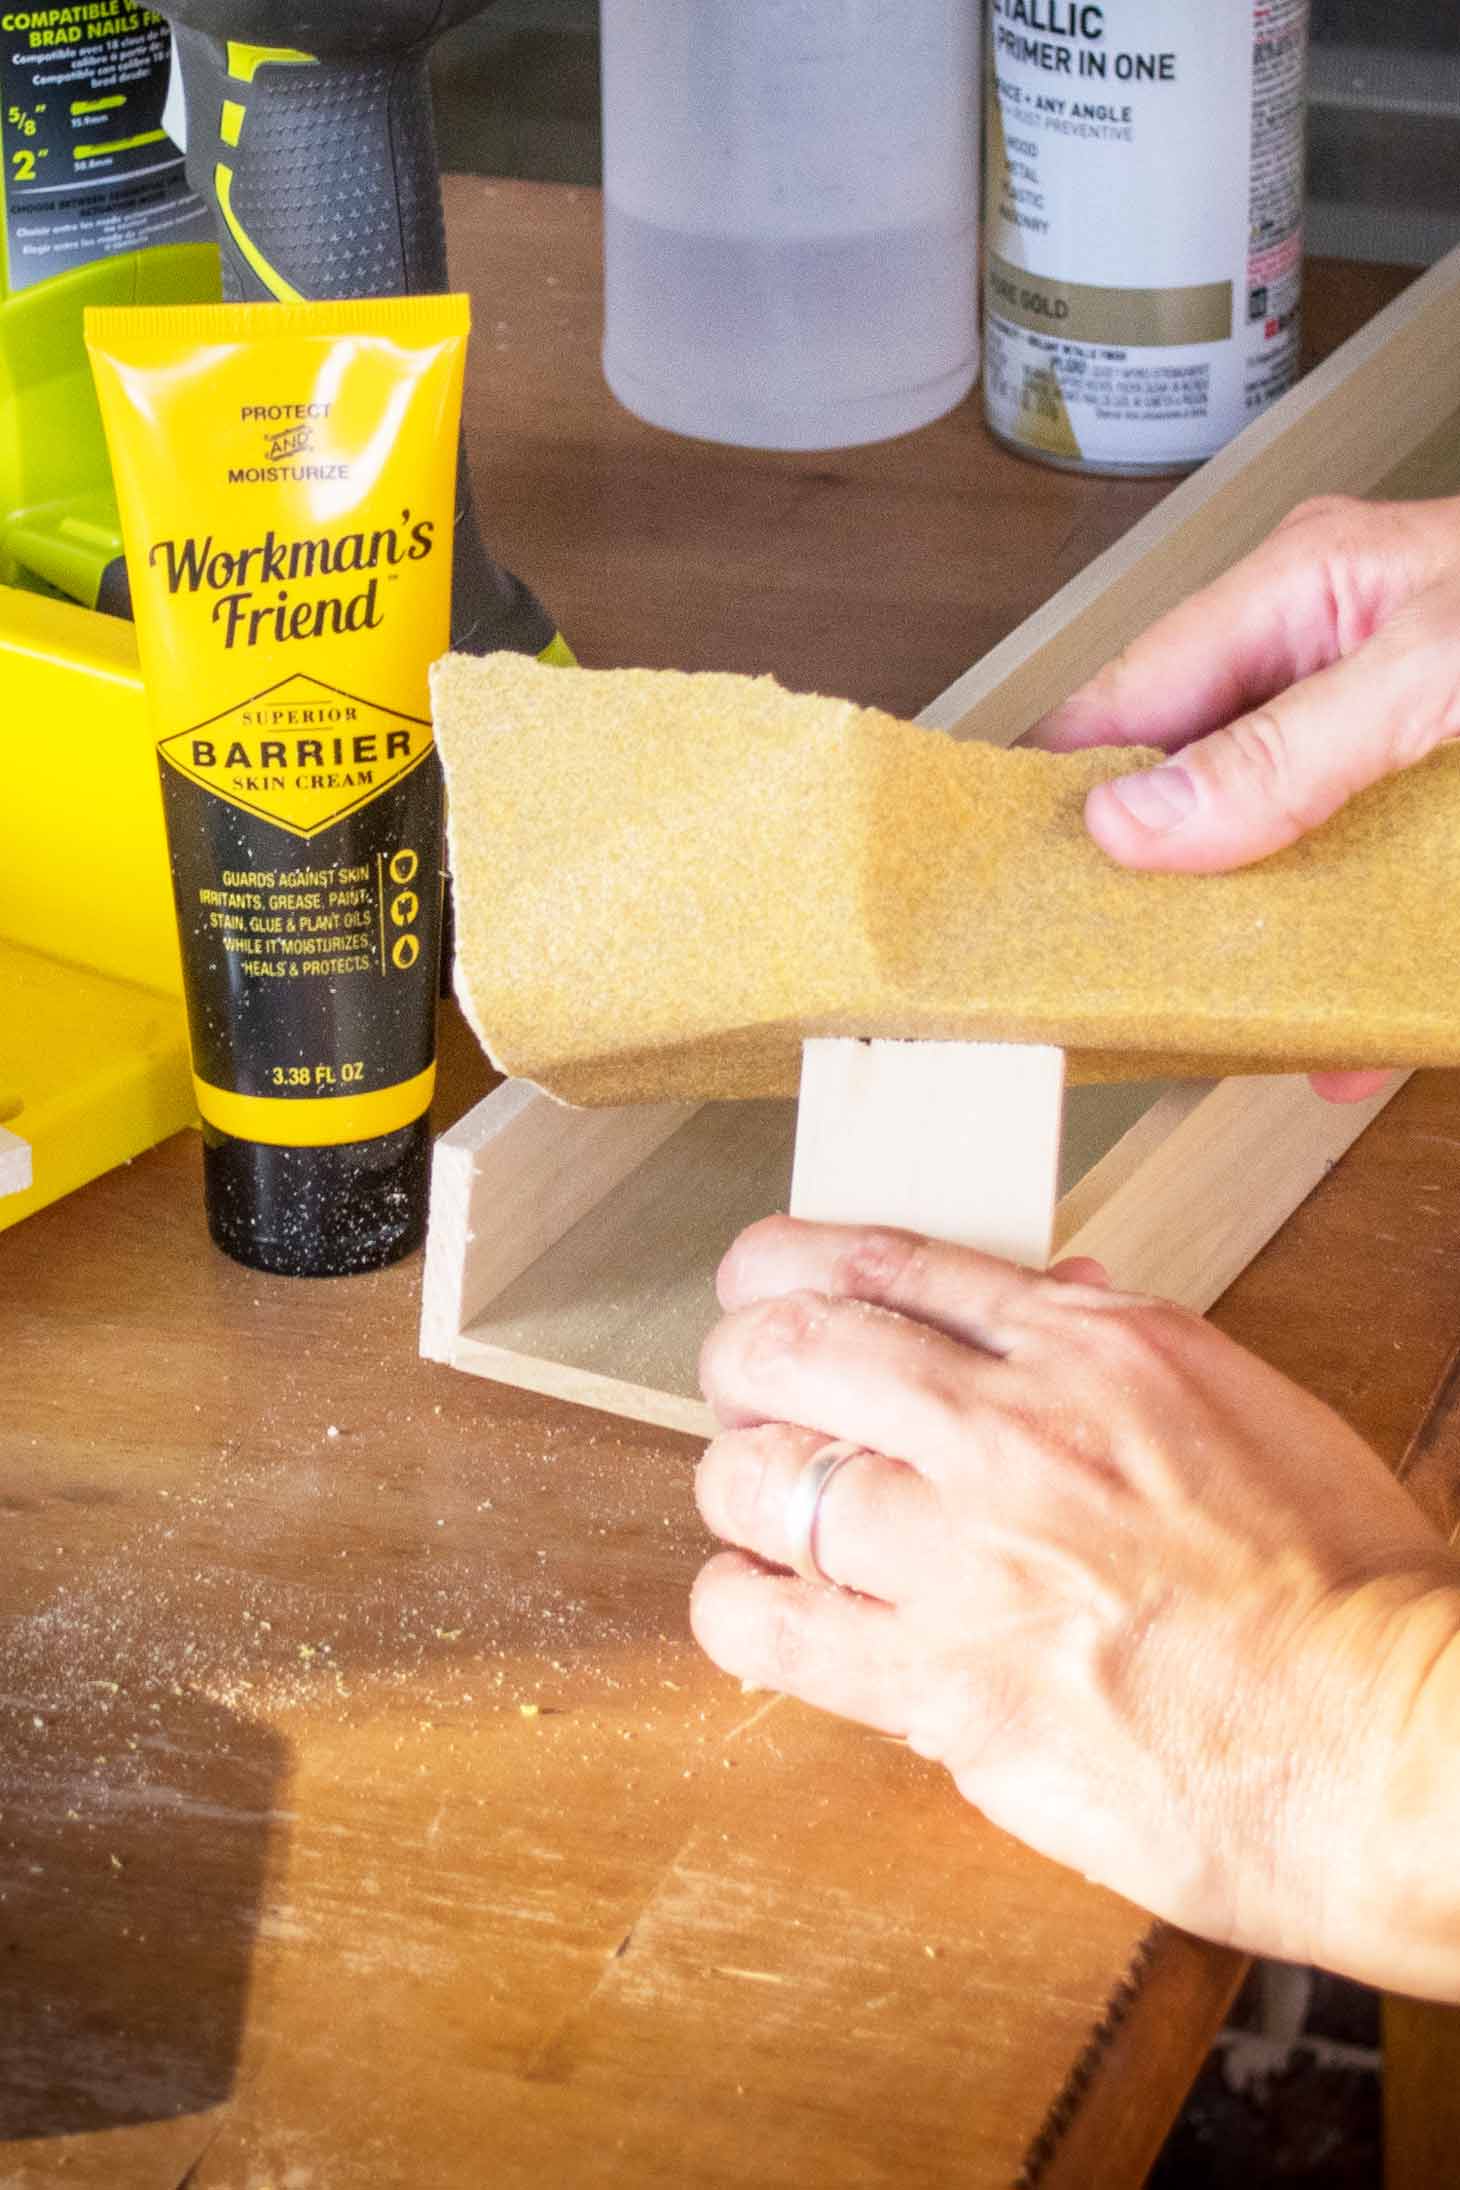
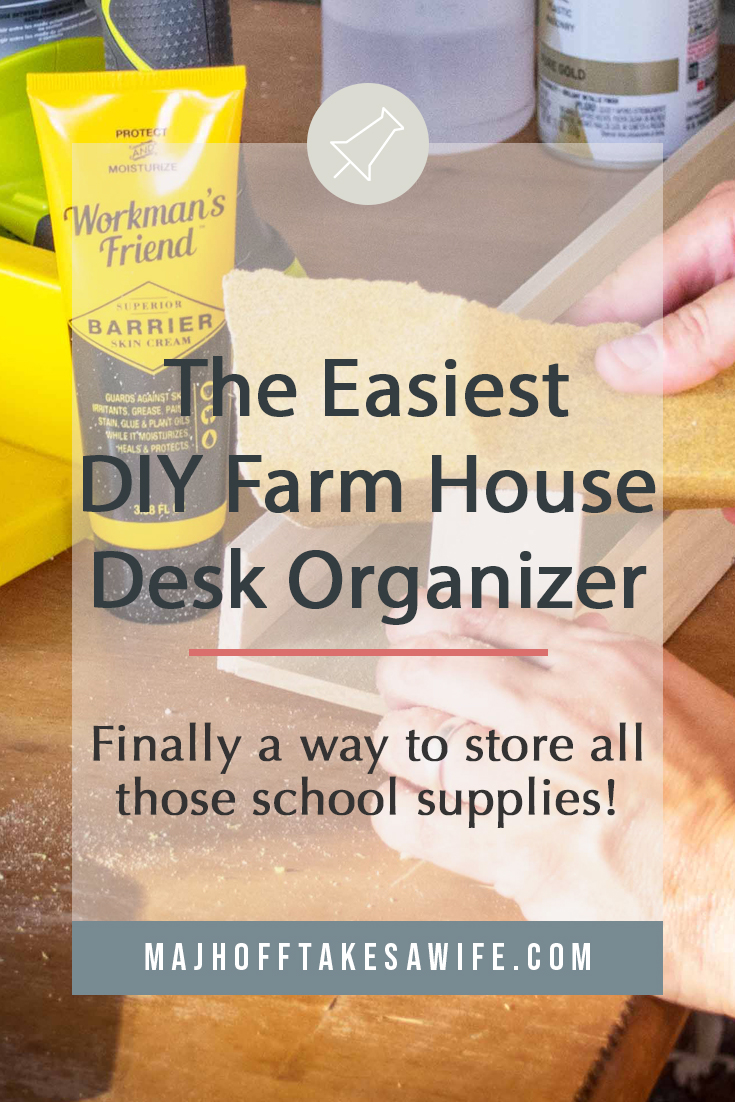
Have you ever used Workman's Friend Barrier Cream? I hadn't, but I knew my dad has when working on his classic automobiles. It makes getting car grease off your hands a breeze. I was excited to try it and was not disappointed. The first thing it did was keep all those little sawdust particles from sticking. That part alone sold me! I hate the way sawdust can linger and be itchy and irritating. I even went glove-less when I stained this piece and the stain on my fingers just rinsed off with soap and water. Be sure to read all the way below to see a great deal they are offering you, my special readers!
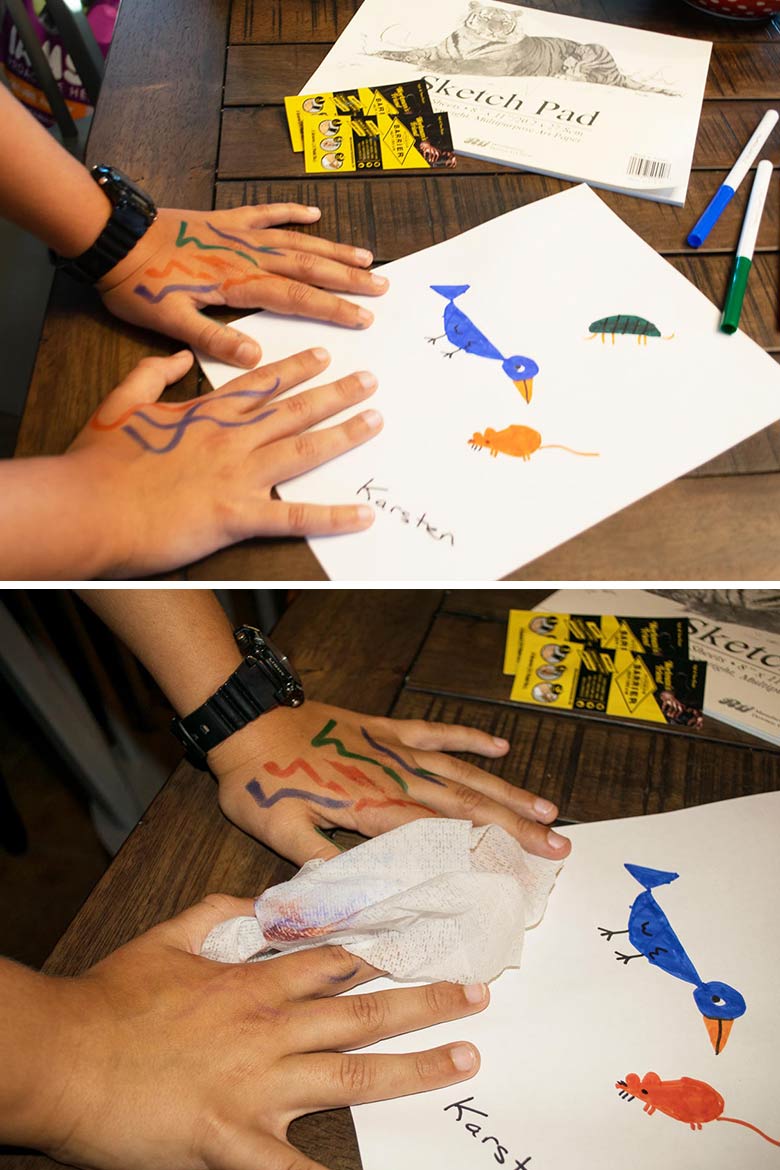
The main thing that impressed me the most though- was how it worked in an unexpected way! Since I was basically creating a kids art caddy, I decided to let my youngest draw away. No matter how neat he is, he always ends up with marks all over his hands. We put the Workman's Friend on his hands and to see how it worked, we scribbled all over his hands. It wiped off with a simple wipe. There was no scrubbing, no soap and water. It just wiped off, like a dry erase board! You can see the before and after here:
Now let's talk more about the desktop organizer I built!
It is easy easy easy peasy. If you are a beginner builder, it's perfect for you. It's pretty much just building a long and skinny tray. I wanted it to be rustic looking, so I wasn't too particular with precision.
To start with you'll need these basic supplies:
For the base: (1) ¼" inch x 4" inch x 24" inches craft wood
For the sides (3) ¼" inch x 2" inch x 24" inches craft wood
** I found them at my local hardware store.
These will also come in handy:
To make the Wooden Tray Desktop Organizer:
- Place one of the 1 inch x 24 inch pieces of wood up against the 3 inch wood piece (it should be lying flat). Use a brad nailer (I used my Ryobi airstrike), or a hammer and nails, and drive nails in.
- Repeat on the other side of the 3 inch wood piece.
- You've just created a U shape! I debated leaving it here, and not having to worry about cutting, but decided to go for the whole farm house tray style
- Line the last 1 inch strip of wood up against the U shape, and use a pencil to mark a cut line. Use a miter box to cut or use a miter saw- whatever you have handy. Secure with brad nails.
- Repeat with the opposite side
To finish the Desktop Tray Organizer:
- stain or paint with your favorite finish
- apply little pads or bits of felt to the underside to prevent scratches on surfaces
- place Oui jars, or other small jars like Mason jars inside to hold pens, pencils, and markers
- fill with all the things!
- Admire your handiwork!
So what do you think? A great project for the new school year? Are you intrigued by the Workman's Friend Barrier Skin Cream?
Not only does it work as a moisturizer, it protects! I love that it doesn't dry out my skin, and it's perfect for those messy projects like painting or yard work! The best part??? Right now they are offering you a BUY ONE GET ONE deal! How great is that! Simply purchase Workman's Friend on Amazon and use the code WFBUYONE for the deal. Be sure to put 2 in your cart!
I'm not the only one that is a fan of Workman's Friend - check out these fun, easy projects and see how simple it is to keep your hands soft and clean even when you are knee deep in:
Dirt - an easy terra cotta pot makeover that makes all the difference
Liquid Gilding - see how to make plain seashells stunning
Stain - take simple wood to simply chic
Spray Paint - how to make cheap plastic look perfectly precious</a
Be sure to pin the projects to your favorite back to school Pinterest board!
Thanks as always for stopping by!




Amy says
Love how this turned out. And isn’t it funny how kids — even Tweens — love drawing all over their hands. Whenever Jackson and I do a project, he gets so messy. Even more than he did when he was 3! Workman’s Friend for the win!
kim says
such a cute idea and i love how the cream helped with the markers, good for the whole family!
Kristy Robb says
So adorable Sara! And my kiddos can't seem to use markers without tattoo-ing themselves so I can't wait to use this cream on their hands too!
Deb Foglia says
I love the little marker organizer you made. I also think it's so neat that your dad uses workman's friend when working on his car, so cool that this product is so versatile for so many projects.
MrsMajHoff says
Thanks Deb! It's been a lifesaver this school year!
MrsMajHoff says
Haha, they sure do like to write all over themselves!
MrsMajHoff says
Thanks Kim!
MrsMajHoff says
So funny! K came home covered yesterday! I need to pack it in his backpack!