This post and photos may contain Amazon or other affiliate links. If you purchase something through any link, I may receive a small commission at no extra charge to you. Any supplies used may be given to me free of charge, however, all projects and opinions are my own.

I love a custom piece, don’t you? Monograms are all the rage here in the South, and when I was selling on Etsy, people couldn’t get enough of custom items. We love products with added meaning to them—and what more meaning could you add then with your name, a special place, or a favorite phase. I’ve priced custom artwork and although it’s gorgeous and amazing, it’s out of my price range. I needed a big piece to make a statement on a wall in one of the boy’s room. I’ve had so many comments and remarks made by my local friends that I decided to share the process with you, so that you too can make some amazing artwork!
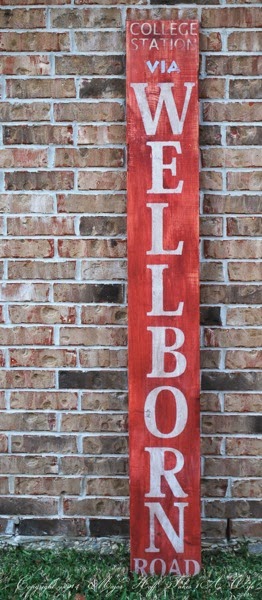
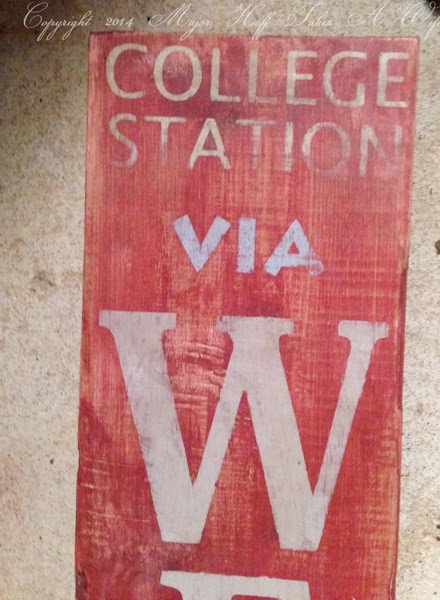
The sign I made states our town, and a major road that leads to one of our most famous landmarks of the town (maybe you’ve heard of Texas A&M University?). I picked up the wood fairly inexpensively. It was under $10 and was about 6 feet tall and a little over 9 inches wide. I believe it was in the “white wood” section at the Home Depot. I knew I wanted the sign to look vintage and worn, so I picked a board I wouldn’t normally pick if I was building. I picked a board that had some crushed areas, some wormy holes, and a bunch of scrapes. I laid it out on some painting triangles on my back porch.
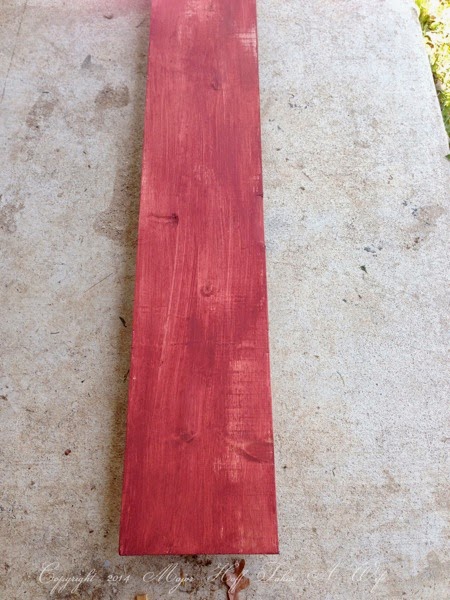
I used some Annie sloan paint I had on hand, because it was the closest color to maroon I had. I took a little of the paint and placed it in a small cup and added a tiny bit of water to thin it out a bit. I then brushed it thinly on the wood. I wanted spots on the wood to come through, and to have the paint act more of a wash than a paint. I didn’t care that brush marks were visible.
While the paint wash was drying, I went inside and got to work on my Cricut.
(****Affiliate Disclosure: I am grateful to be of service and bring you content free of charge. In order to do this, please note that when you click links and purchase items, in most (not all) cases I will receive a referral commission. Your support in purchasing through these links enables me to keep my projects and blog running while providing you with free ideas and content. Thank you!*****)
You don’t have to have a Cricut for this project (you could make your own stencils by printing out and cutting, but I like fast and easy!). The new software for the Cricut makes it so so so easy to make anything custom that you can imagine. You can use designs you have made, or make one using the available fonts or designs. I did a bit of math before I cut anything. I knew I wanted “College Station” at the top and figured about how tall I wanted it. I also figured out the font and size I wanted “VIA”. I also did the same part with “ROAD”. The tricky part was figuring out how much the board had left, and then dividing that amount by 8 knowing that WELLBORN has 8 letters. Of course it was some crazy odd number, and so I rounded down knowing I wanted spaces between the letters. I made sure the letters were locked proportionately and all were the same size overall. Once I had them all laid out, I let the machine do it’s job for me. I wasn’t really using the letters, but the “stencil” the letters left behind.
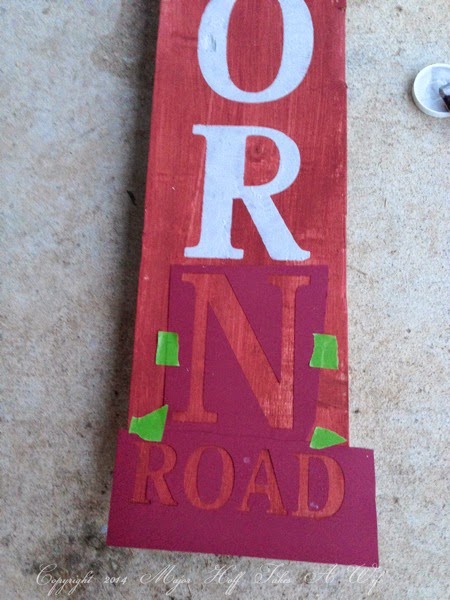
One at a time I laid them down and arranged, I secured with spray adhesive and frog tape. I also made sure that I didn’t have a stencil overlap an area I was going to paint. For painting this area, I used a foam brush that I merely pounced up and down. If you swipe like you do with a brush, you will have paint bleed underneath the stencil. With stencils it is always best to pounce. After each stencil was done, I removed it. I wanted to make sure no paint had bleed, and if some did I simply wiped that area up with a damp paper towel. Once the paint was dry, it looked like this:
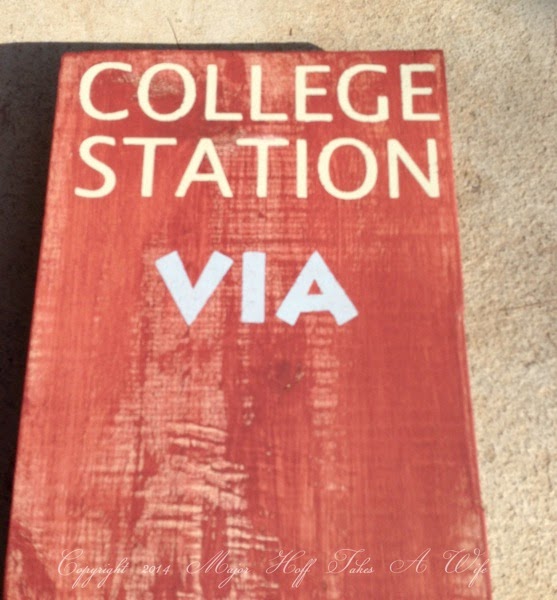
You can tell here that the paint covered the “paint wash” well and is pretty solid. I wanted the whole thing to look worn, so I grabbed different grades of sand paper and started sanding. A little bit goes a long way, as you can see in the after picture of the same area:
After everything was sanded, and just how I liked it, I covered the sign with Americana Decor creme wax. I choose this wax for a reason. Most of the lines of wax leave below a coat on top (which is great-an excellent barrier). I added dark wax in areas that were banged up or had worm holes to add a bit of depth. The AD creme wax is more of a liquid that gets absorbed. It takes away the roughness of the wood, but doesn’t seem to add a “layer” on top of it. It was perfect for this project. Here is how it looks all completed:
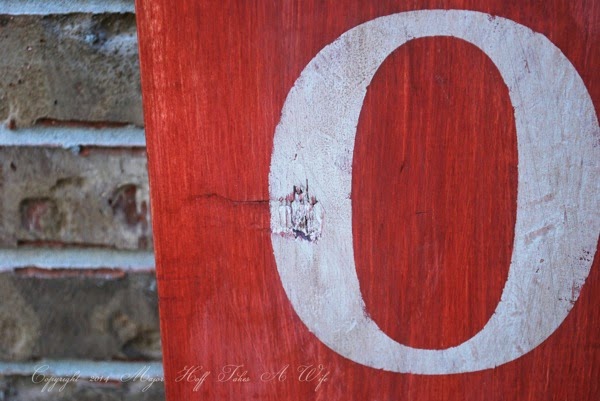
The wood that was damaged really added to the rustic worn look.
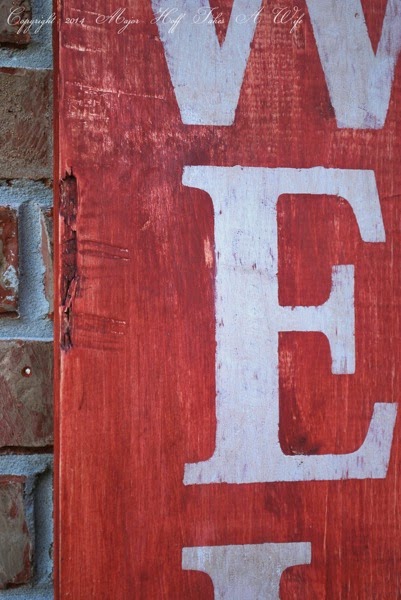
I’m so glad this board was beat up to begin with! I also love how the wash left some wood and most of the grain visible.
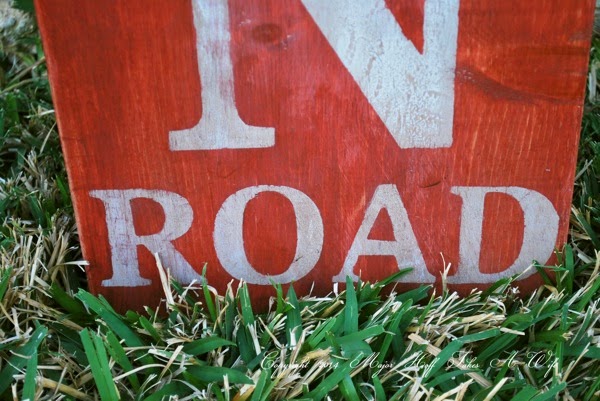

What do you think? Are you going to make one? Be sure and share it with me, I’d love to see!
Do you like this project? Are you looking for more fun projects? Be sure to check out these crafty projects:

Want to be kept in the loop? Make sure you don’t miss a thing by following me on social media! I’d love to see what you have been up to! Let’s follow one another!




ashley @ my craftily ever after says
I am such a sucker for aged wooden signs! Seriously I could probably wallpaper my house in them. This one is fantastic!