This post and photos may contain Amazon or other affiliate links. If you purchase something through any link, I may receive a small commission at no extra charge to you. Any supplies used may be given to me free of charge, however, all projects and opinions are my own.
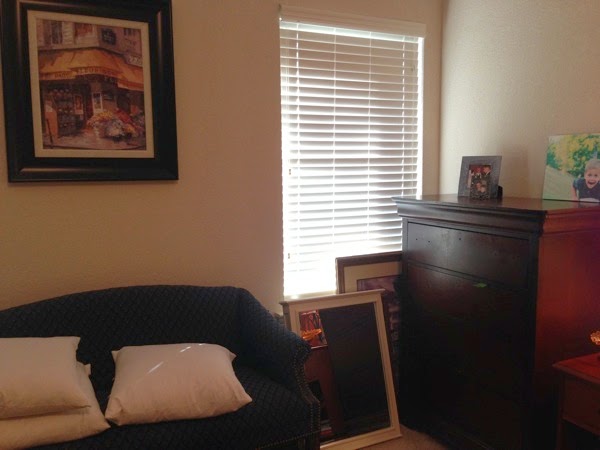
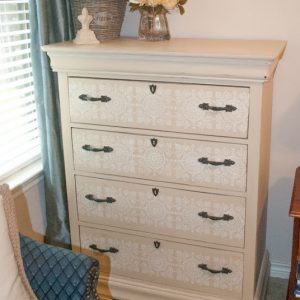
From this:
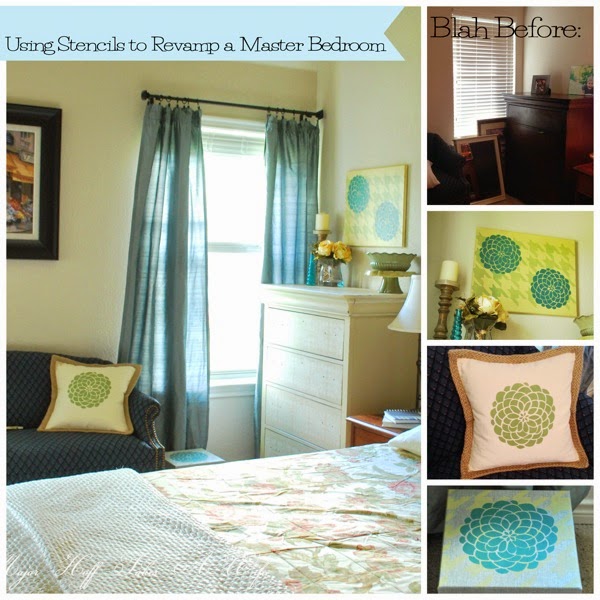
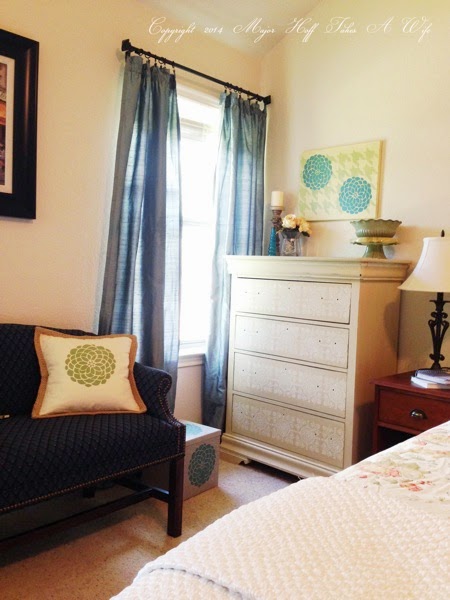
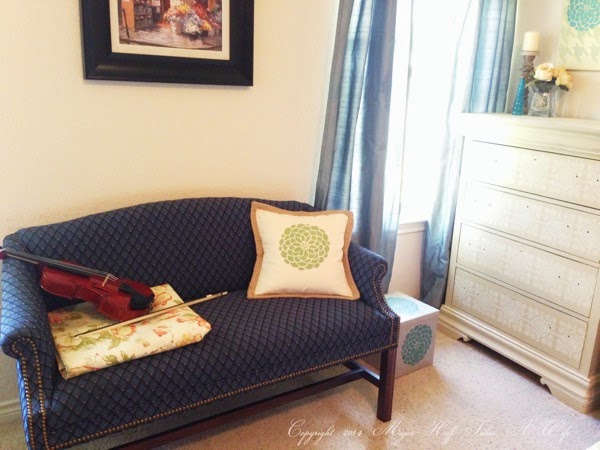
To This:
I’m so excited to share this with you guys today! I did a mini master bedroom makeover this weekend and it was so easy! I think it looks pretty dramatic?!!! Quite the change, huh?!!! I’ll admit, my master bedroom was looking a bit “hoarder-ish”. My husband was a bit antsy about the whole thing. But I didn’t want to spend a lot of money, and I didn’t want it to be a long involved project. It turned out to be one of the fastest projects ever for me. I couldn’t believe how easy it was to put together. I simply used things I had, along with 3 blank items: a jute braided pillow, a standard box with lid from Target, and a blank white canvas. I embellished all of these items using Tulip For Your Home products. I was able to get all the materials I needed at our local Hobby Lobby. I am totally, unequivocally, madly, deeply in LOVE with this line. I’ve tried fabric paints before, and they were clumpy and hard to the touch. These— wow! They are so soft, they don’t feel raised or out of place on the fabric. Let me show you exactly how I made these 3 items!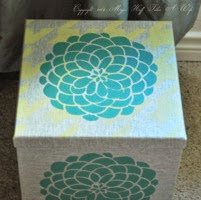
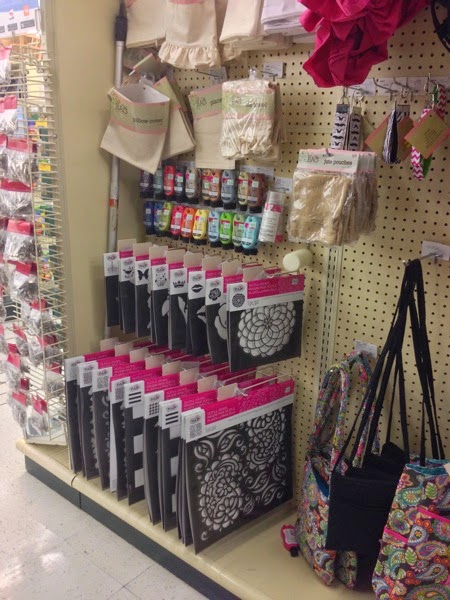
First, as I said before, I headed for my local Hobby Lobby. Starbucks in hand. Nothing like a bit of coffee with some craft shopping! Hobby Lobby carries the entire line, and some JoAnn Fabric’s carry them as well. I found mine over by the blank aisle (blank bags, onesies, etc). It looked like this:
Stencil heaven people! The hardest part was figuring out which ones I wanted to use. They had stripes, paisley’s, chevrons, florals and animal prints. Everything under the sun. You can see all the paints in the picture. All the colors of the rainbow my friends! I could have brought them all home! I could spend my day at Hobby Lobby just looking at these, sipping my coffee, daydreaming about projects, full of glee for the boys being back in school!
Alas, I had to go home! But not before I stocked up with a large 14 x 14 stencil and an 8x8 stencil. I also grabbed the foam roller brush and the stencil spray.
READY TO GET MY CRAFT ON!
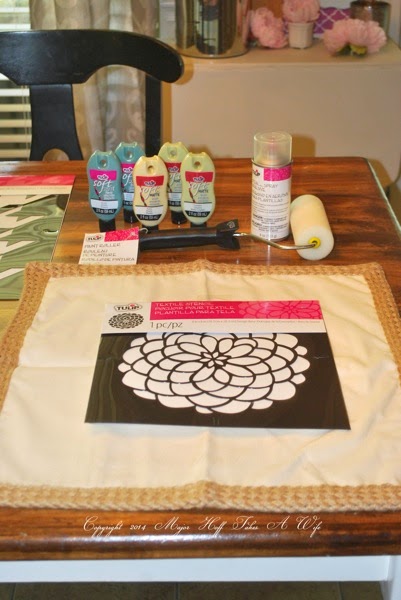
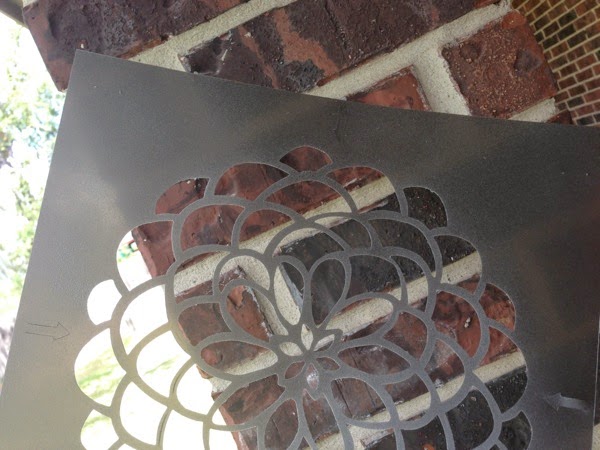
1. The first thing I did after choosing which medium I was using (the twine braided pillow case) was pick a stencil and spray it with the stencil spray. This stencil spray is the bomb y’all. It’s tacky but not overly sticky. I sprayed the stencil outside and you can see where it leaves just a bit of haze. I then set it aside for about 10 minutes to let it dry.
Right before you use it, place the stencil on an old tea towel (or the t-shirt you are wearing, or the pj’s you are still in if you are me). I do this to take the first initial sticky off. The stencil is reposition able so it will last several sticks before you have to spray it again.
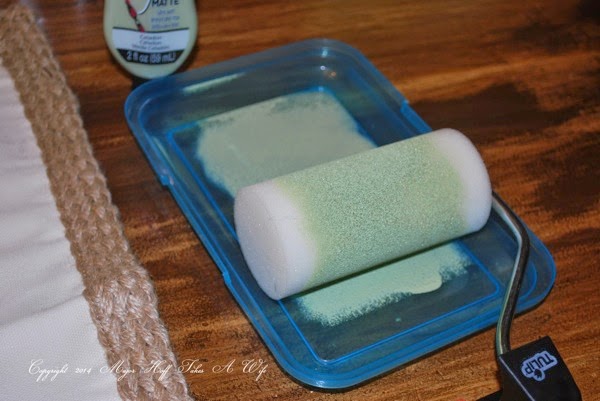
2. Place your stencil on the pillowcase you are using. Use the arrows along the side to find the middle (don’t punch those arrow holes out!). Press down firmly, but gently when you are sure you have it where you want it. Remember if you make a mistake that it is totally repositionable! Next, load up your stencil brush (you can use a sponge dabber in a pinch, but the roller saves you so much time and energy!). I used an old plastic lid to spread my paint out and to get a nice even amount on the foam roller. If you are worried you have too much paint on it, you can transfer some from the roller onto a paper plate or paper towels.
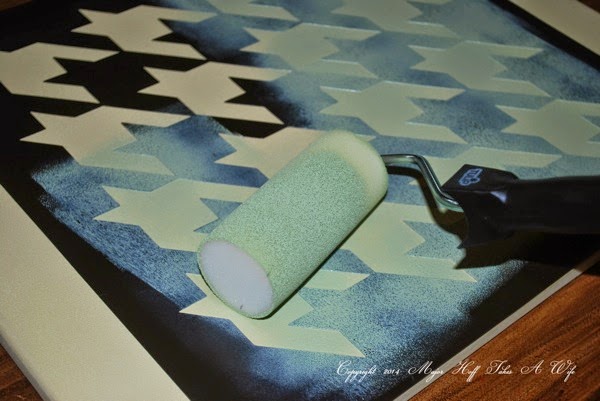
3. Using an even motion, gently move the roller back and forth to transfer the paint onto the pillow case. Be gentle, and don’t press down hard. If you press down too hard some of the paint might seep under the stencil edges. It is better to do 2 passes than to have a not so perfect project.
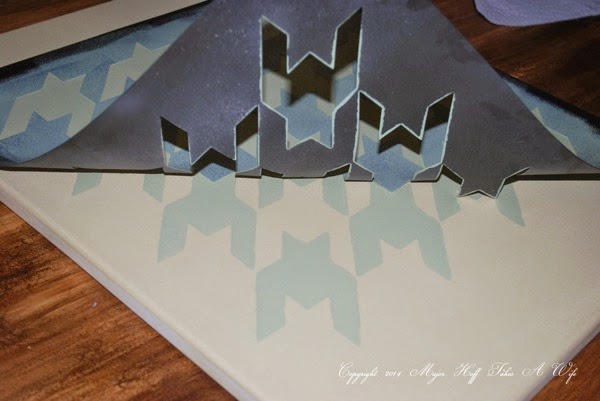
4. Once you are done with the paint, very carefully grasp one of the corners. Make sure your hands are free of paint first!!!! Then, moving at an angle, lift the stencil off. Take in that awesome feeling that you get when your stencil is revealed. It’s awesome, huh? Pat yourself on the back.
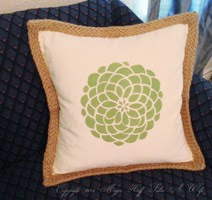
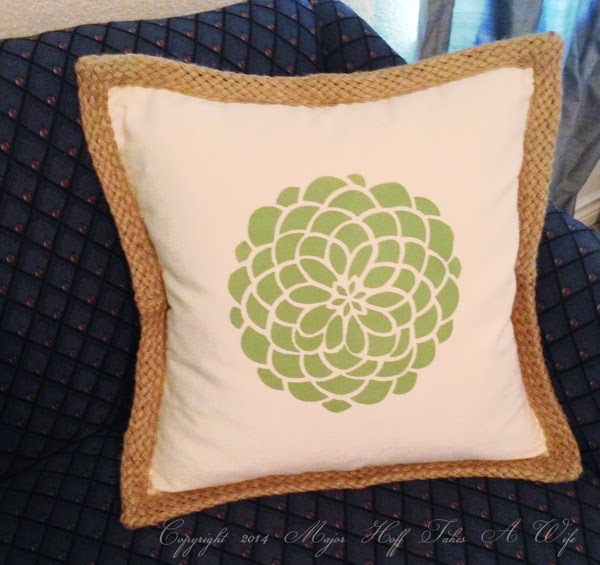
The finished pillow was so easy. I loved how crisp the lines of the flower are.
My pillow now looks like it belongs in a high end boutique!
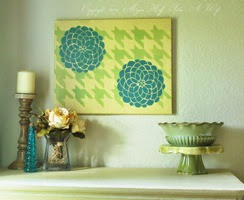
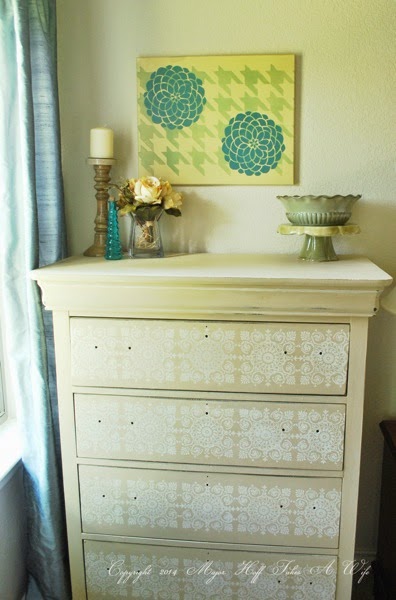
The artwork above the dresser was so easy. I painted a blank white canvas with the Putty color (using the roller and no stencil). After it dried I used the houndstooth stencil with Celadon paint. After that dried I used Ocean paint with the floral stencil twice. I think I spent more time waiting for paint to dry then for the whole project work wise!
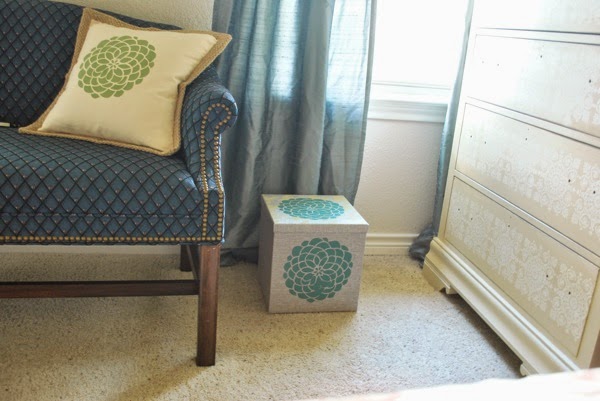
The storage cube I used the ocean with the floral stencil on the side and top, with the houndstooth (putty) underneath the flower on the lid.
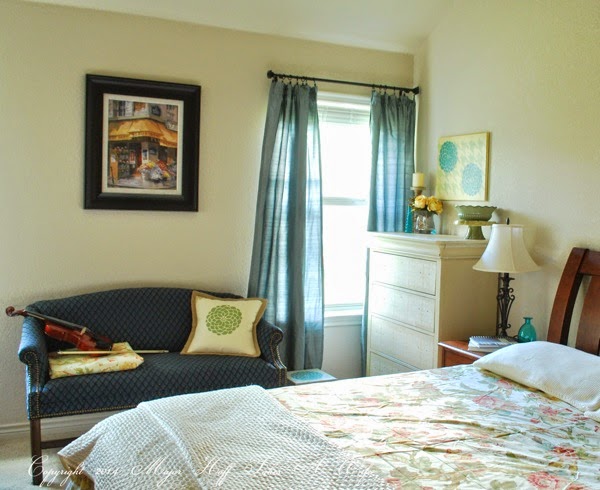
Using these basic supplies, along with thrifted curtains and accessories I already own, I totally revamped my space.
What do you think? My boys use this corner to practice their violas and violins. I think they are much happier to be in a brighter more cheerful space! I think what amazed me the most was the short amount of time it took to make these personalized matching items. I will be using them again in the future for sure!
Love these projects? Wanna see more? There is plenty more where that came from—check out I LOVE TO CREATE (the awesome force behind Tulip For The Home and many more)!
Click here to follow them on social media:
FACEBOOK
TWITTER
PINTEREST
Wanna check out the other awesome projects other bloggers have made? Stop by everyday to see new additions! See the list here:




Miss Kitty says
Thanks for sharing how easy this stencil project was! I think it stencils are so much better than they used to be when my friends and I were stenciling borders around the tops of rooms in the 1980's...and the paint and tools look better too, like that little roller. Your projects totally brighten up that area and your funny comments about crafting brighten up mine!
Emily Thompson says
love love love that stencil!! It worked well so many places!! pinned this! love your bedroom!
MrsMajor Hoff says
Thanks so much Emily!
Stephanie Paxman says
I love how you added all these splashes of color without breaking the bank!
inkhappi says
What a great improvement to this room. I love the dresser and canvas!
Mabey She Made It says
I like how you used the stencil on several levels.
Laura - Eye Candy Creative Studio says
this look like so much fun. Love the colors you picked!
Jane@Cottage at the Crossroads says
Ha! I had to laugh at Miss Kitty's comment! We are probably about the same age because I remember stenciling designs around the top of walls in the early 80s, too. Wish we had had that stencil spray back then! Love your projects here and I will have to try those fabric paints, too!
Albion says
I love your transformation! It looks great!
Tracey Hilborn says
What a difference some stencils can make. You did a great job!
Lindsay Fekitoa says
I love these! How creative