This post and photos may contain Amazon or other affiliate links. If you purchase something through any link, I may receive a small commission at no extra charge to you. Any supplies used may be given to me free of charge, however, all projects and opinions are my own.
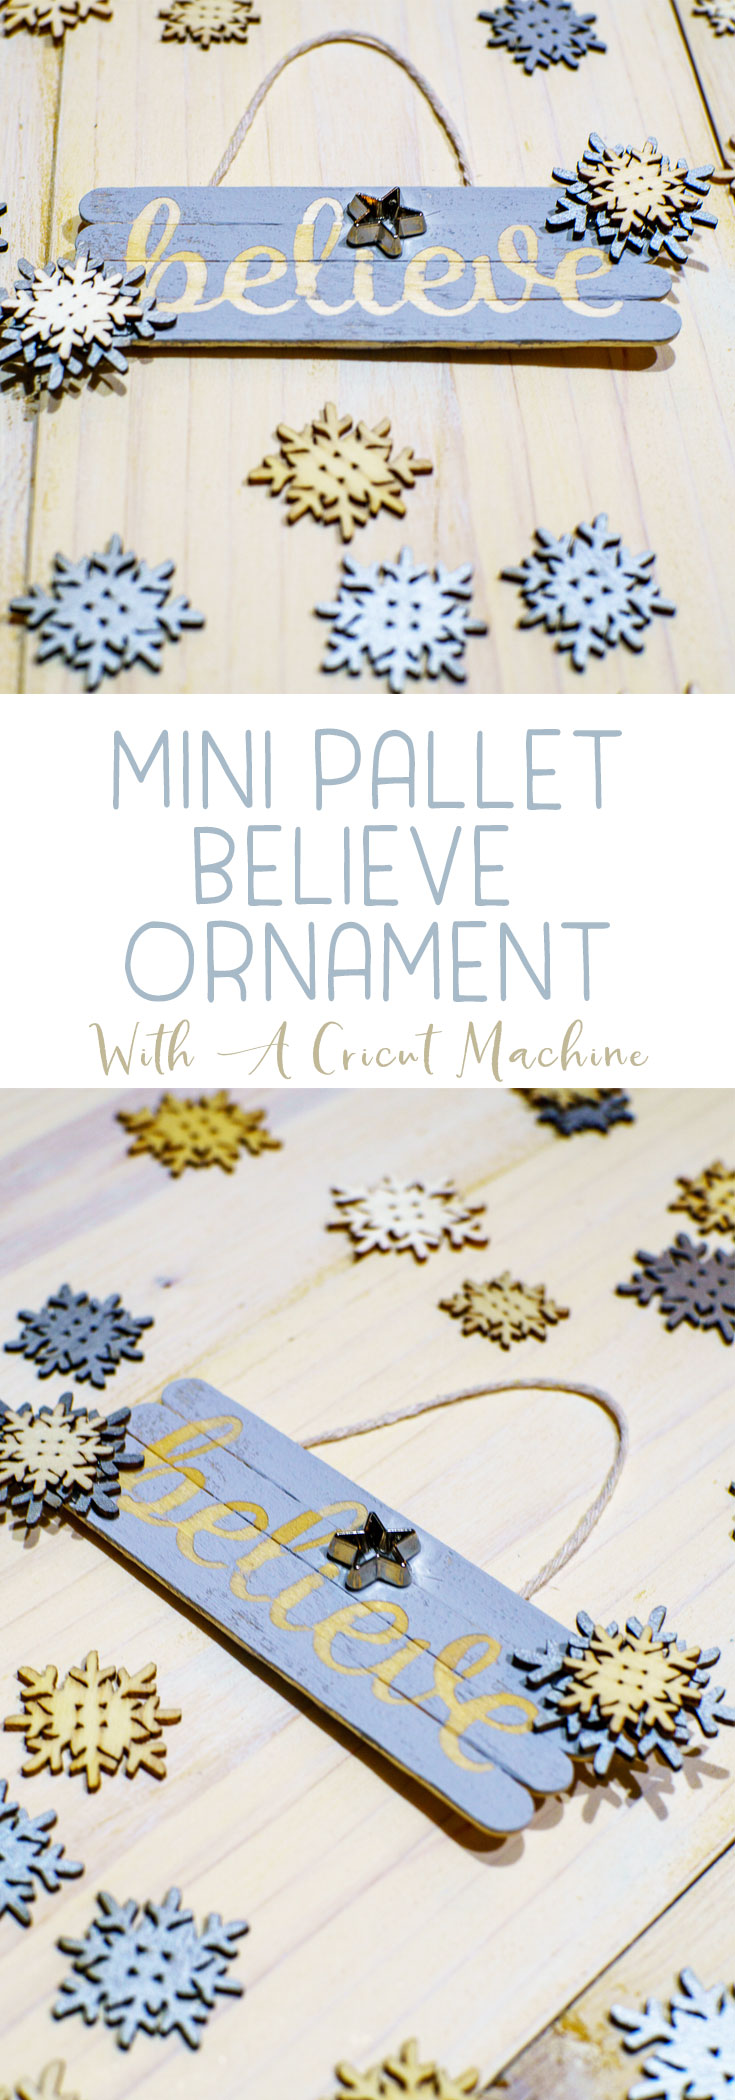
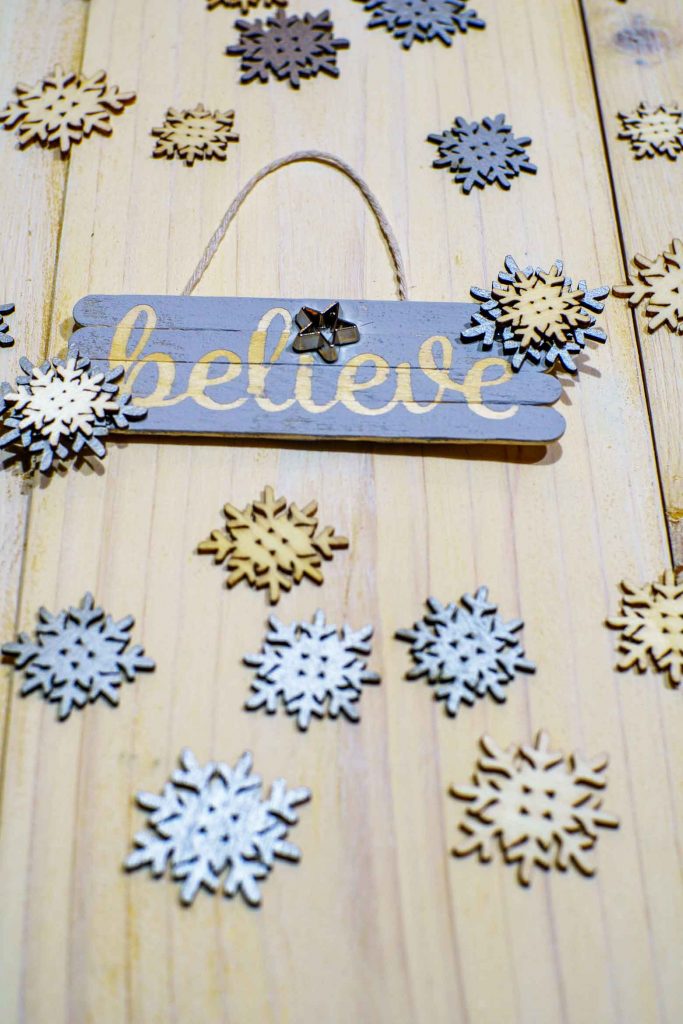
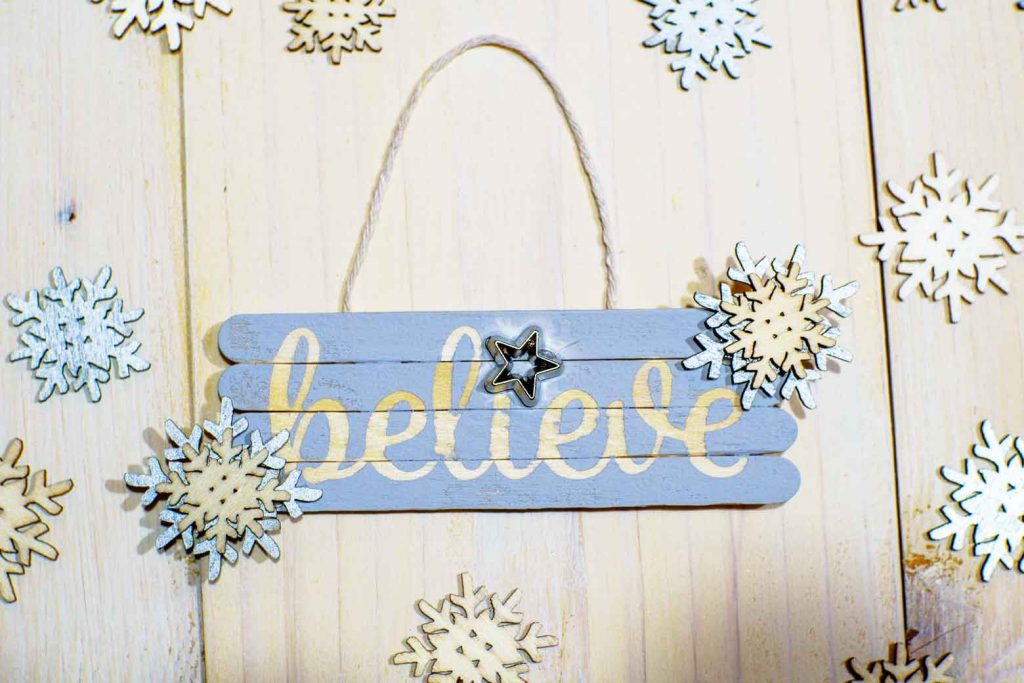
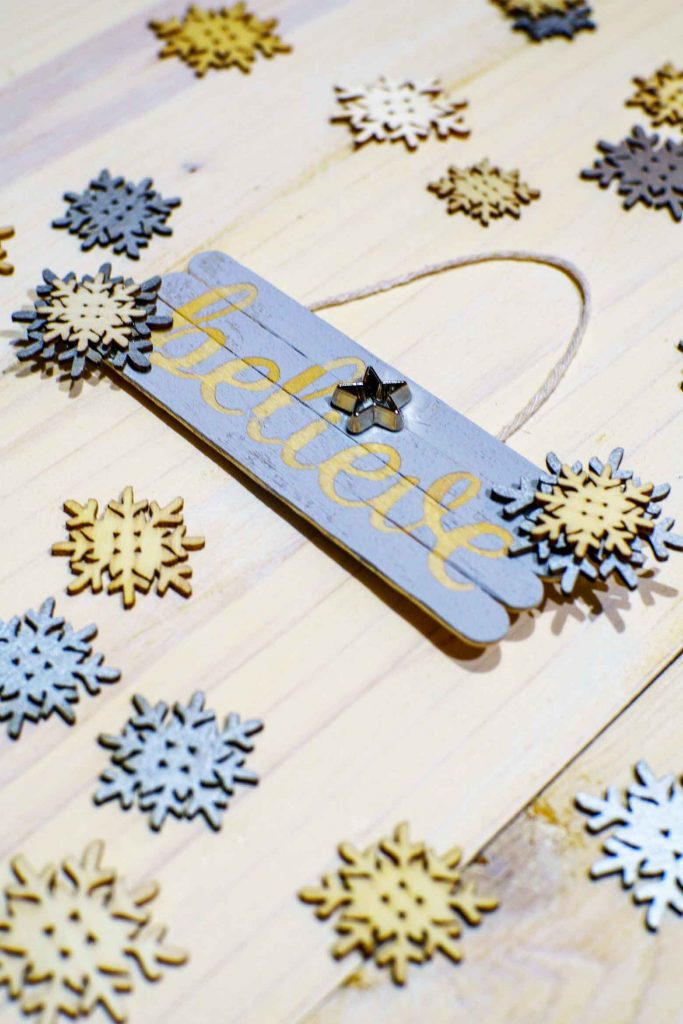
Craft a Believe Ornament that is easy to make with craft sticks and a Cricut Explore Air 2. You'll be amazed how quick they are to make!
Believe Ornament with Cricut Explore Air 2
This post contains affiliate links. I only recommend products or services i use personally and believe would be a good fit for my readers. This comes at no added cost to you! Some supplies used in this post were generously provided by Cricut.
Crank up your Christmas music, fire up your Cricut machine, grab your kiddos craft sticks and let's have a night in making homemade Christmas ornaments! My sweet friend who blogs over at Albion Gould came up with the idea to host a Cricut Christmas Ornament Exchange. Genius!
I'll admit, I was stumped. To be perfectly honest, I have not pulled out any of my 25 boxes of holiday stuff. My options were limited. Somewhere in my house, I have blank ornaments. Somewhere is the key word. I kept thinking of alternatives to using those. I considered buying more (but really - 25 boxes - do I need more?).
I finally decided that nope, I would use what I had. While browsing through my craft room I came across the giant box of craft sticks my kiddos use for school projects. They reminded me of the popular pallet art, and I thought, hmmm..... this could work.
I loved the thought of a "believe" in a cool handwritten style font. When I opened a drawer to get the twine for hanging, I found this bag of wooden snowflakes I had purchased last year at the Target dollar spot. BINGO.
So let's get to work. I debated doing my own handwritten word imported into Design Space, but decided that this one
--- already made would be perfect.
HOW TO MAKE A BELIEVE ORNAMENT ON A CRICUT MACHINE:
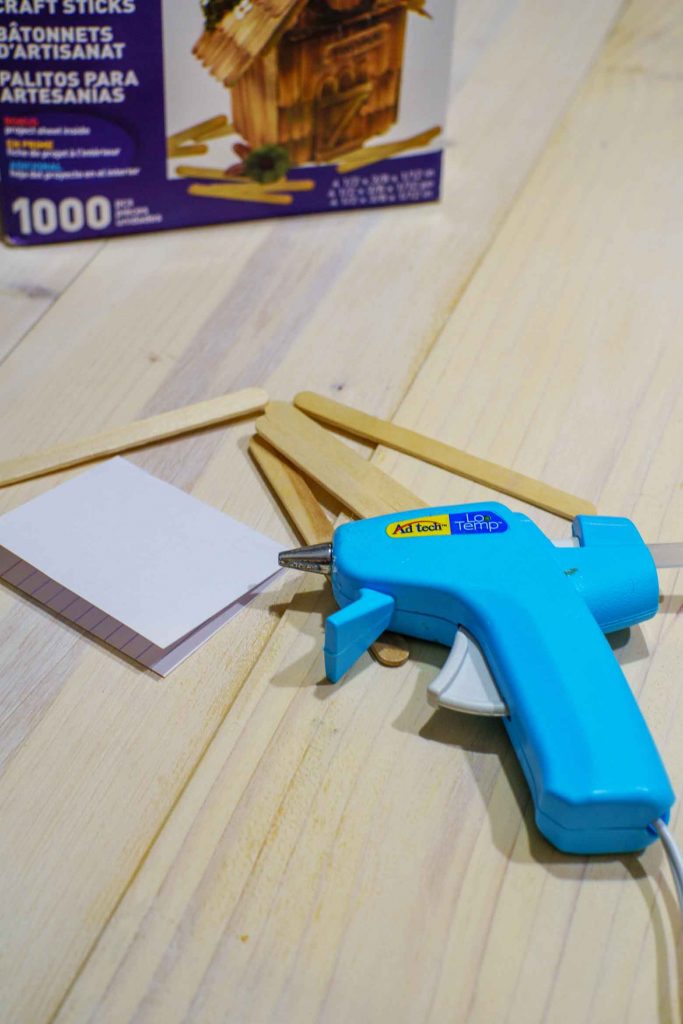
- I started by folding over an index card and cutting it to fit the size of 4 craft sticks. You could use a paper plate, cardstock, or a piece of cardboard. I just grabbed what was closest. I also used my trusty glue gun. In the end, I lined up 4 craft sticks for a pallet style look.
-
-
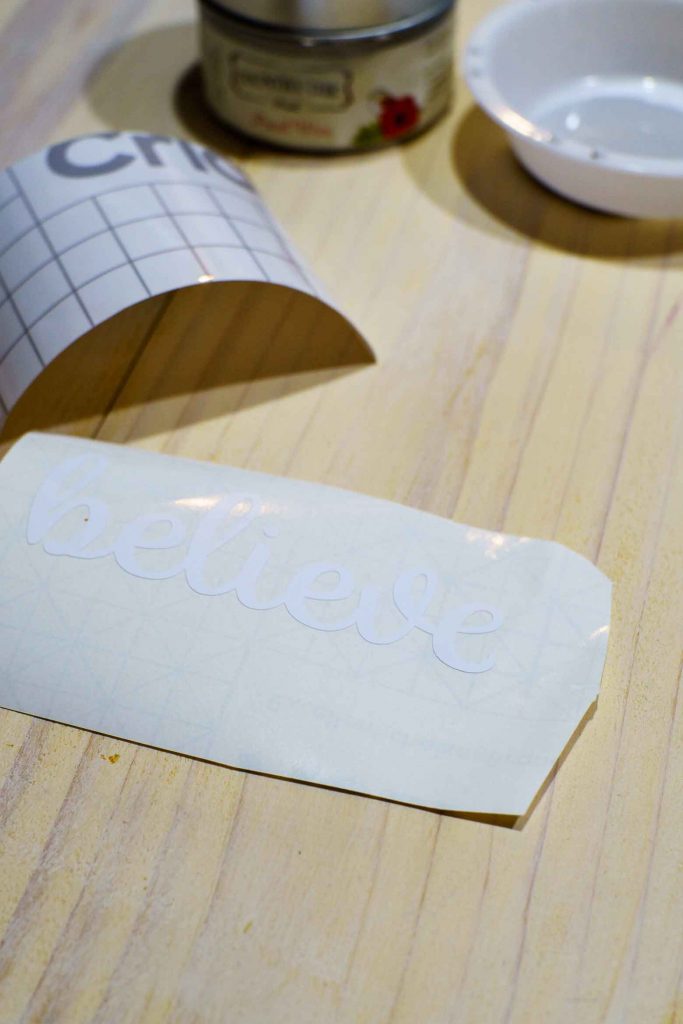
- While my glue was drying/setting, I resized the word Believe to fit my dimensions and deleted the reindeer antlers. I made the dot of the i the same color and attached it.cut the word Believe out of vinyl on my Cricut. Once I weeded it, it was ready to go!
-
This is a perfect chance to use up any scraps of vinyl you have laying around. Waste not, want not, and all that.
-
-
-
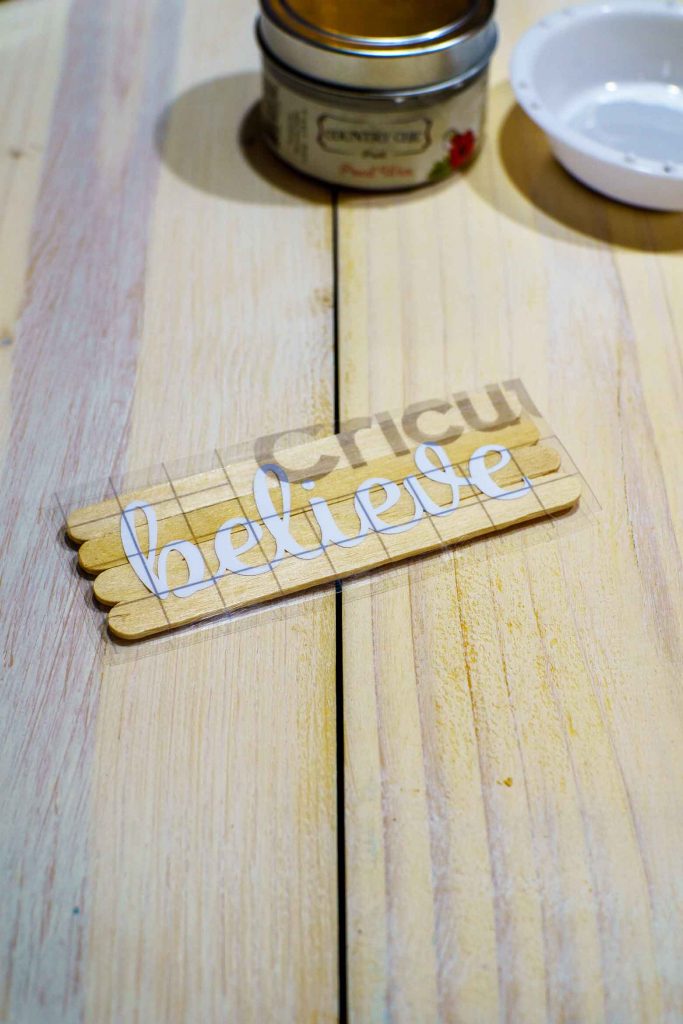
- Using transfer tape, transfer the vinyl to the wood. Be sure to adhere it well before peeling off the transfer tape.
-
-
-
-
-
-
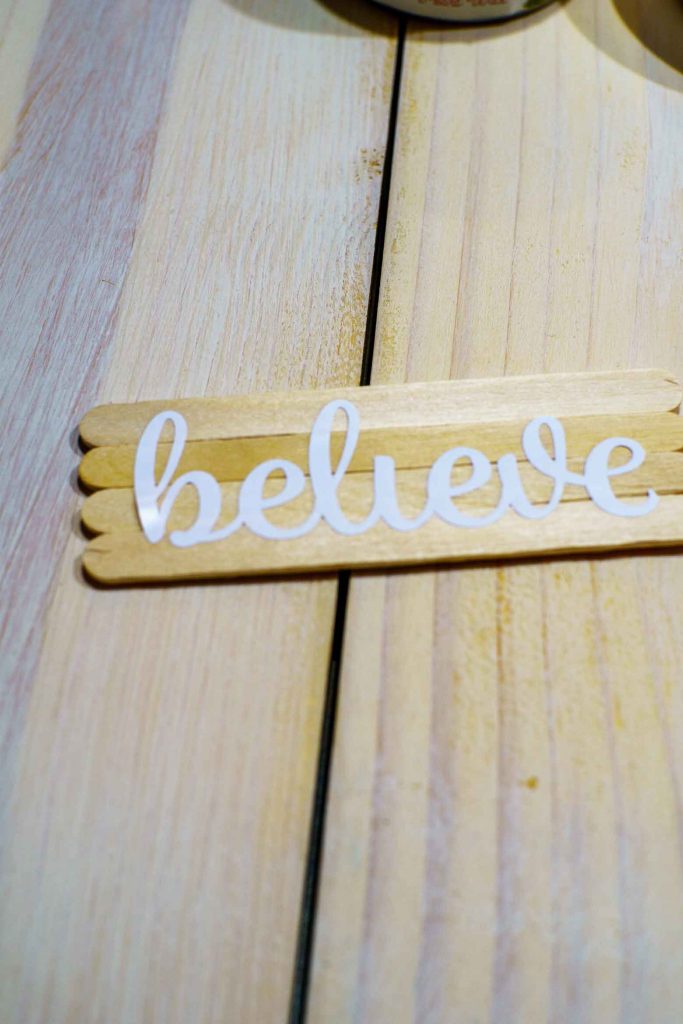
- Yay! You did it. If you look, some letters are sticking up. I continued to burnish them on as well as I could. You want all the edges sealed.
-
-
-
-
-
-
-
-
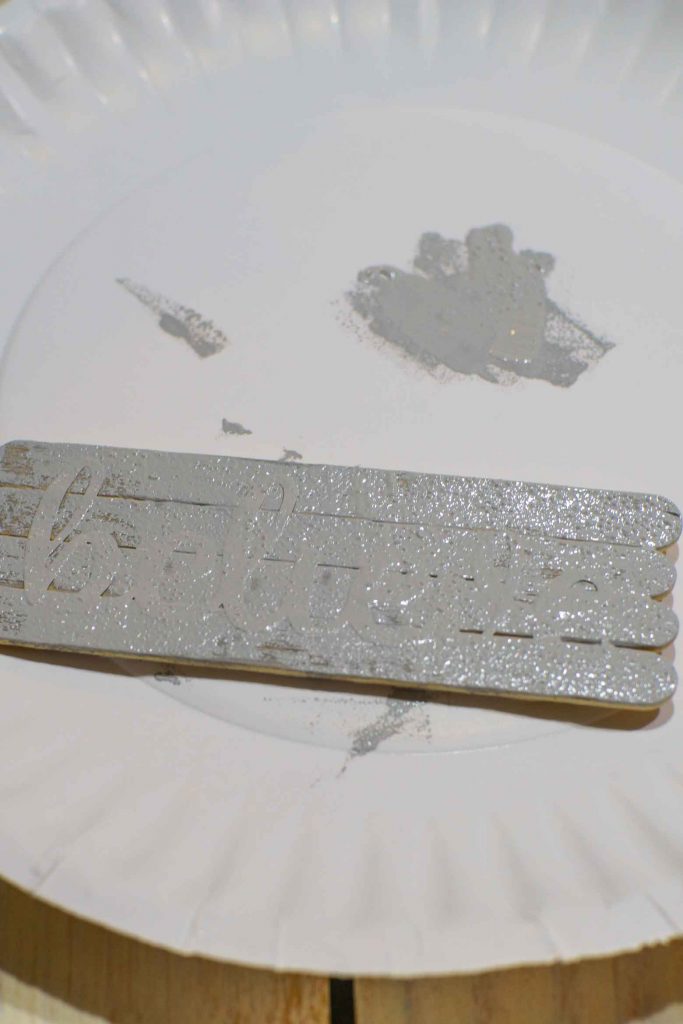
- I then used a sponge brush to pounce my paint on. I did this to try to minimize any paint seeping under the vinyl.
-
-
-
-
After I let the paint dry for 5 minutes, I removed the vinyl carefully. There will still be some spots of wet paint.
-
-
-
-
-
-
- To finish it off, I glued the wooden snowflakes in the corners and replaced the dot in the "i" with a tiny star I had in my button box. I then hot glued the twine to the back so it would be easy to hang.
-
-
-
-
-
SUPPLIES NEEDED FOR BELIEVE ORNAMENT:
Now I get to play secret Santa and mail it off to my fellow Cricut blogger.
See all the CRICUT INSPIRED ORNAMENTS HERE:
');




mary says
This is really cute and I love how it looks like a pallet sign.
Albion says
I love the miniature pallet look! It turned out so cute!