
This post and photos may contain Amazon or other affiliate links. If you purchase something through any link, I may receive a small commission at no extra charge to you. Any supplies used may be given to me free of charge, however, all projects and opinions are my own.

Vintage style paper Christmas ornaments are a fun retro way to decorate your tree. Fun shapes, a jingle bell and glittered edges make these free printable ornaments one of a kind!

It’s getting to be that time of the year again! Time to trim the tree! Nothing says Christmas to me like a handmade ornament. Sometimes in the hustle and bustle of the pinterest world, we forget how truly simple projects can turn out to be so elegant. Today I’d like to share with you these delightful vintage paper ornaments. These ornaments are surprisingly one of the easiest Christmas decorations to make. The require just a few simple craft items. The printables are provided below, so most of the work is already done for you! These will make great handmade gifts, can be used to accent a wreath, or will look lovely gracing the Christmas tree.!
To make crafting even easier this season, I’ve teamed up with a fantastic group of brilliant bloggers to bring you ideas galore for trimming the tree. Be sure to check out everyone’s links at the bottom of the post! There will be lots of projects to pin— I promise!

The DIY handmade vintage paper glittered Christmas ornaments were my addition to the collection!

There are 4 different files, each using an elegant script. The paper is already colored, so you don’t have to worry about searching for vintage paper!

You can use ribbon or tinsel type ribbon.

The added touches come from the grommets and the jingle bell. And of course— the outline of glitter. Because everyone needs glitter during the Holidays!

So let’s get started!
For the project you will need to print out the paper that contains all 4 designs. You can download the file by clicking on the button below.

When you print it out, it will look like this:

I used a heavier white card stock. I would suggest a heavier, thicker paper vs regular printing paper. Just make sure that it’s not too thick you can’t cut it or use a hole punch. I took 2 pieces of regular white card stock and taped them together to make mine a bit more bulky. Cut out the shaped frames as close to the edge as you can.

For the next step, lay down a piece of wax paper. I mixed ultra fine silver and gold glitter together. You can find ultra fine glitter in several places.
American Crafts 24-Pack WOW Extra Fine Glitter![]() can be found on amazon, or I also like these: Martha Stewart Crafts Essential Colors Glitter Set, 24-Pack
can be found on amazon, or I also like these: Martha Stewart Crafts Essential Colors Glitter Set, 24-Pack![]()
I used a thin bit of Elmer’s glue around the edge and sprinkled the mixture on top. I let dry 10 minutes and then shook off the extra glitter. If there were any spots that lost too much, I retouched them. After placing the ornament onto a different piece of wax paper, I folded the other and sprinkled the left over glitter back into my container.

Next up are the grommets. I used a thinner hole punch (Fiskars ⅛ Inch Circle Hand Punch (23517097J)![]() ) than normal to make a small hole on each end where the grommets would go. For the grommets, I found the sewing grommets are cheaper than the ones you find in the scrapbooking section. They can be hard to find though. I purchased the Sew-o-logy brand at Hobby Lobby in the notion section. They are antique gold and are 4 mm (5/32inches) in size. These are similar if you are having a hard time finding them, Dritz(R) Eyelet Refill 5/32 Inch - Brass 100/Pkg
) than normal to make a small hole on each end where the grommets would go. For the grommets, I found the sewing grommets are cheaper than the ones you find in the scrapbooking section. They can be hard to find though. I purchased the Sew-o-logy brand at Hobby Lobby in the notion section. They are antique gold and are 4 mm (5/32inches) in size. These are similar if you are having a hard time finding them, Dritz(R) Eyelet Refill 5/32 Inch - Brass 100/Pkg![]() .
.

I think “setting” the eyelet is so much fun! You get to hammer! I’ve had my hammer and eyelet setter for over 10 years. It was a great investment. Making Memories is no longer selling my exact kit, but this is very similar. Making Memories Tool Kit![]()
The last step involves looping a jump ring through the eyelet and adding a jingle bell. I found smaller size to work out the best, like these: Jingle Bells ¼-Inch, 144/Pkg, Gold![]()

That’s it! What do you think? Does it inspire you to get crafting? Will you go for a more vintage style Christmas theme, or more contemporary style?
Be sure to pin the button below so you can find the directions when you create these cute little ornaments!

And without further ado—— The lovely links for the Trim The Tree Blog Hop!
We’ve got your tree trimming inspiration covered! Everything from tree skirts to how to decorate your tree! You are sure to be inspired by all of these outstanding homemade ideas to Trim the Tree!
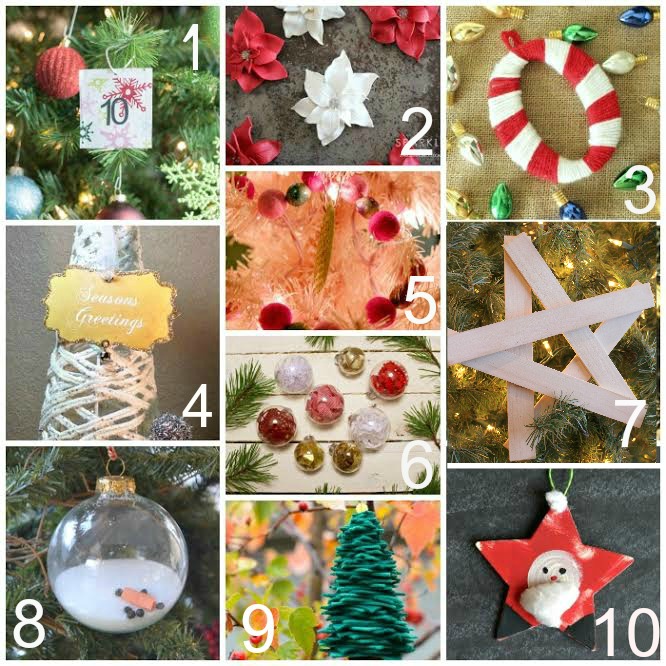
1. Advent Calendar Pocket
2. Polymer Clay Poinsettia
3. Yarn Wrapped Ornament
4. Vintage Green Paper Ornament
5. Trim the Tree Garland
6. Ribbon Stuffed Ornaments
7. Wooden Star Ornament
8. Melted Snowman Ornament
9. Felt Christmas Tree
10. Santa Star Ornament
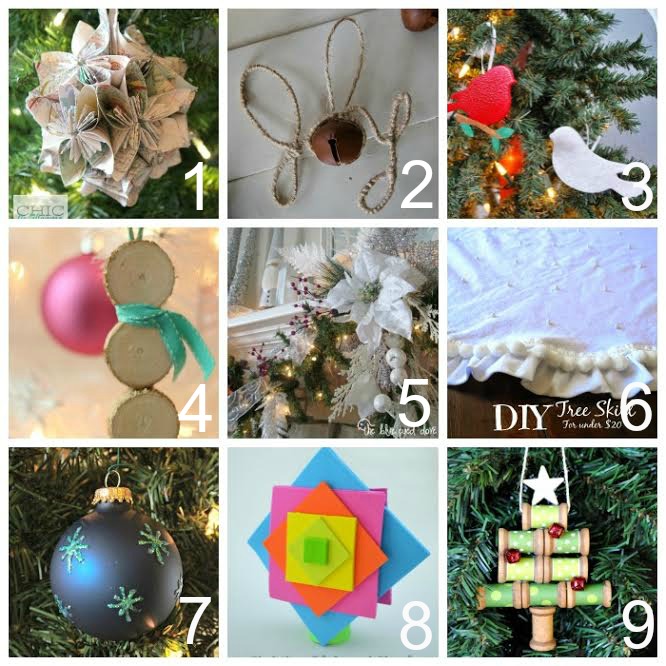
1. Vintage Map Ornament
2. Yarn Joy Ornament
3. Embossed Wood Bird Ornament
4. Snow Man Wood Slice Ornament
5. Christmas Garland
6. Tree Skirt for under $20
7. Star Painted Ornament
8. Neon Christmas Tree Topper
9. Wooden Spool Christmas Tree
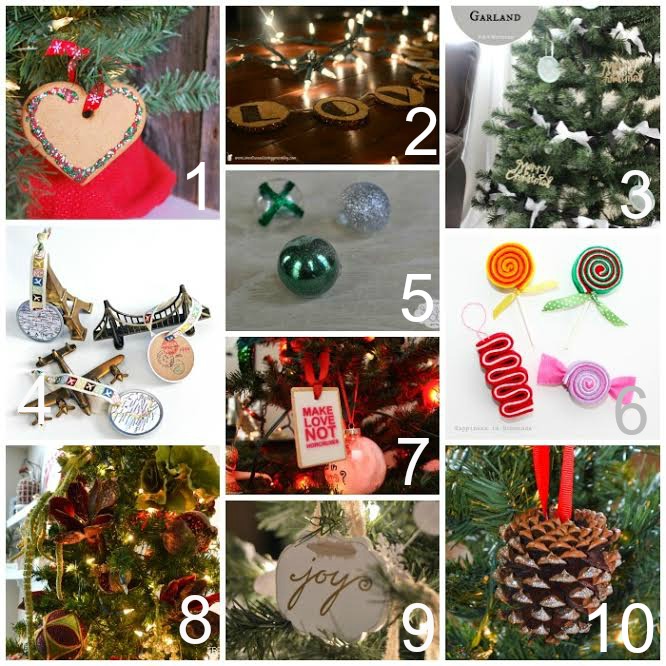
1. Gingerbread Cookie Ornament
2. Wood Etched Cork Garland
3. Bow Christmas Tree Garland
4. Travel Map Ornaments
5. Homemade Glitter Ornaments
6. Felt Candy Ornaments
7. Make Love Ornament
8. How to Decorate your Tree like a Pro
9. Joy Ornament
10. Glitter Pinecone Ornament
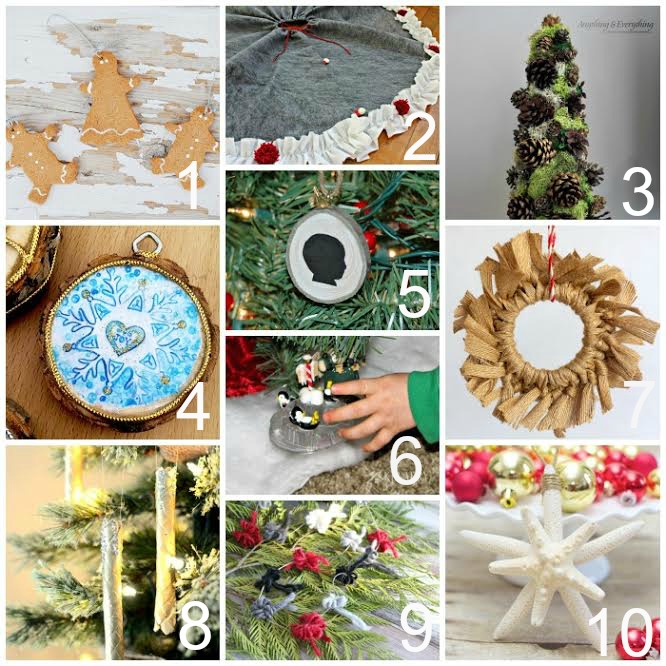
1. Scented Gingerbread Ornament
2. Diy Tree Skirt
3. Pinecone Decorative Tree
4. Wood Slice Ornament
5. Wood Slice Child Silhouette Ornament
6. Tips for Decorating the Christmas Tree
7. Mason Jar Lid Ornament
8. Gold Basket Weave Ornament
9. Rustic Christmas Tree Garland
10. Starfish Christmas Ornaments

You can find these posts here: Salted Caramel Toffee Squares, Holiday House Tour, Snow man Milk Bottles, and Candy Cane Themed Table Setting


Erin says
So pretty and simple...love it! 🙂
MrsMajor Hoff says
Thanks Erin!
Kristi Mercer says
SO pretty! LOVE those little trees too!!!
Suzan Sweatman says
Just gorgeous - they would make beautiful name tags too !
Pinning now - thanks for sharing !
XOX
MrsMajor Hoff says
Thanks Suzan, I appreciate it! And good call on the name tags!
MrsMajor Hoff says
Thanks Kristi! The trees came from Hobby Lobby and Target!
Sandra Lee says
Wow so much creativity here! Happy to have found you via It's Overflowing. Have a peaceful Thanksgiving!
inkhappi says
I love these so much! I love the white on the vintage look!
Cori George says
These are so perfect for those of us who forgo the traditional red and green! They would be perfect in my rustic winter wonderland.
MrsMajor Hoff says
Thanks Sandra! Enjoy your holidays!
MrsMajor Hoff says
Thanks friend! I that color combo too!
MrsMajor Hoff says
Thanks so much Cori!
Laura - Eye Candy Creative Studio says
great job as these are so pretty!
lisa at mabey she made it says
These are beautiful, Sara!
Tracey Hilborn says
You are right Sara - Everyone needs glitter at Christmas time!
Annett says
Constructed-in grooves to connect a number of units with each other.
Malisha Mishel says
How sweet! I have fallen in love with it!!! I'm an avid DIYer and always try to be busy with some new projects. Was searching for a unique idea to start. The ornaments made me stop and crazy to make asap! In a hurry to start. Wish me good luck, Hoff! 🙂