This post and photos may contain Amazon or other affiliate links. If you purchase something through any link, I may receive a small commission at no extra charge to you. Any supplies used may be given to me free of charge, however, all projects and opinions are my own.
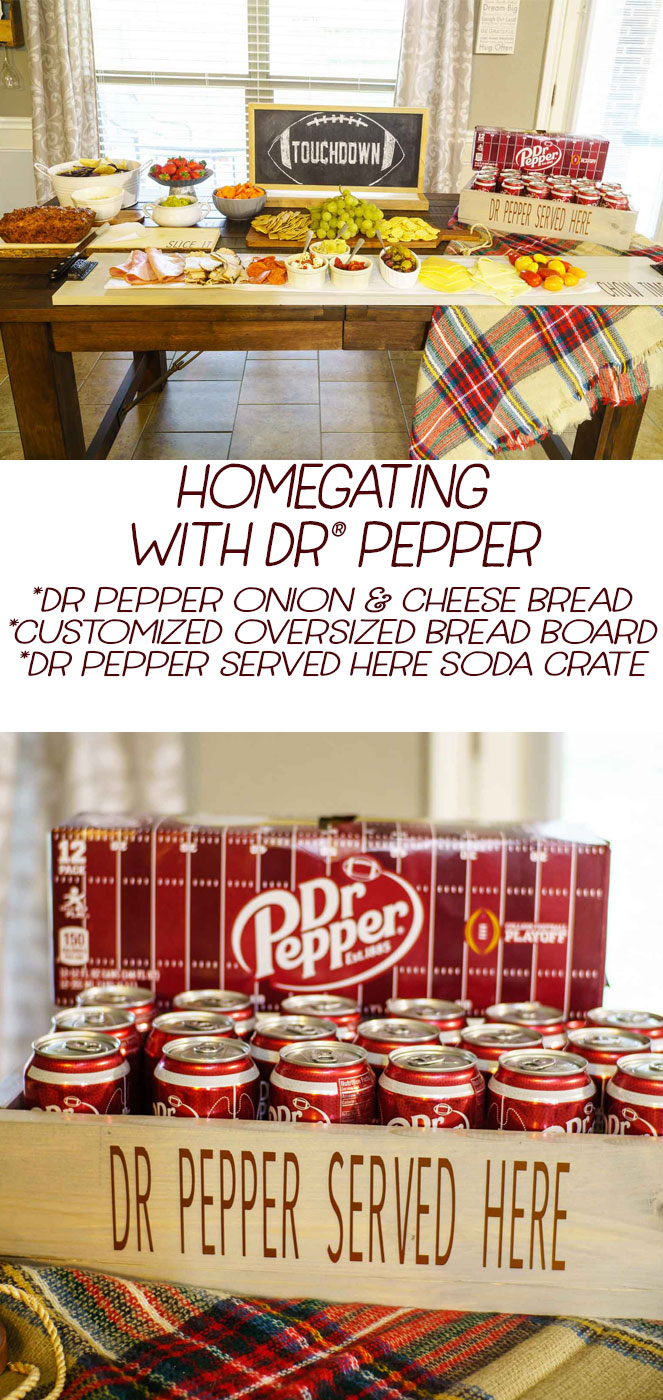
HOMEGATING WITH DR PEPPER
This shop has been compensated by Collective Bias, Inc. and its advertiser. All opinions are mine alone. #homegatechamp
In addition to being big Homegating fans, we are big fans of Dr Pepper®. Maybe it's because we live in Texas, and that means people here drink it like water. My kiddos have always adored it, and every year it shows up on their Christmas list. Seriously. Who knew a 2 Liter bottle to themselves is the making of the best.gift.ever.
We live in a huge university town. The National Championship is a BIG deal. And football in Texas. HUGE y'all. So much so my kiddo had football practice on Thanksgiving.
Wanna know what else is huge in Texas besides football and Dr Pepper? Traffic. In a college town on college football weekends. INSANE. This is where my love of homegating started. Because it meant I didn't have to battle other drivers. The fall College Football Playoffs are a BIG deal here. And since we love inviting friends over, it's a great excuse to throw a homegating party! I love entertaining guests, but I very much lean on the side of easy. I don't want it to be too much work, but I still want my guests to fell like I made an effort for them.
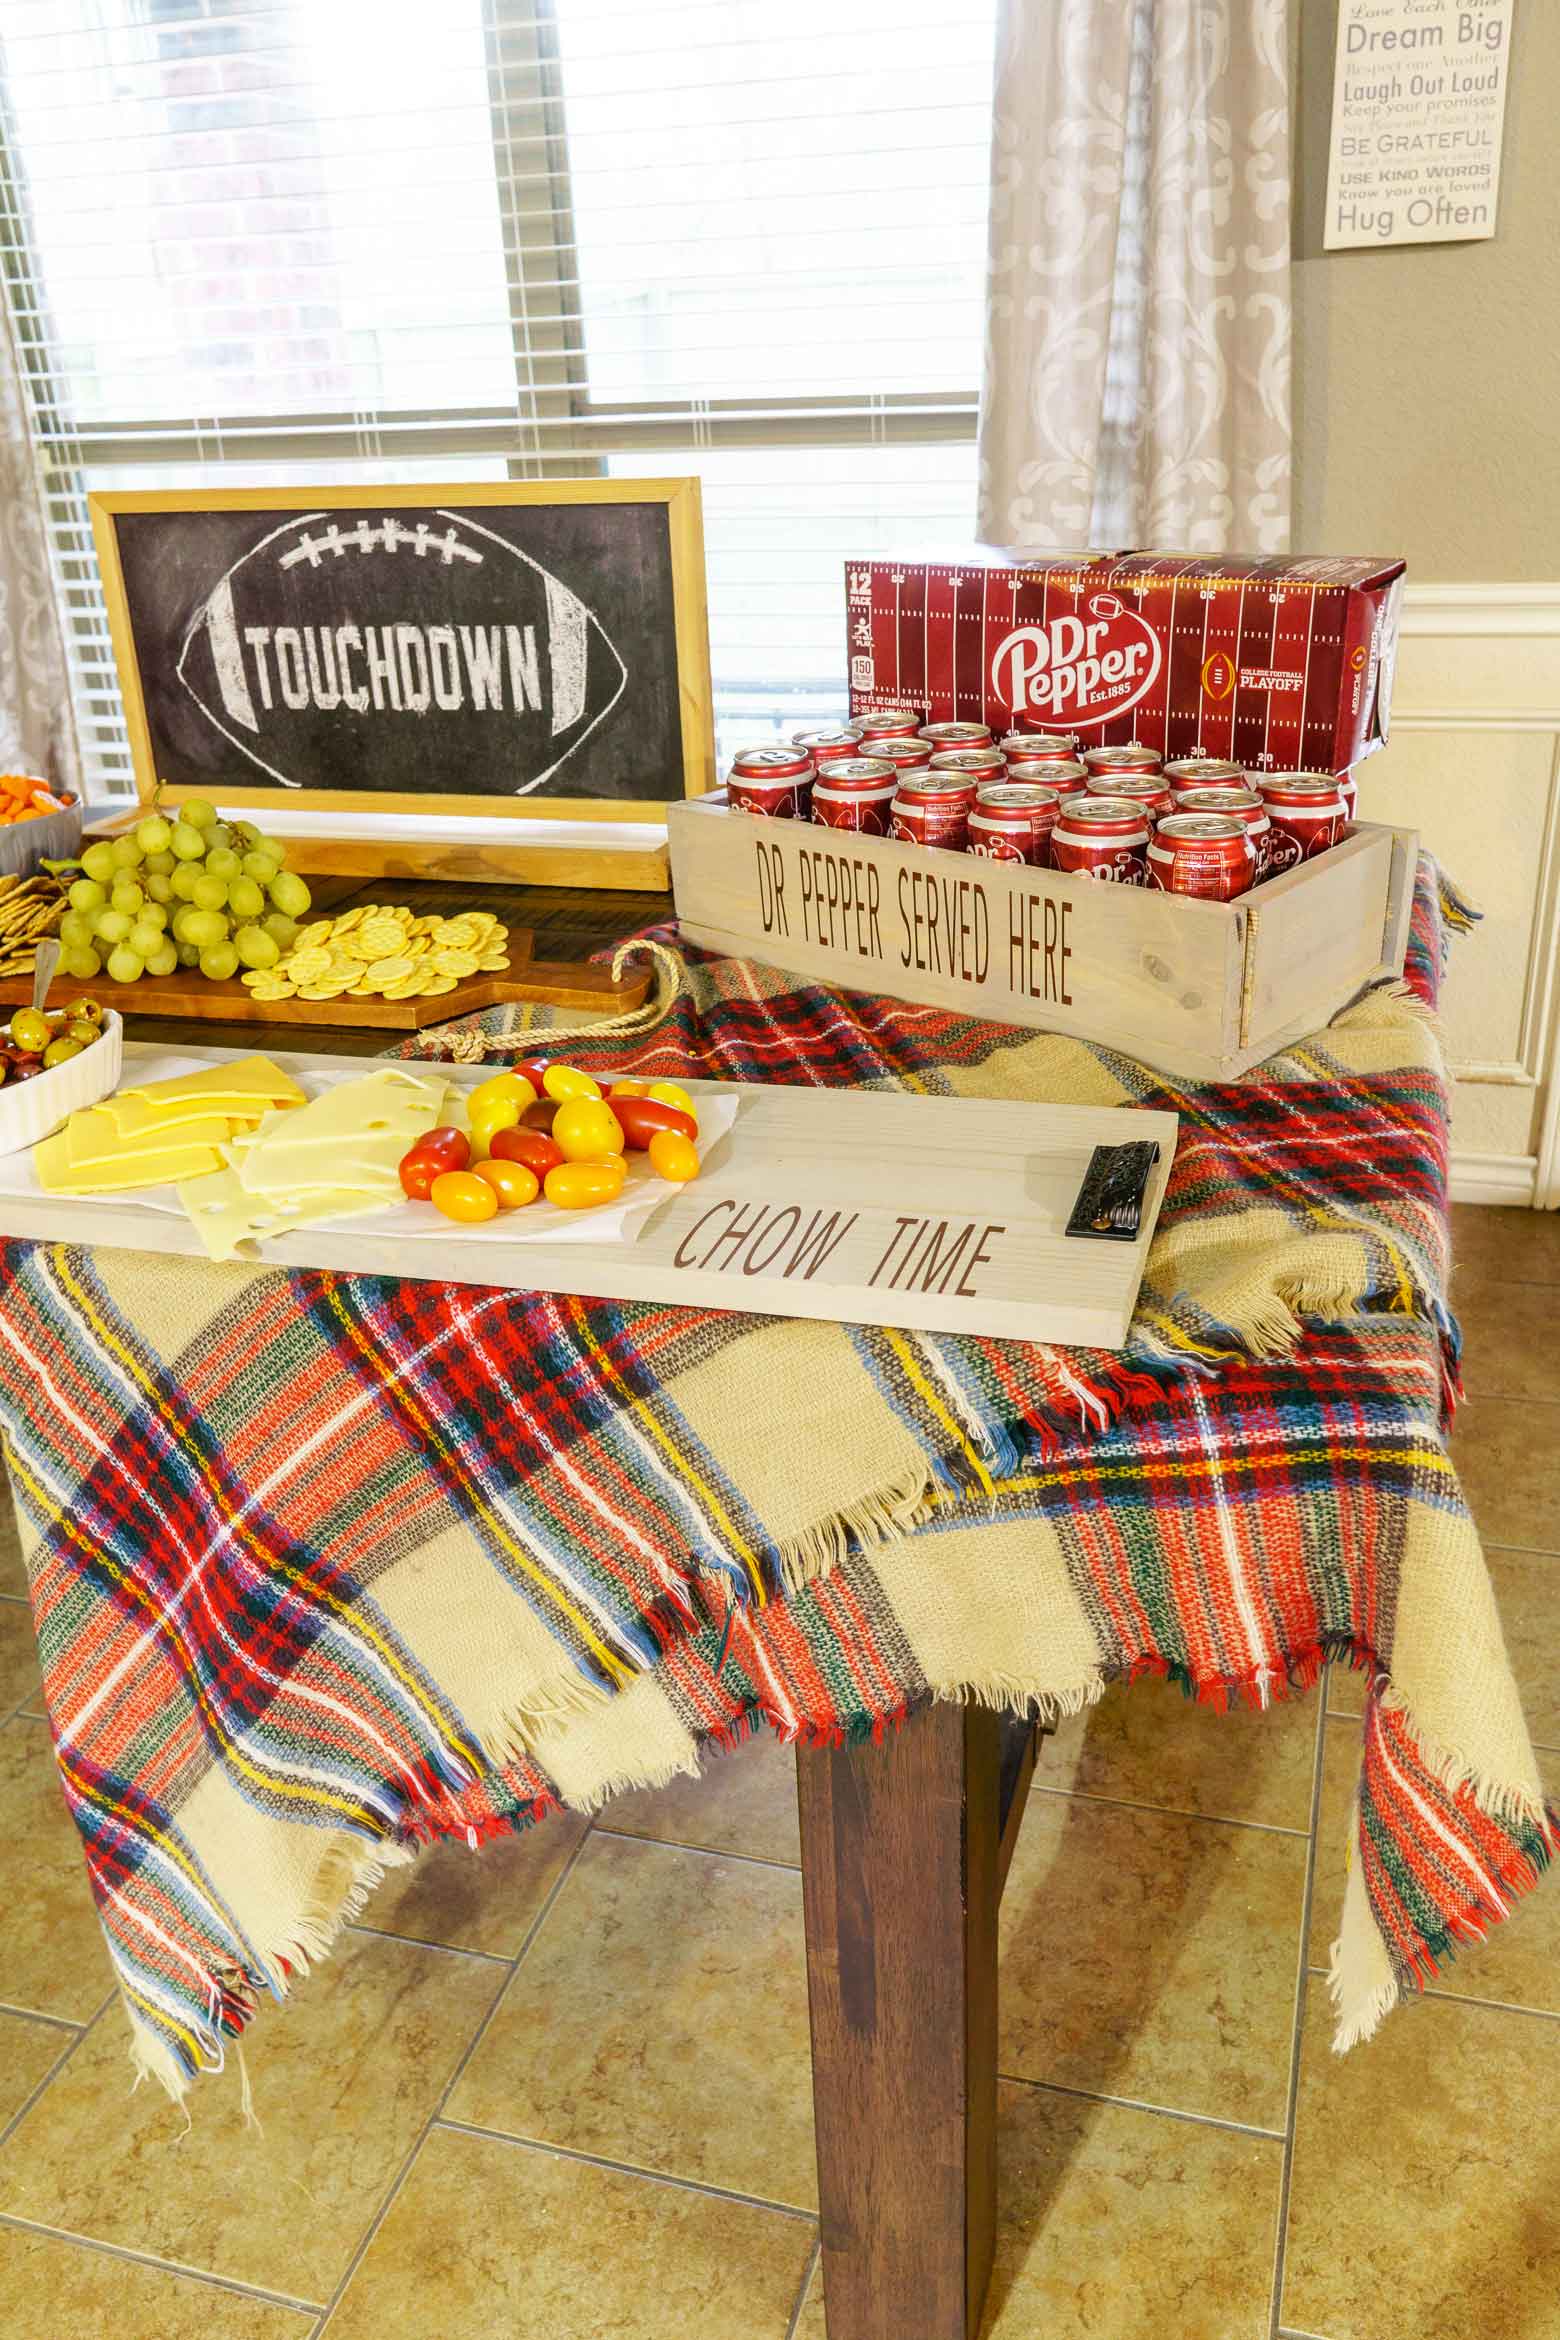
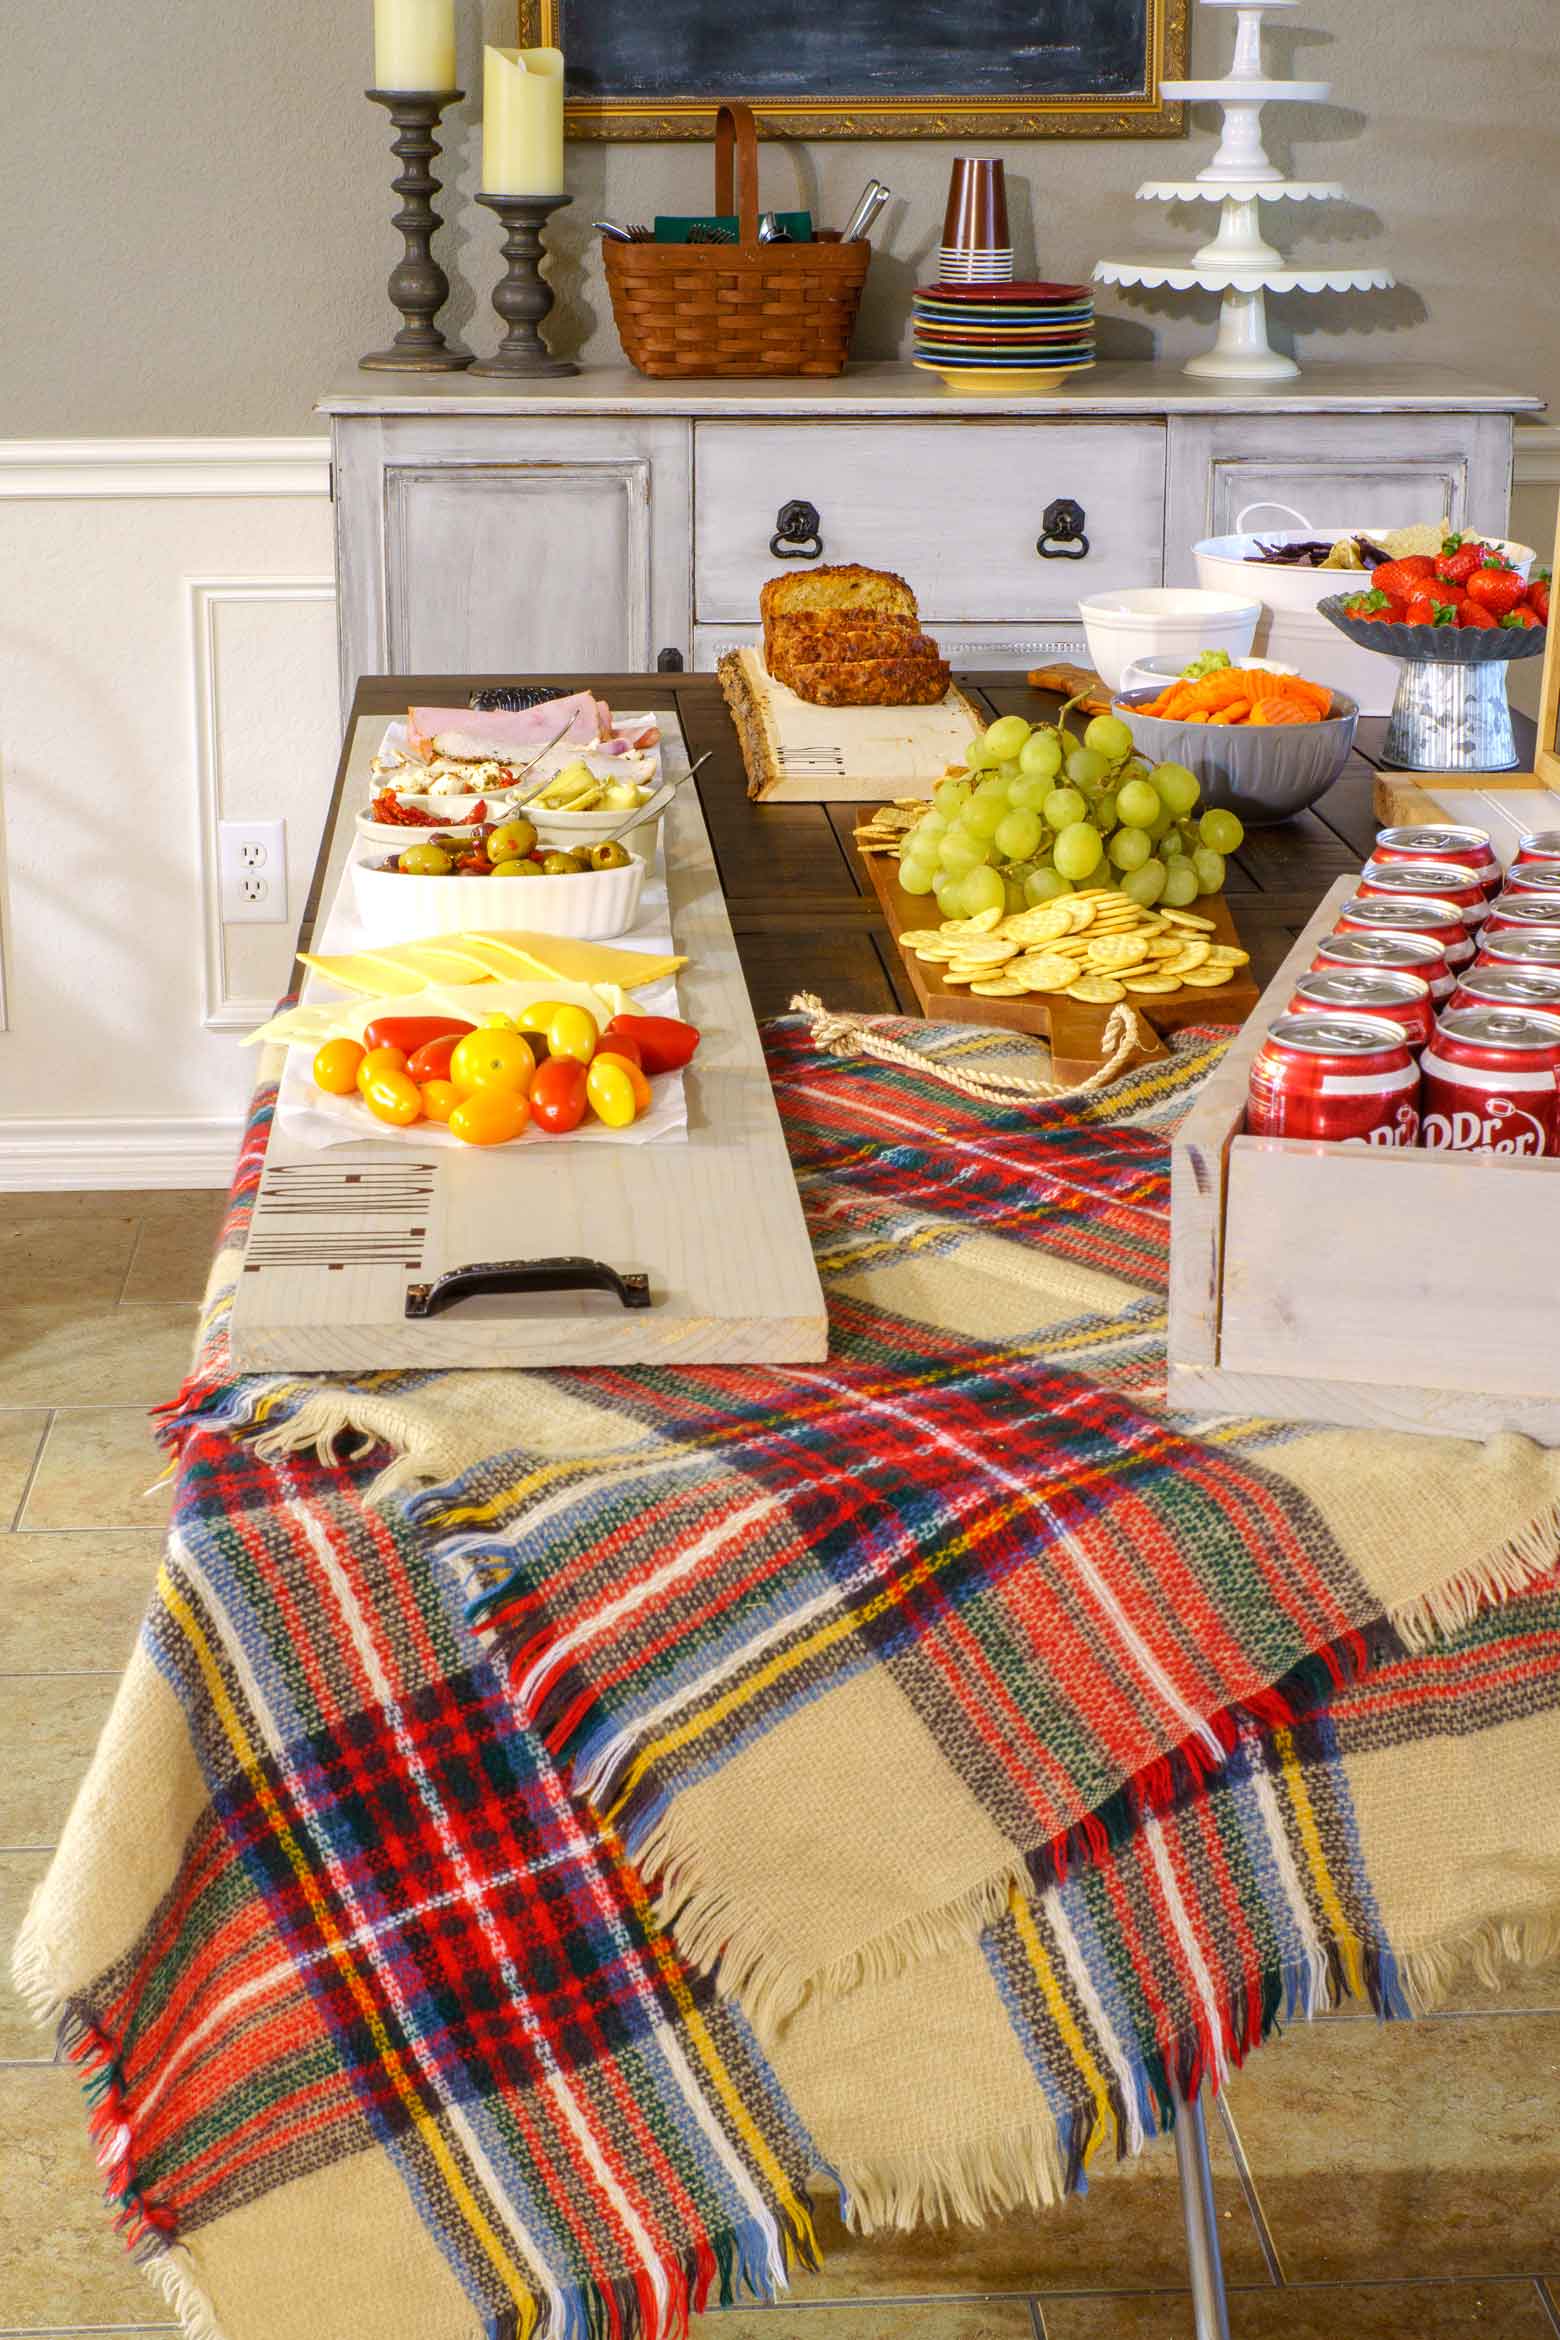
I also have 4 picky kids, so I try my hardest to offer a large variety so my guests can be happy, and my kiddos will actually eat something. To keep things simple, I have plates, silverware, and napkins on the sideboard. Notice all the different colored plates? That allows each guest to pick their favorite team's color. The plaid blanket adds a nod to that "fall football" weather, and since it has every color, I'm not picking sides!
The kitchen table is spread with an assortment of foods to make sandwiches, an oversized meat and cheese platter, antipasta varieties from the deli section, fruits and veggies, and chips and dip. Instead of buying those pre-made deli trays, I essentially make my own (but still use the deli for a shortcut).
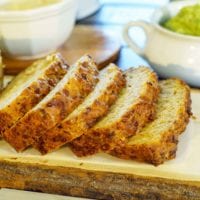
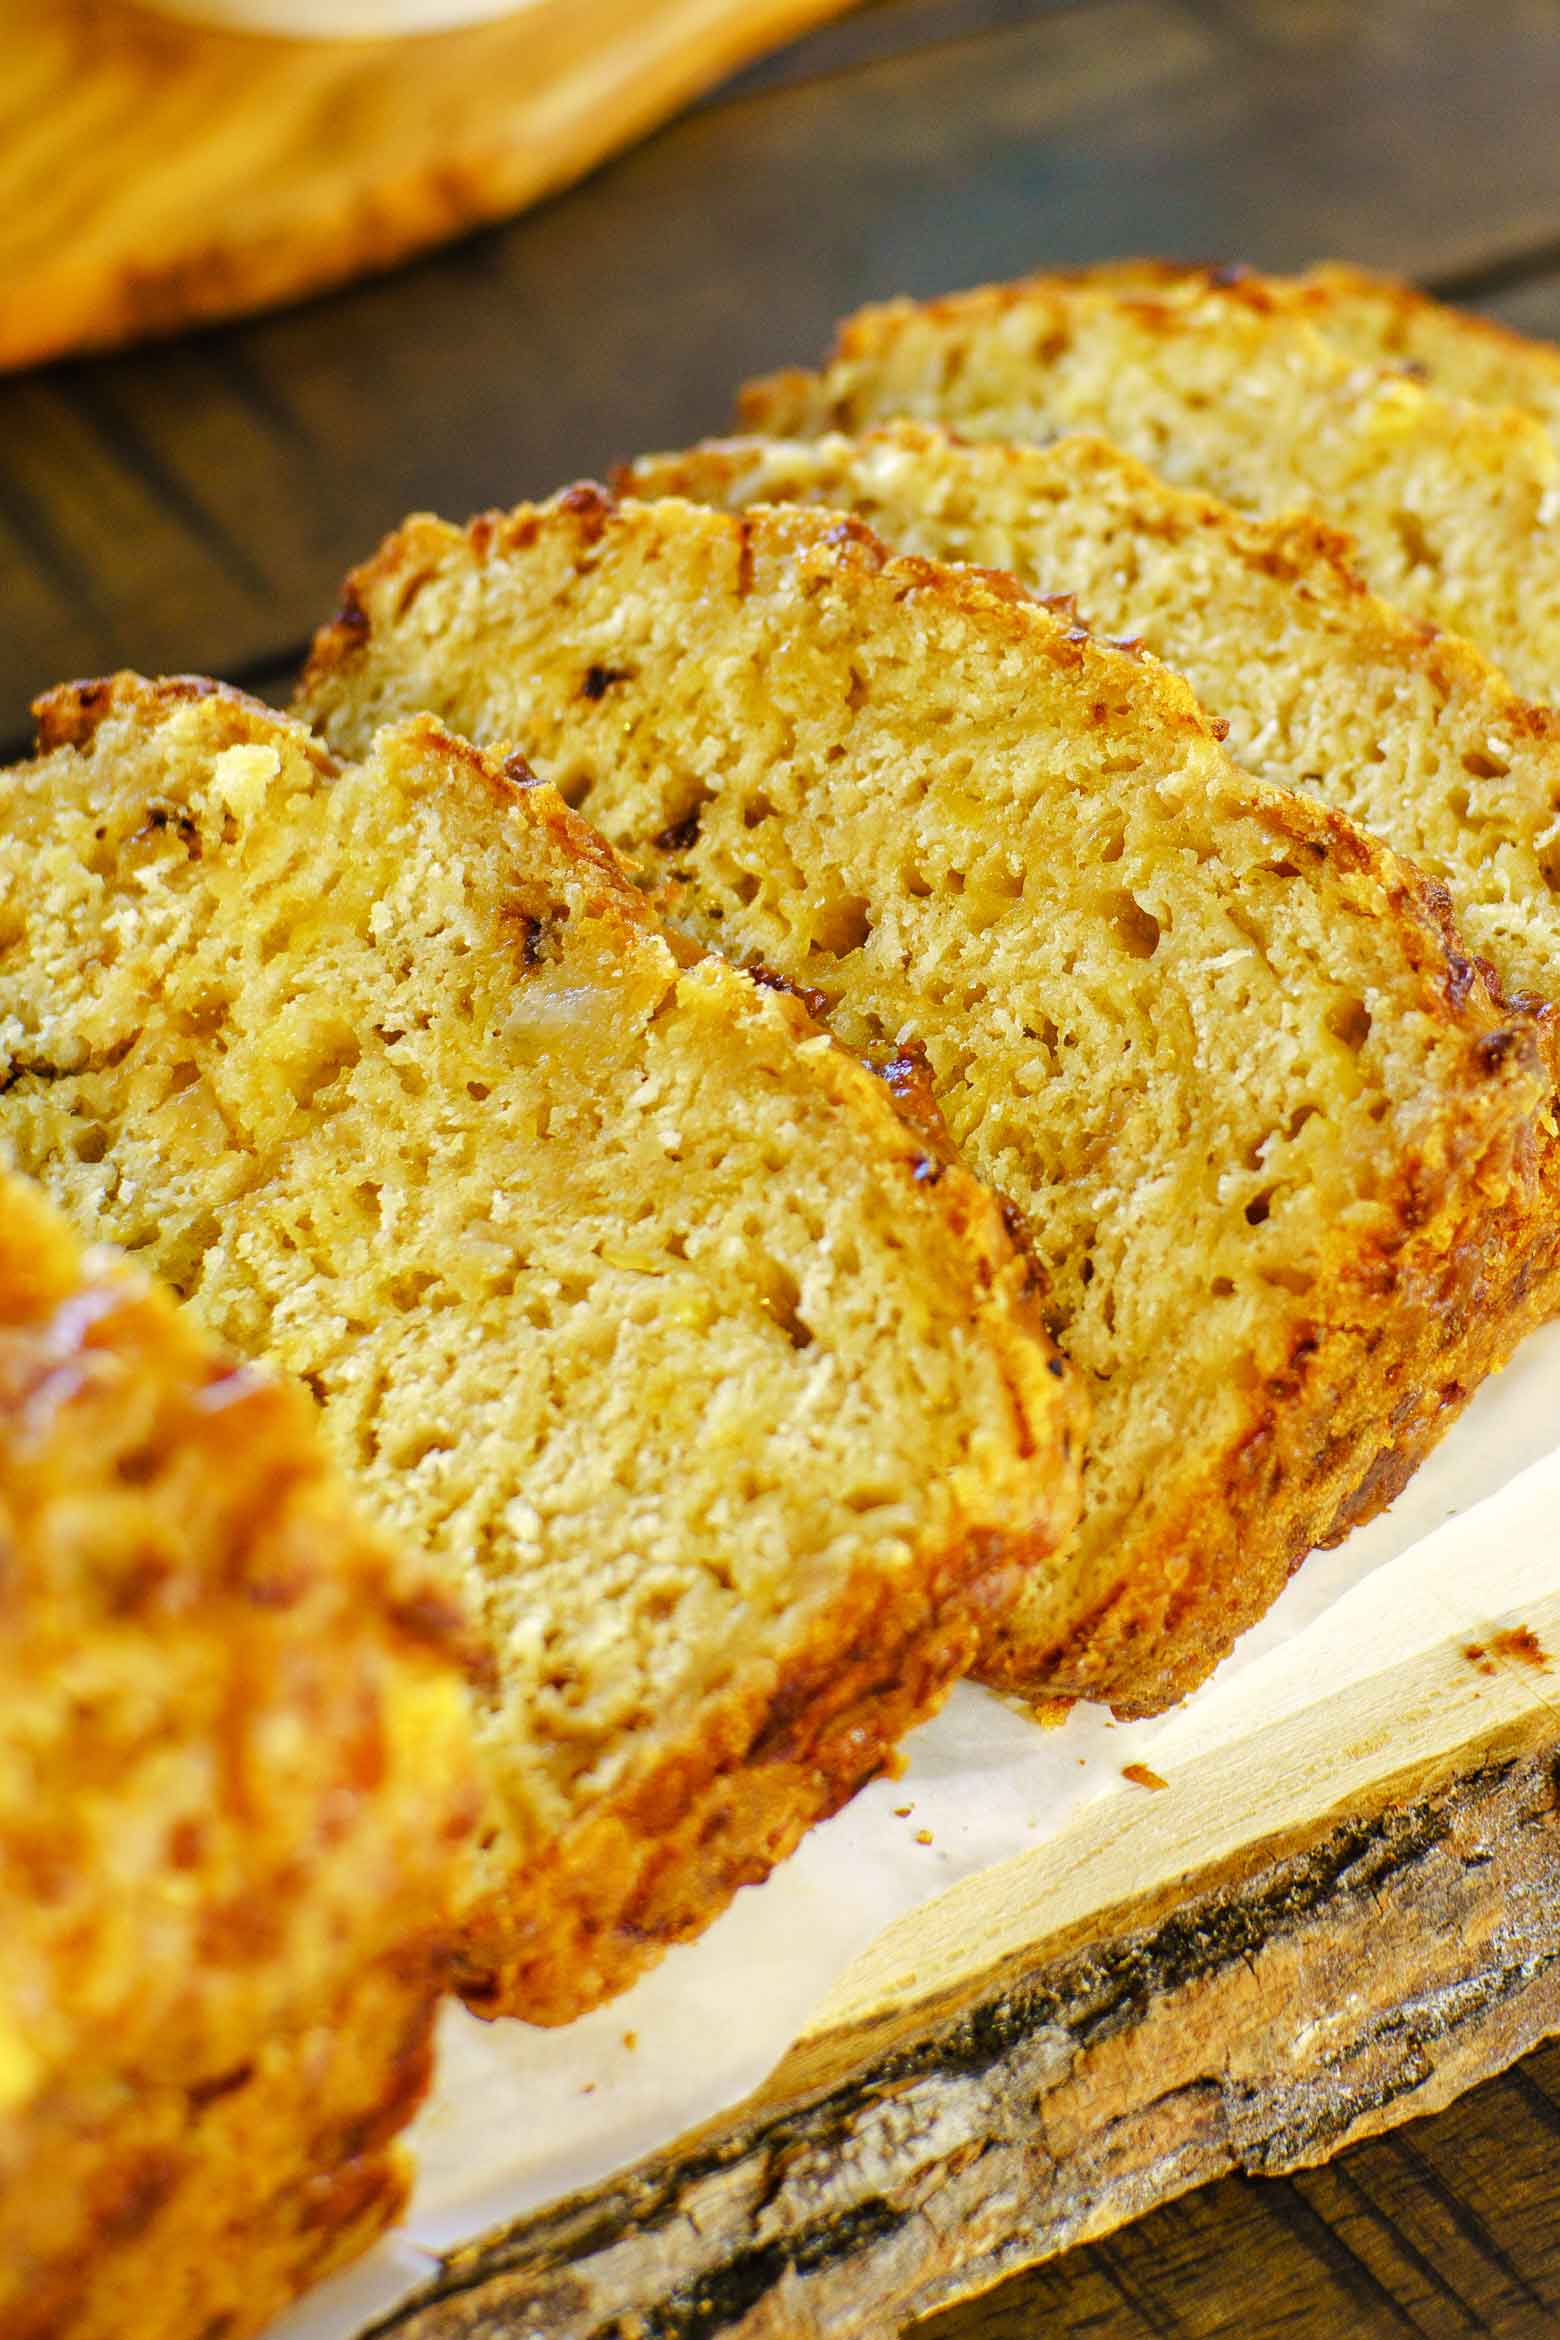
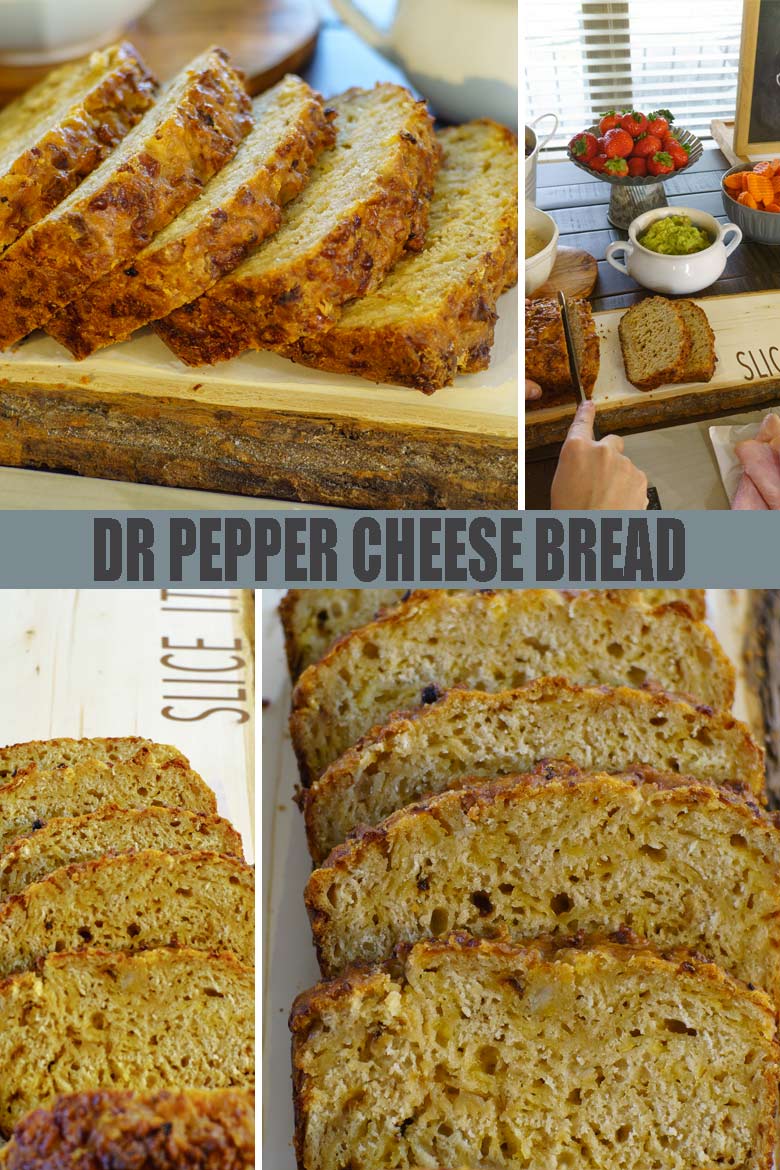
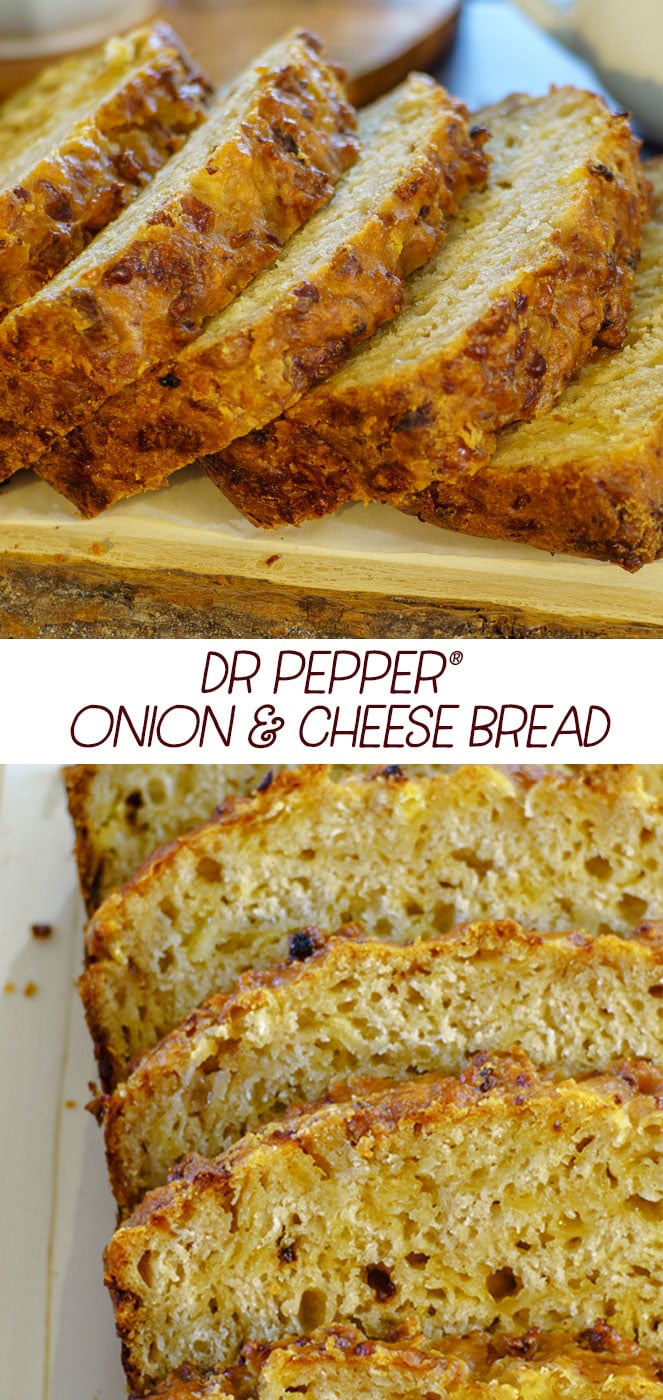
The star of the show is this Dr Pepper grilled onion and cheddar cheese bread. Yep, you read Dr Pepper. Yes, it's totally in the bread. And yes, it tastes amazing. My kiddos eat this up faster than I can make it, which is ironic, since they seem to be able to signal an onion alert in every other dish I make. The Dr Pepper adds just a hint of sweetness and a slightly spicy flavor. The fact that is it is a soda bread (haha, total pun!) makes it easy breezy. No yeast to bother with, and it's ready in under an hour.
ASSEMBLING A MEAT CHEESE AND ANTIPASTA PLATTER QUICKLY:
Seriously, save yourself time. Hit up the deli. Buy pre-sliced meat varieties, pepperoni, premade salads like mozzarella pesto, sundried tomatoes, olive mixes, presliced cheeses, and fresh fruits and veggies.
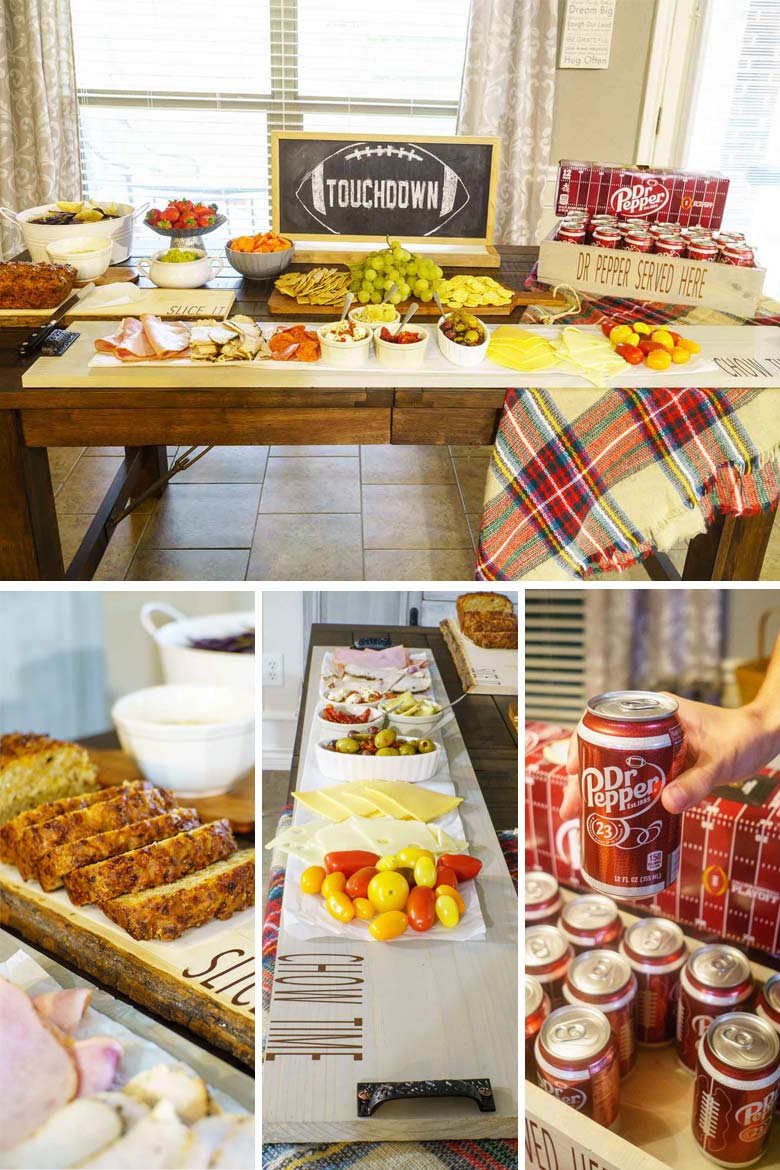
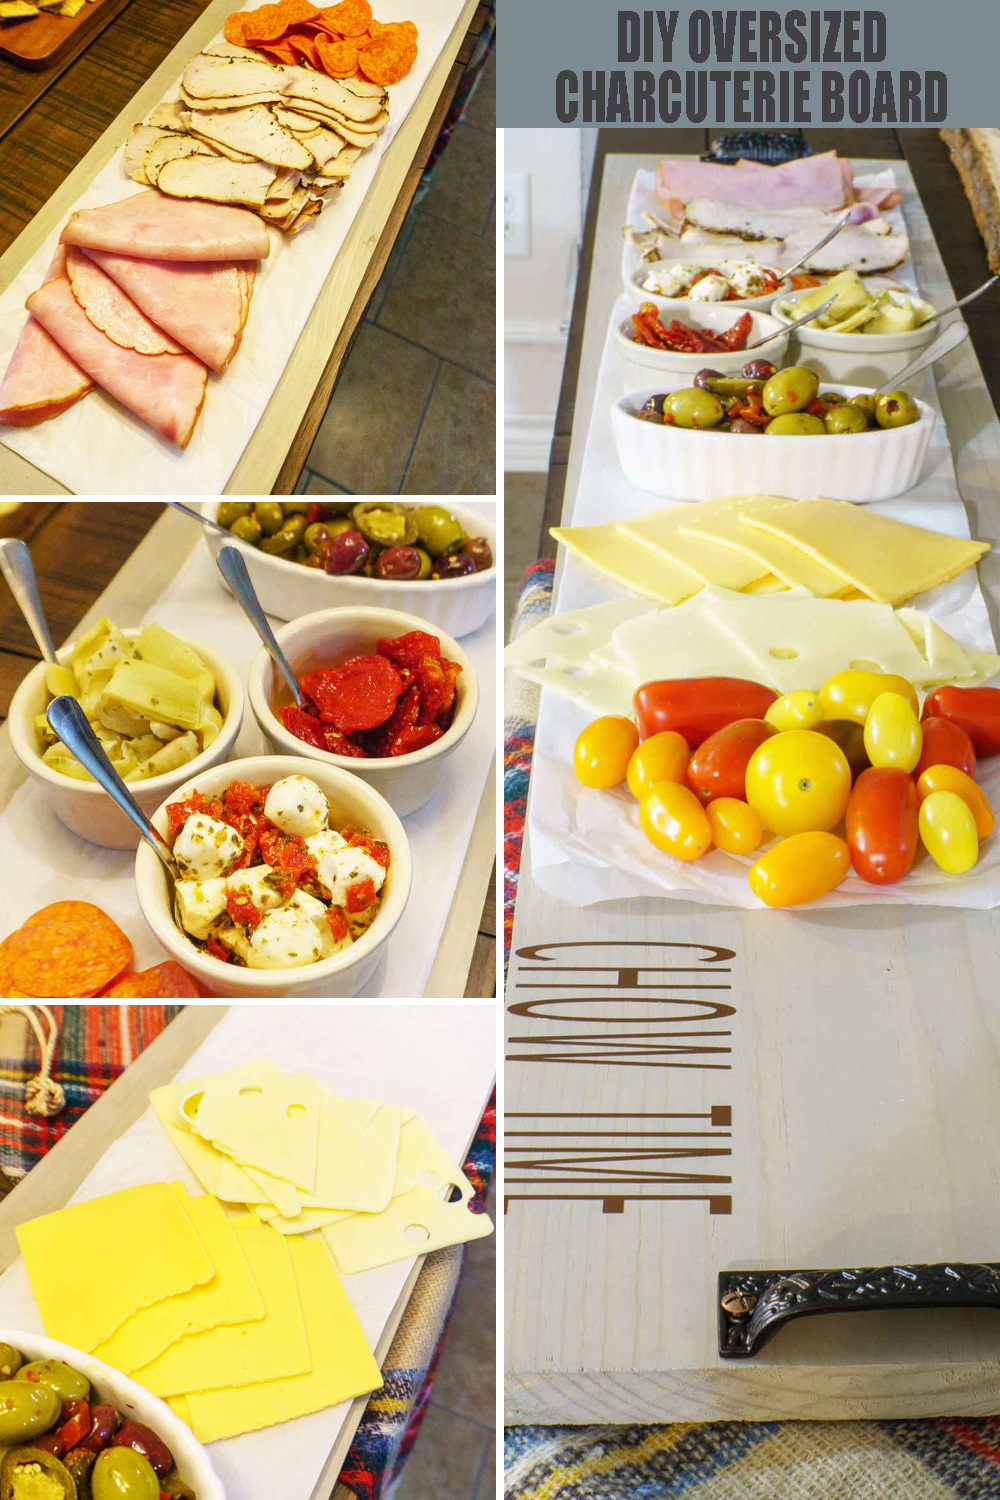
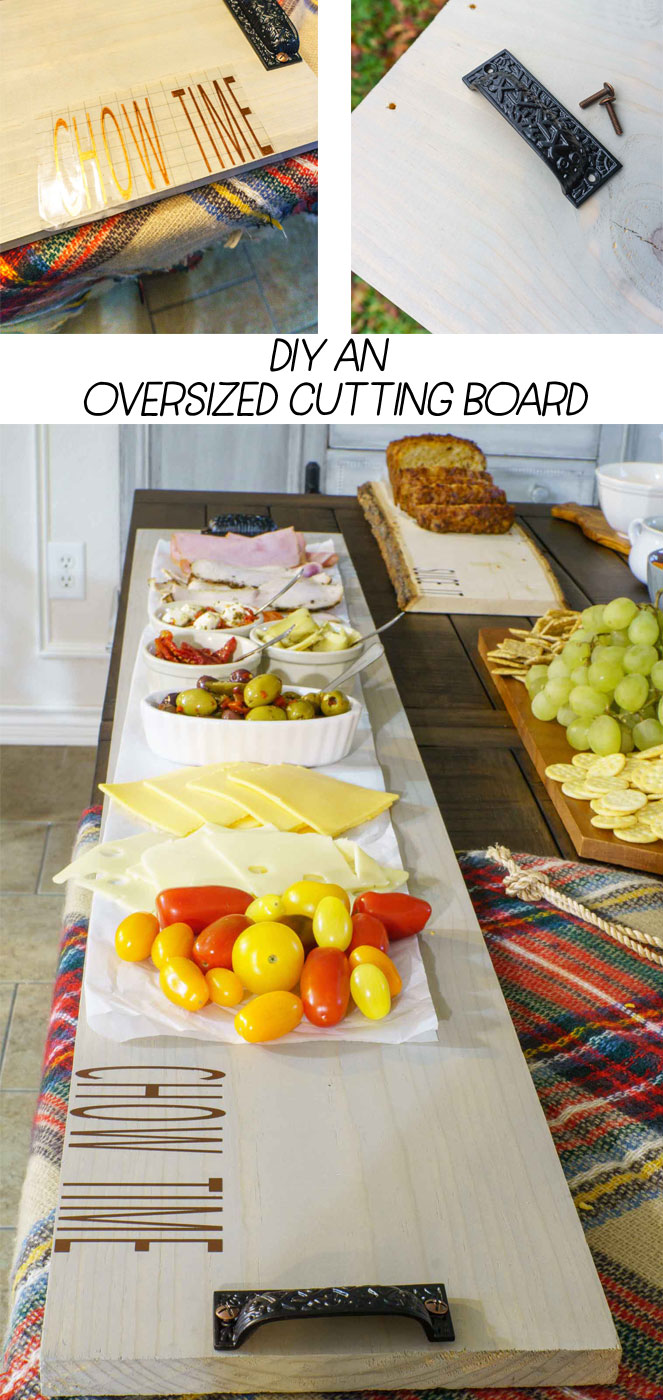
To assemble the meat and cheese platter lay down a layer of parchment paper. It adds a pop of brightness and keeps your cutting board clean.
I've laid out the steps in the photos above, but really it couldn't be more simple.
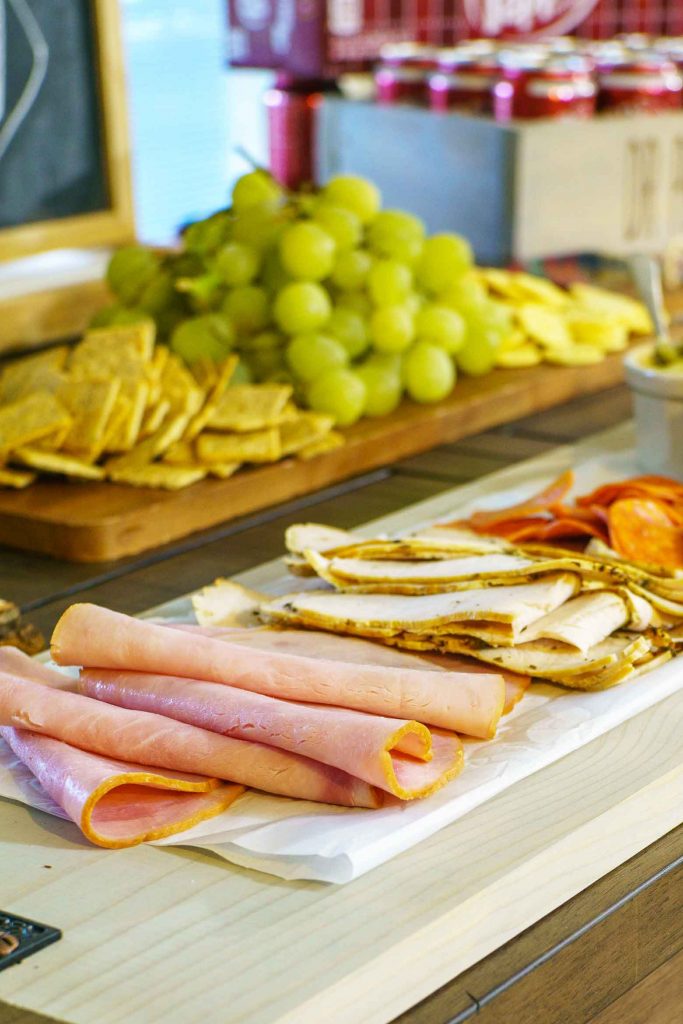
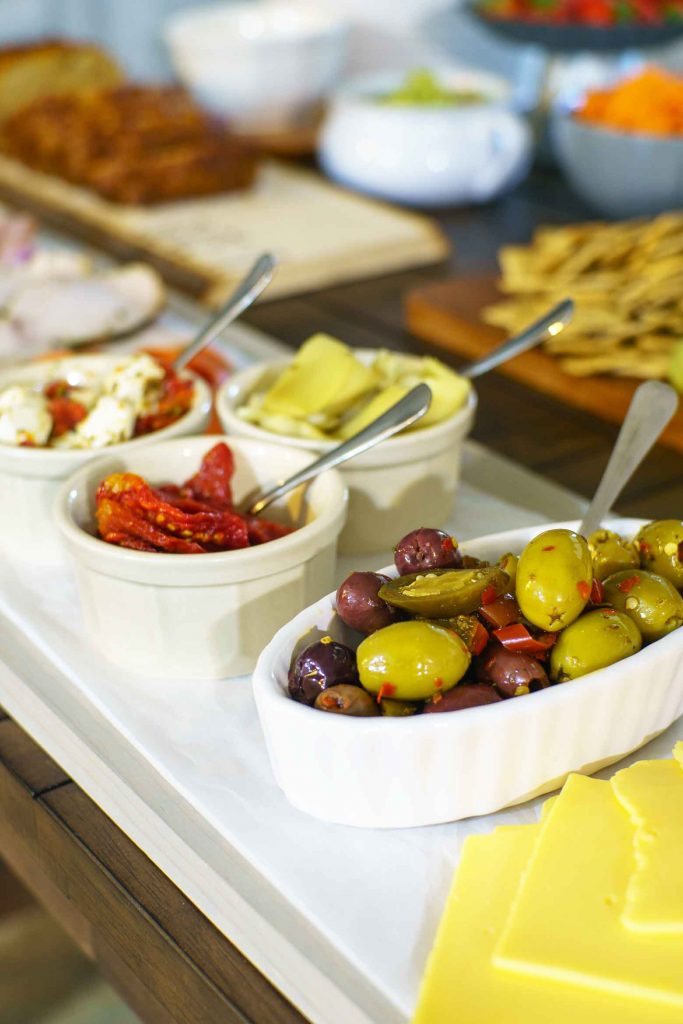
Place your meats on one end. Next, place your antipasta dishes in cute little serving bowls to add a bit of height and color. Next, place your cheese slices. Finally, if you have any left over space fill in with fruits and veggies. I actually had another smaller bread board that is full of grapes and crackers.
Let's check out some of the details, shall we?
Could you imagine taking the time to cut up a ham? So much easier to let the deli do it for me!
My husband is a sucker for olives. I'm a sucker for cheese. I love the pops of color the black olives and sun dried tomatoes give.
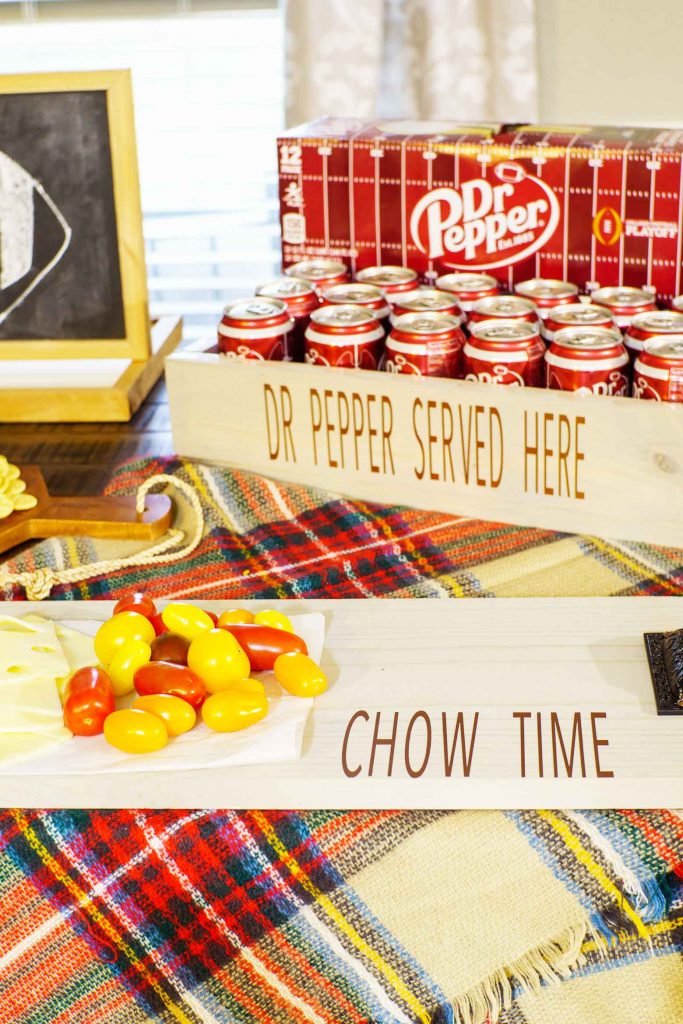
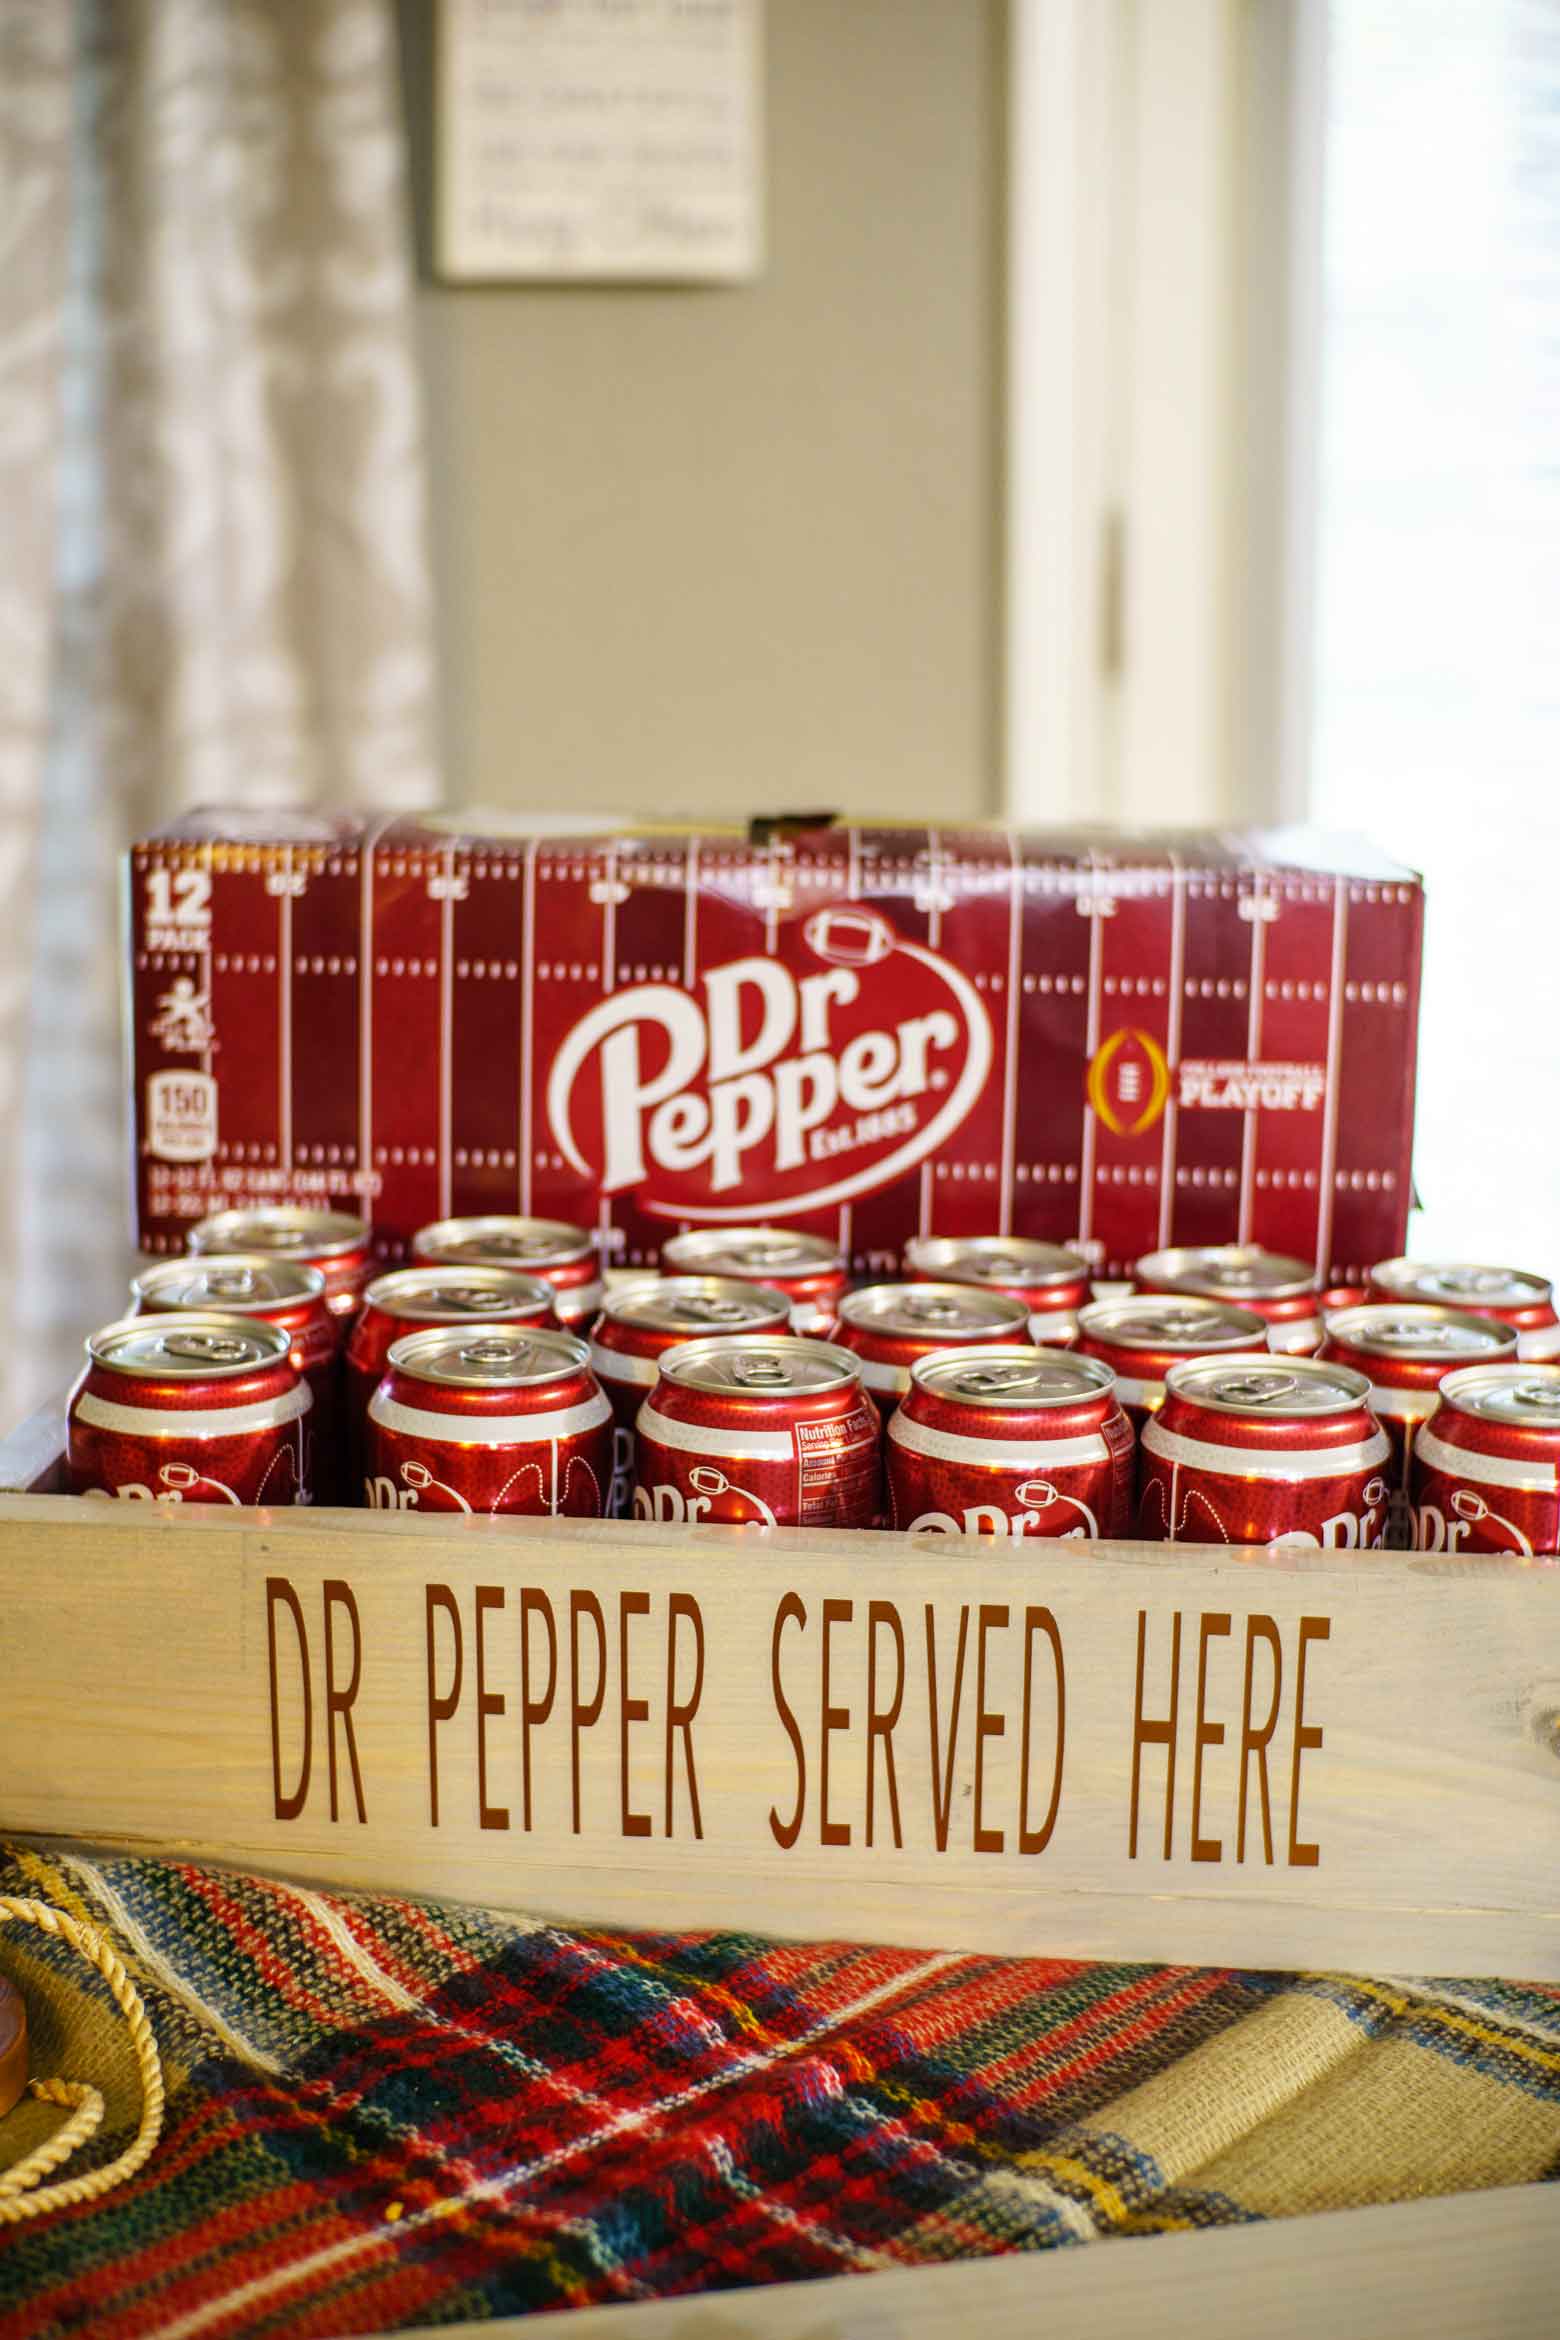
Of course, the star of the show. Dr Pepper in a crate. I love the coordinating "chow time" written on the oversized bread board.
DIY OVERSIZED CUTTING BOARD
So lets talk about this oversized serving board. The meat and cheese platter for my family of 6 with guests has to be oversized. We eat a lot y'all. I love pretty serving trays, but they get expensive fast. I absolutely adore a cutting board, so I figured I could make my own.
The oversized cutting board and soda crate are made from 2 boards. TWO BOARDS!!! I was so lucky, I had them on hand, and didn't even have to venture out to the DIY store.
The cutting board is made from a 1 inch x 10 inch x 6 feet choice board from the DIY store. It runs about $11 here in Texas. Now that is a bargain!
I cut mine down to 54". I wanted it to be long, but not longer than my table (which is around 6 feet). You can save your time some hassle and have your DIY store cut it for you, or you can use your saw at home. Whatever is easiest.
Next, I stained it with stain I had on hand. This one was a beachy, rustic grey color which I really liked since it contrasts with the other colors of my cutting boards and my table. I wiped the stain on, and wiped off the excess 10 minutes later. Staining is one of the easiest things ever. Just remember to go in one direction!
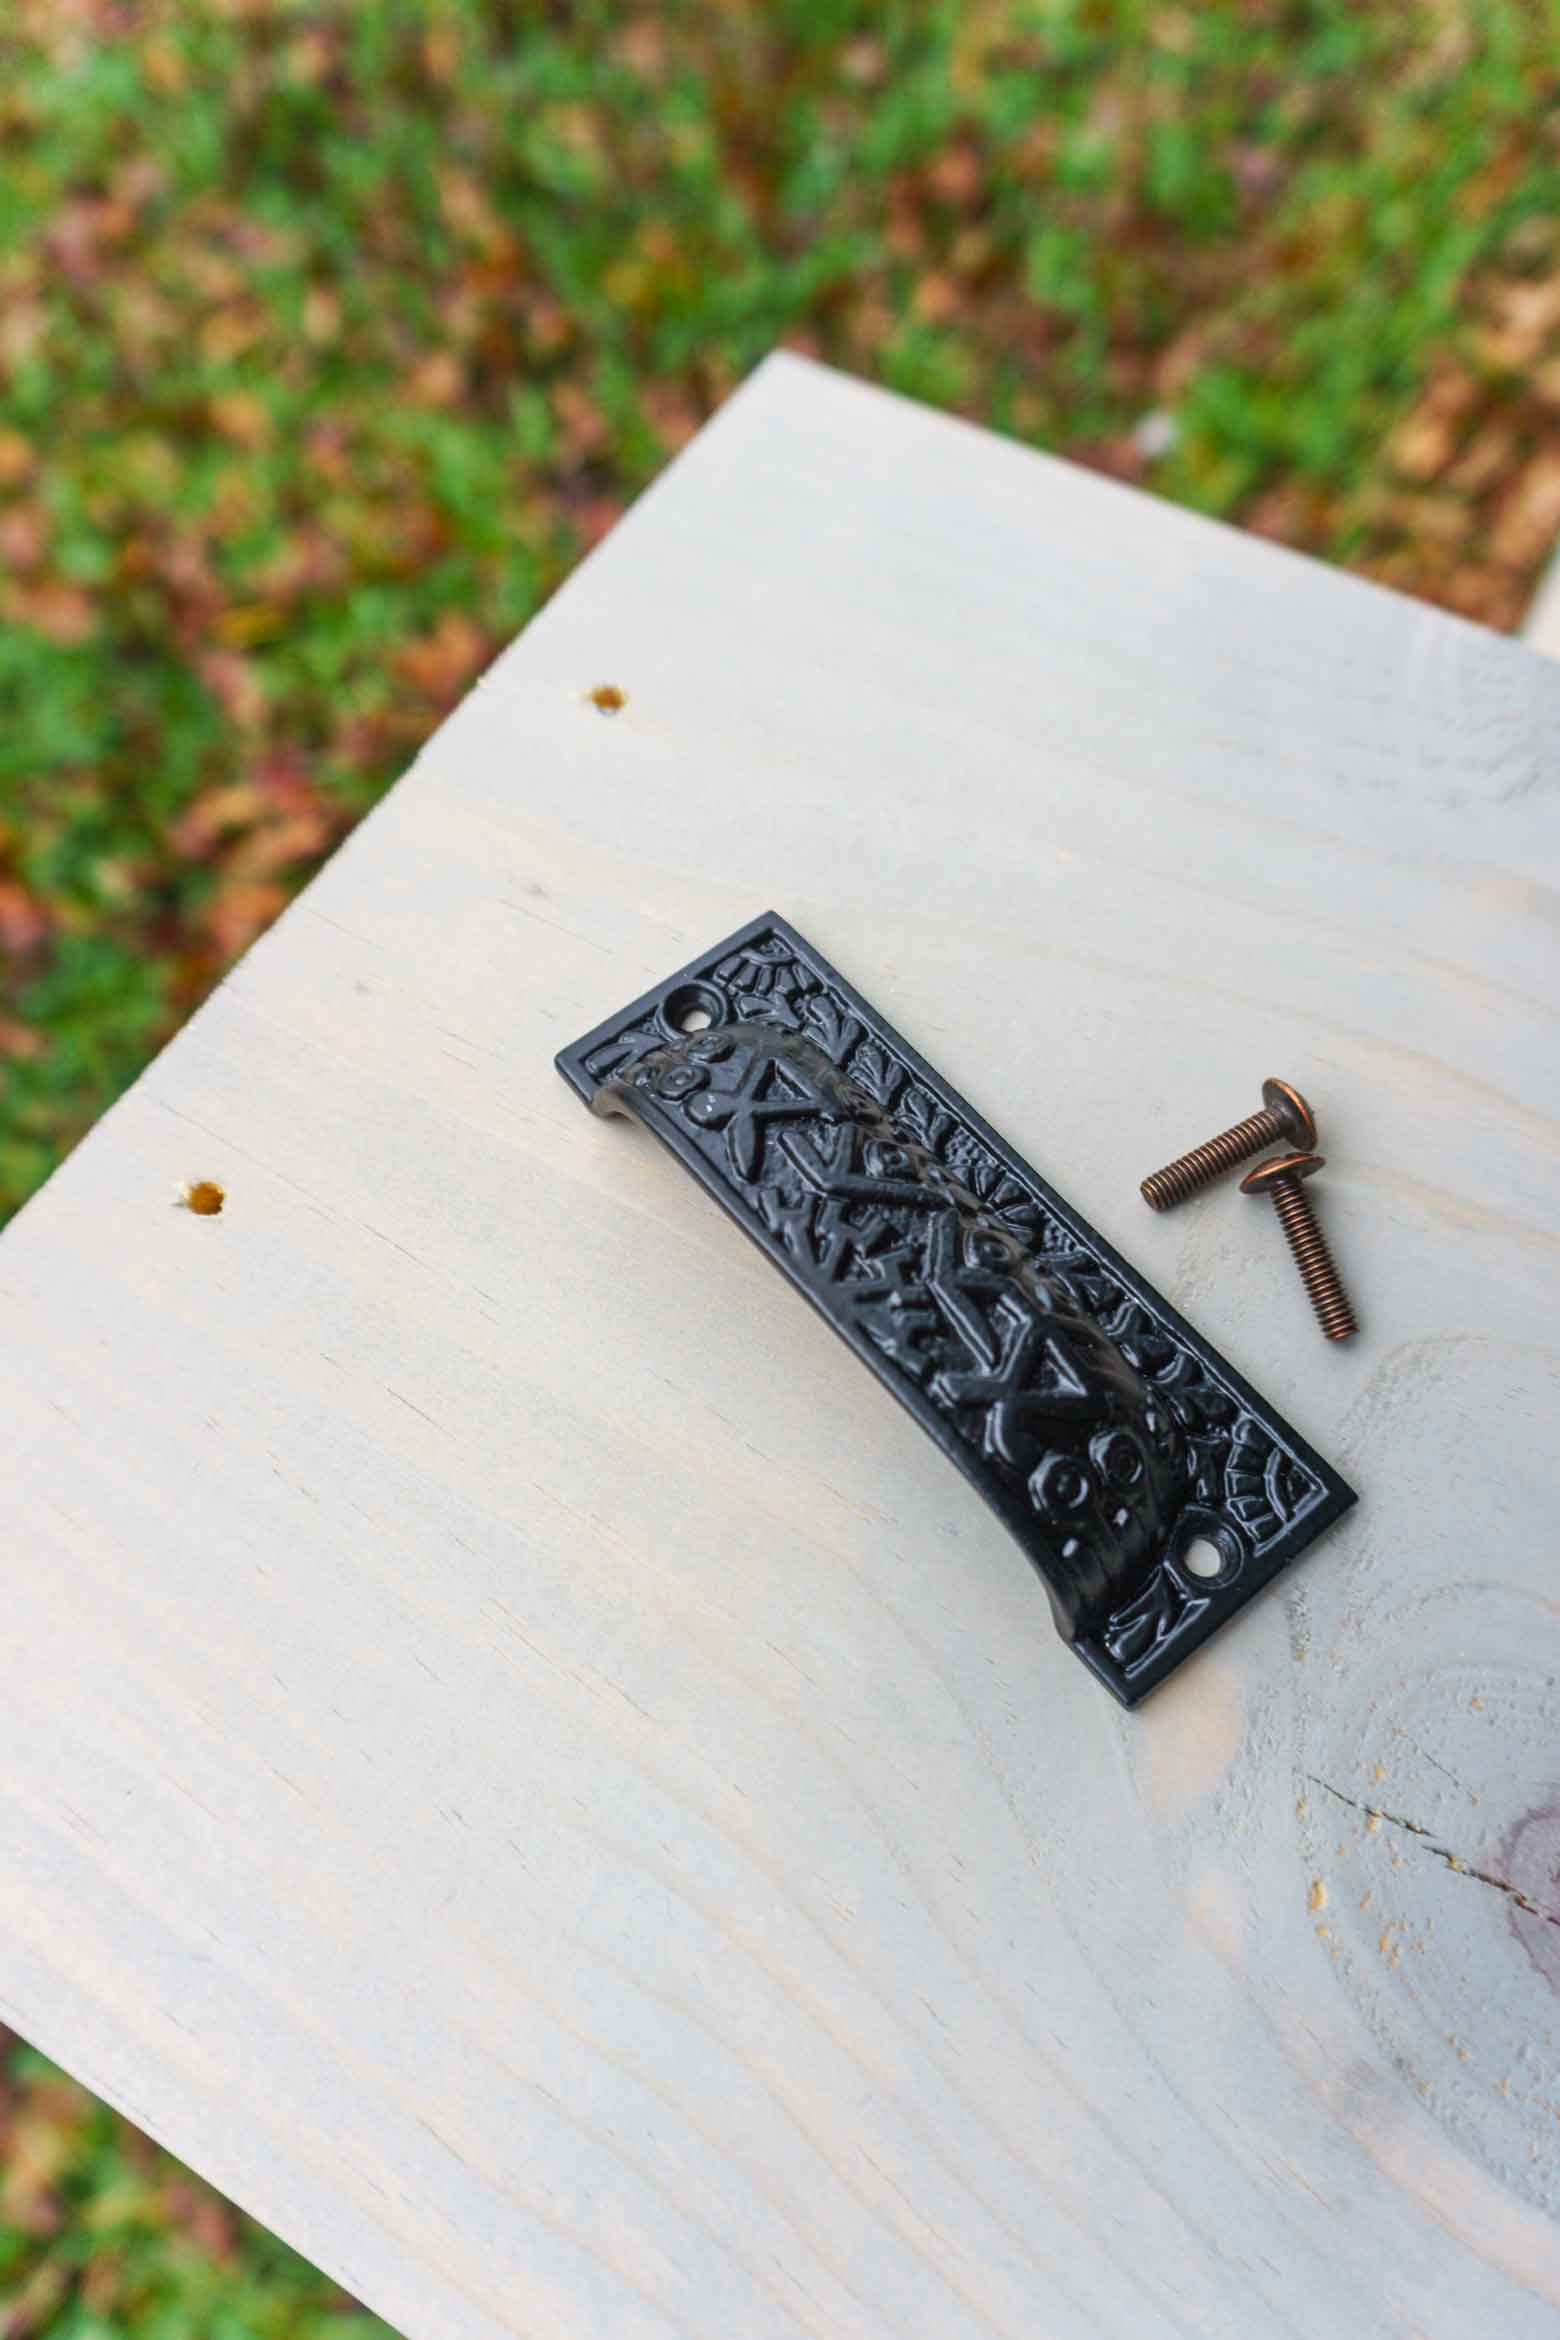
Once the stain was set, I debated waxing or sealing, and then couldn't make up my mind. So I left it as is. I used my drill to make pilot holes for the hardware handles I choose. The handles make moving this guy around a little bit easier and it jazzes it up.
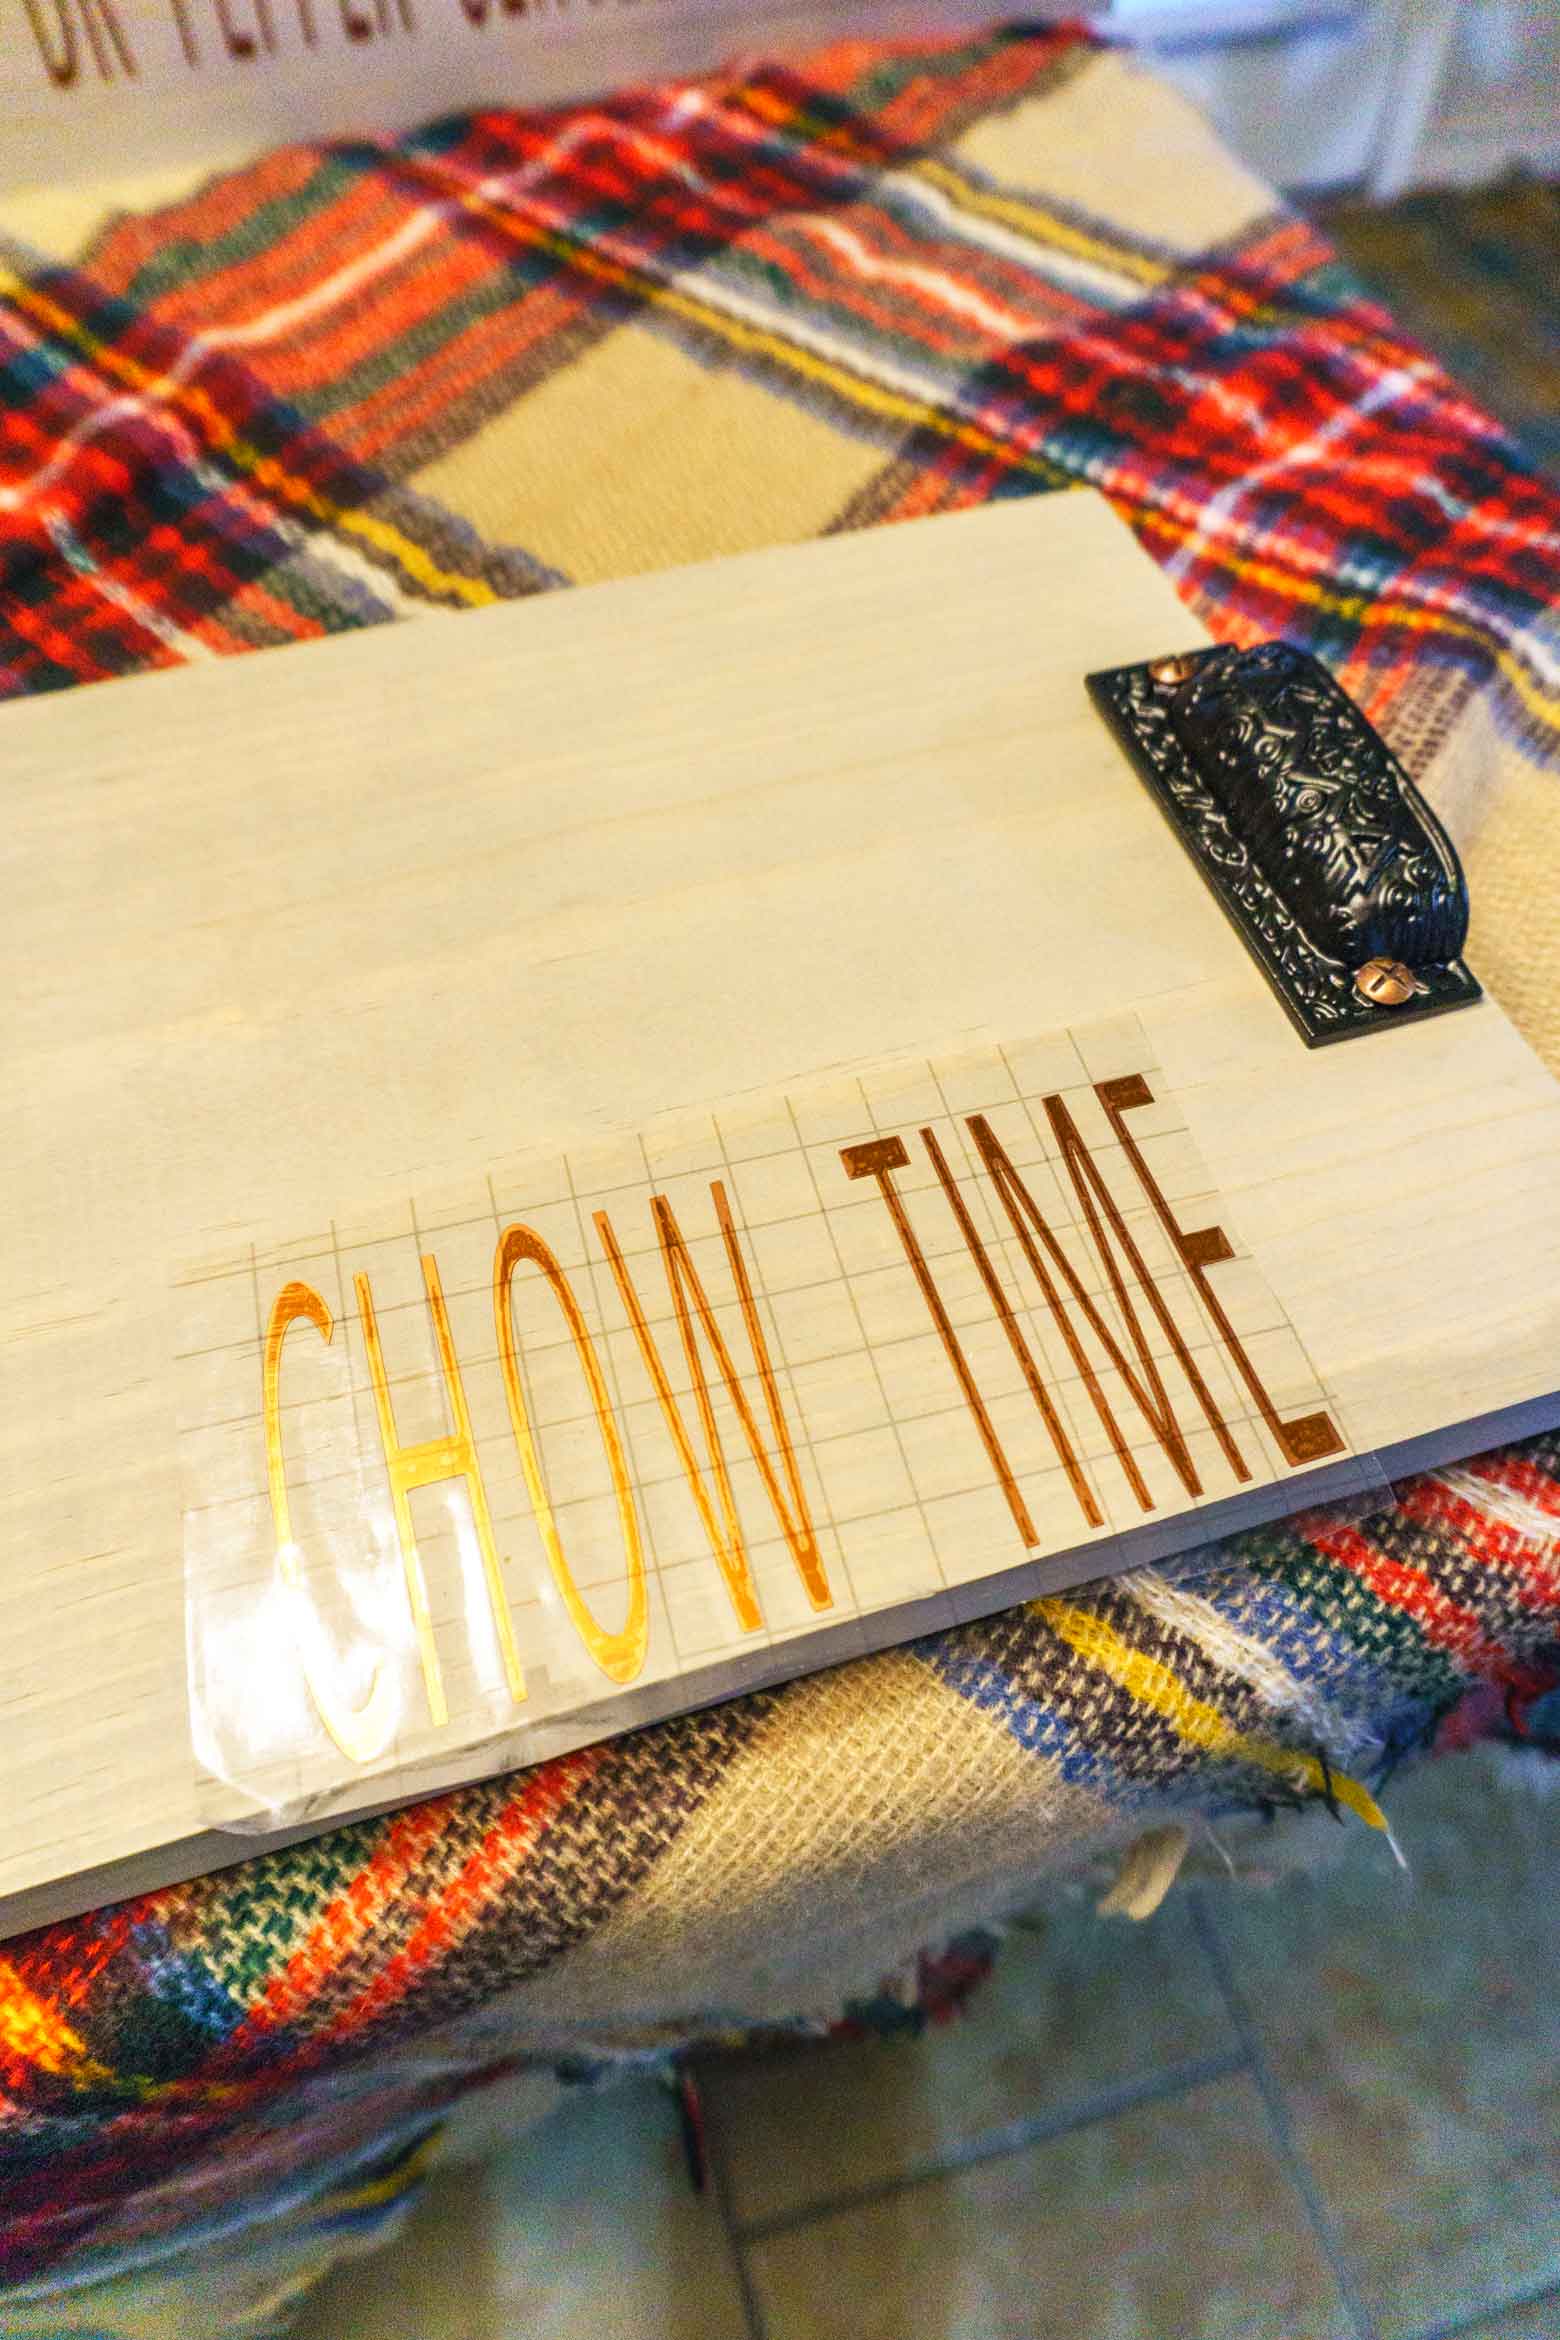
Finally, I decided to customize it even more by using a fun saying with metallic vinyl. I chose "CHOW TIME" because that's what we say when we let the boys go to town buffet style. I've included the downloadable files at the bottom of this post.
Transfer tape makes this craft project easy as pie.
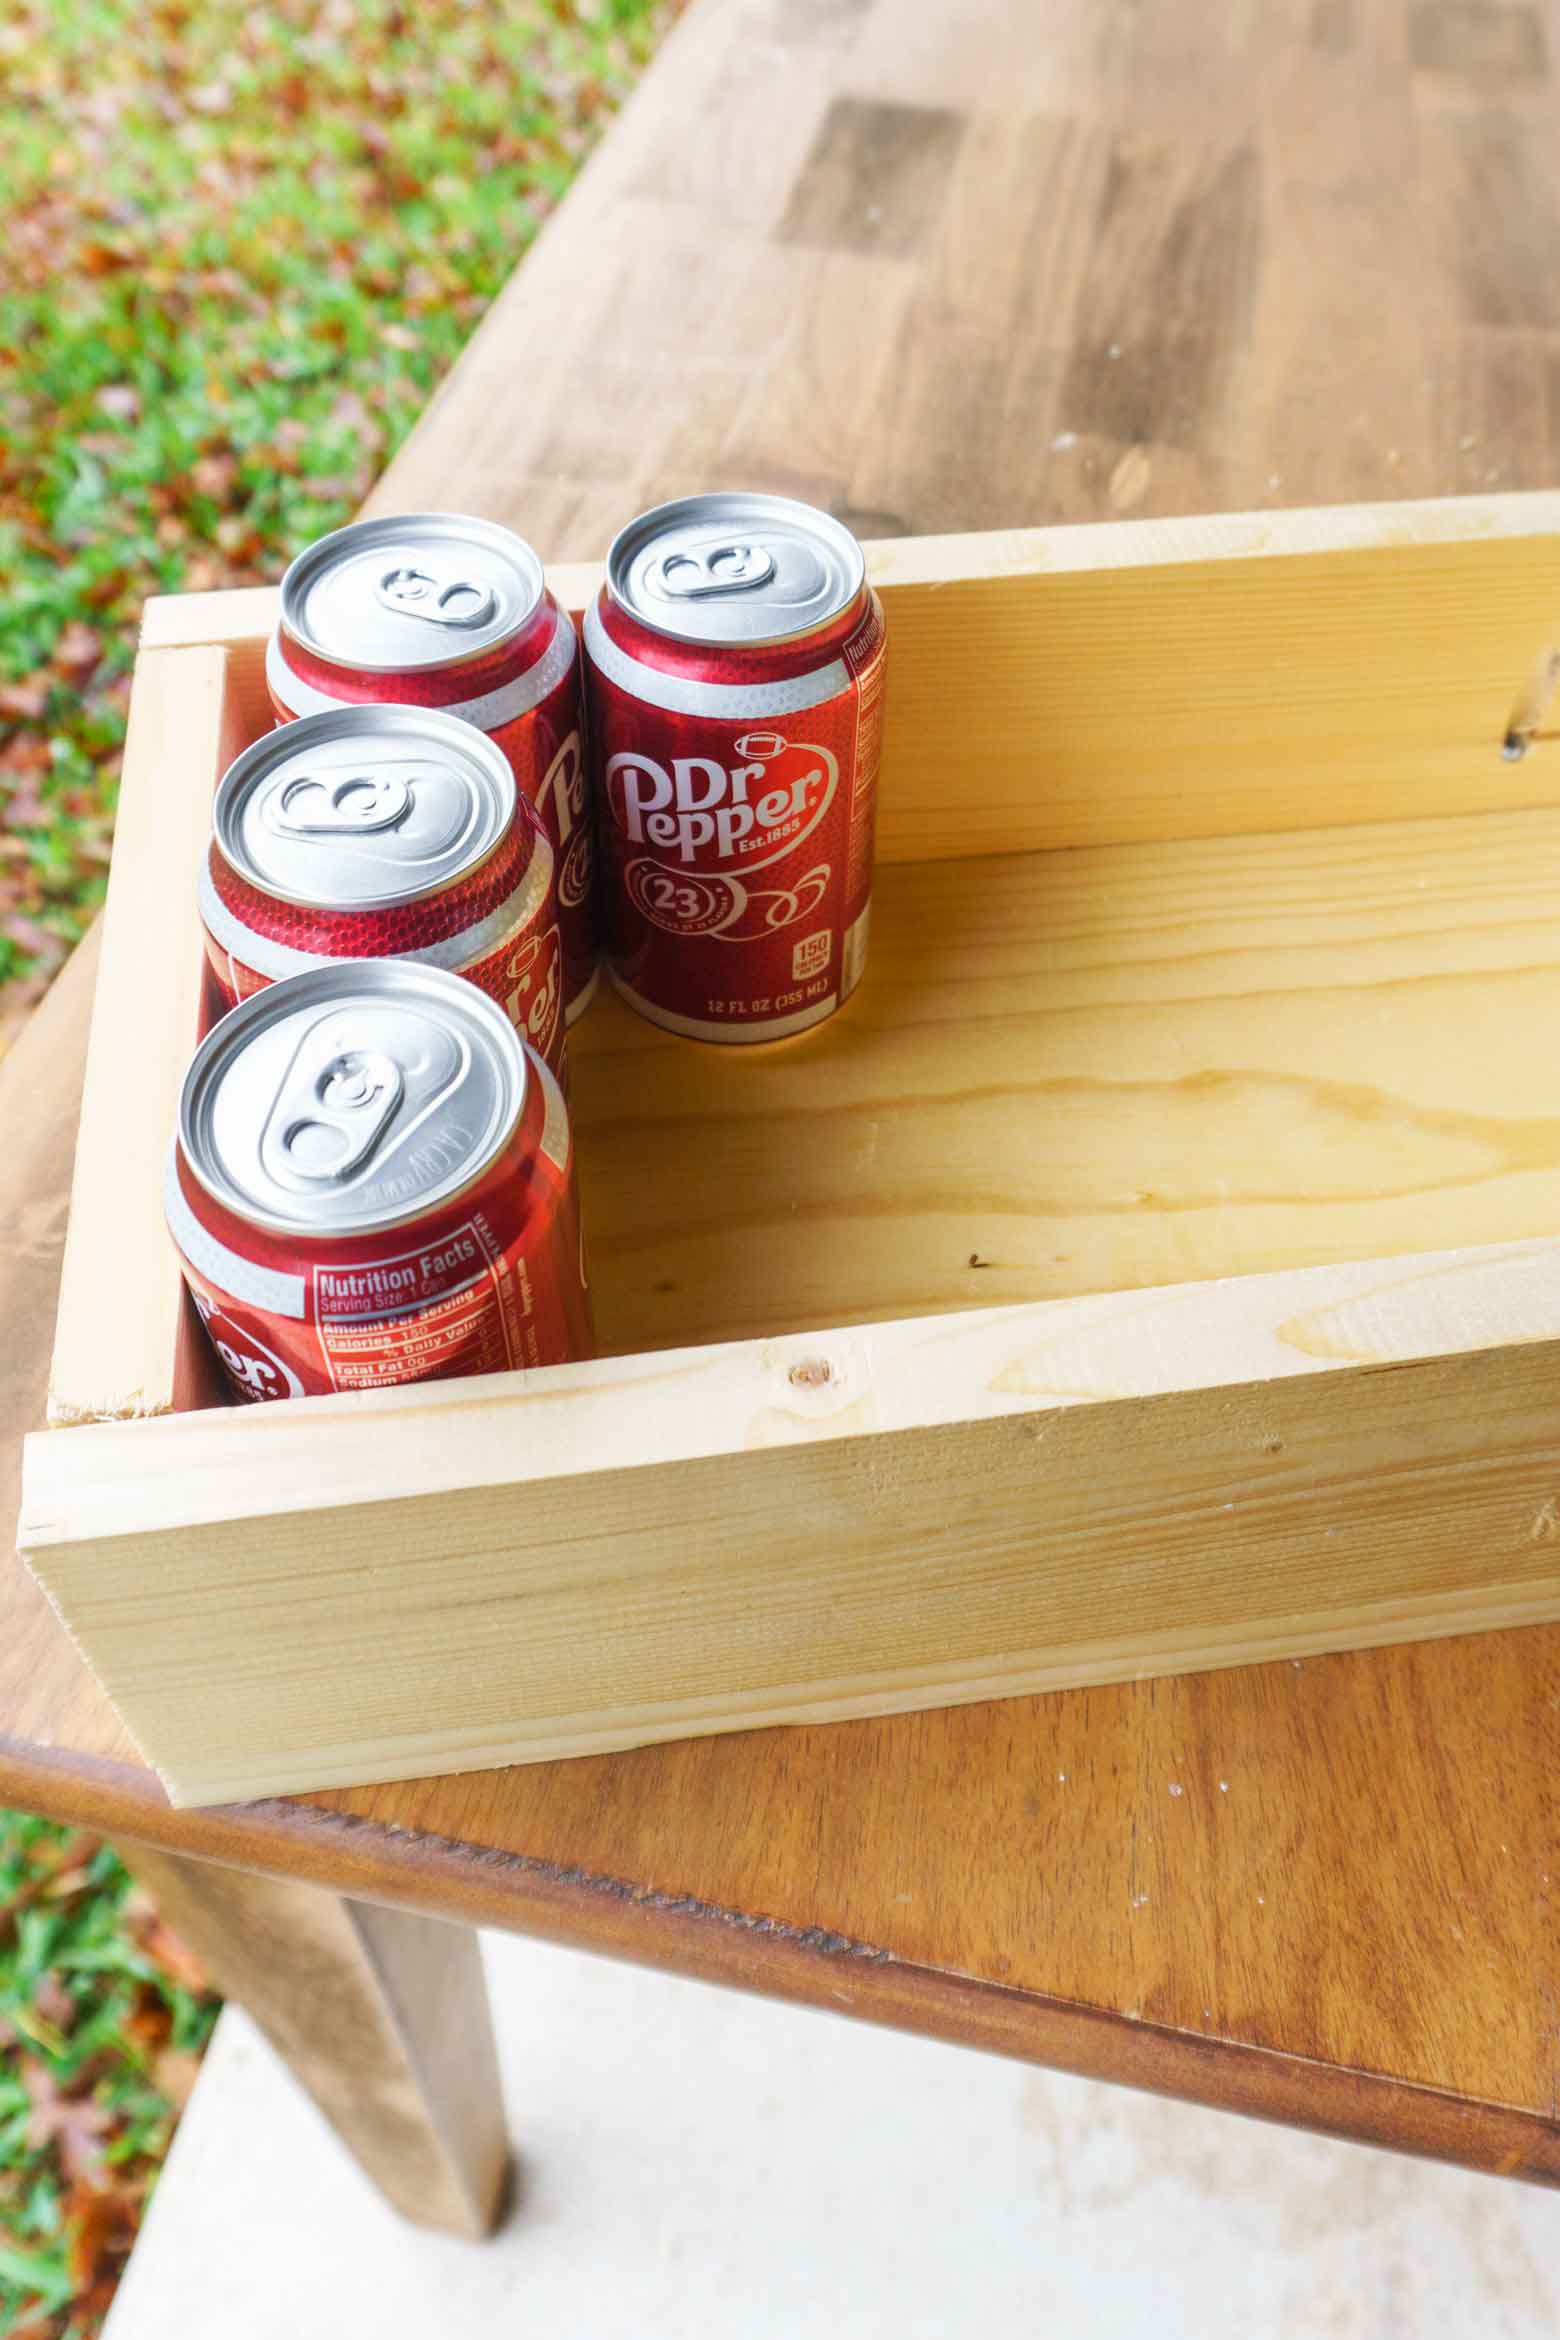
So then, I remembered that last piece of wood from the original 1 in x 10 in x 6 feet board I used. And I didn't want it to go to waste. I grabbed another 1 in x 4 in board I had on hand and cut the 2 sides the length of the original board. I then cut 2 smaller pieces to the size of the small sides after the long sides were placed. I used my jig, with 3 screws on the long side, and 2 on the short side. You could use a hammer, screws or a nail gun. Whatever you have around. Don't forget the DIY store will cut them if you don't have a saw at home. After staining the crate, I added "DR PEPPER SERVED HERE" for a fun twist. That file is also included down below.
The football cans are just the coolest! Also check for the 2-liter football bottles as well. They are great for having out at your Homegating party.
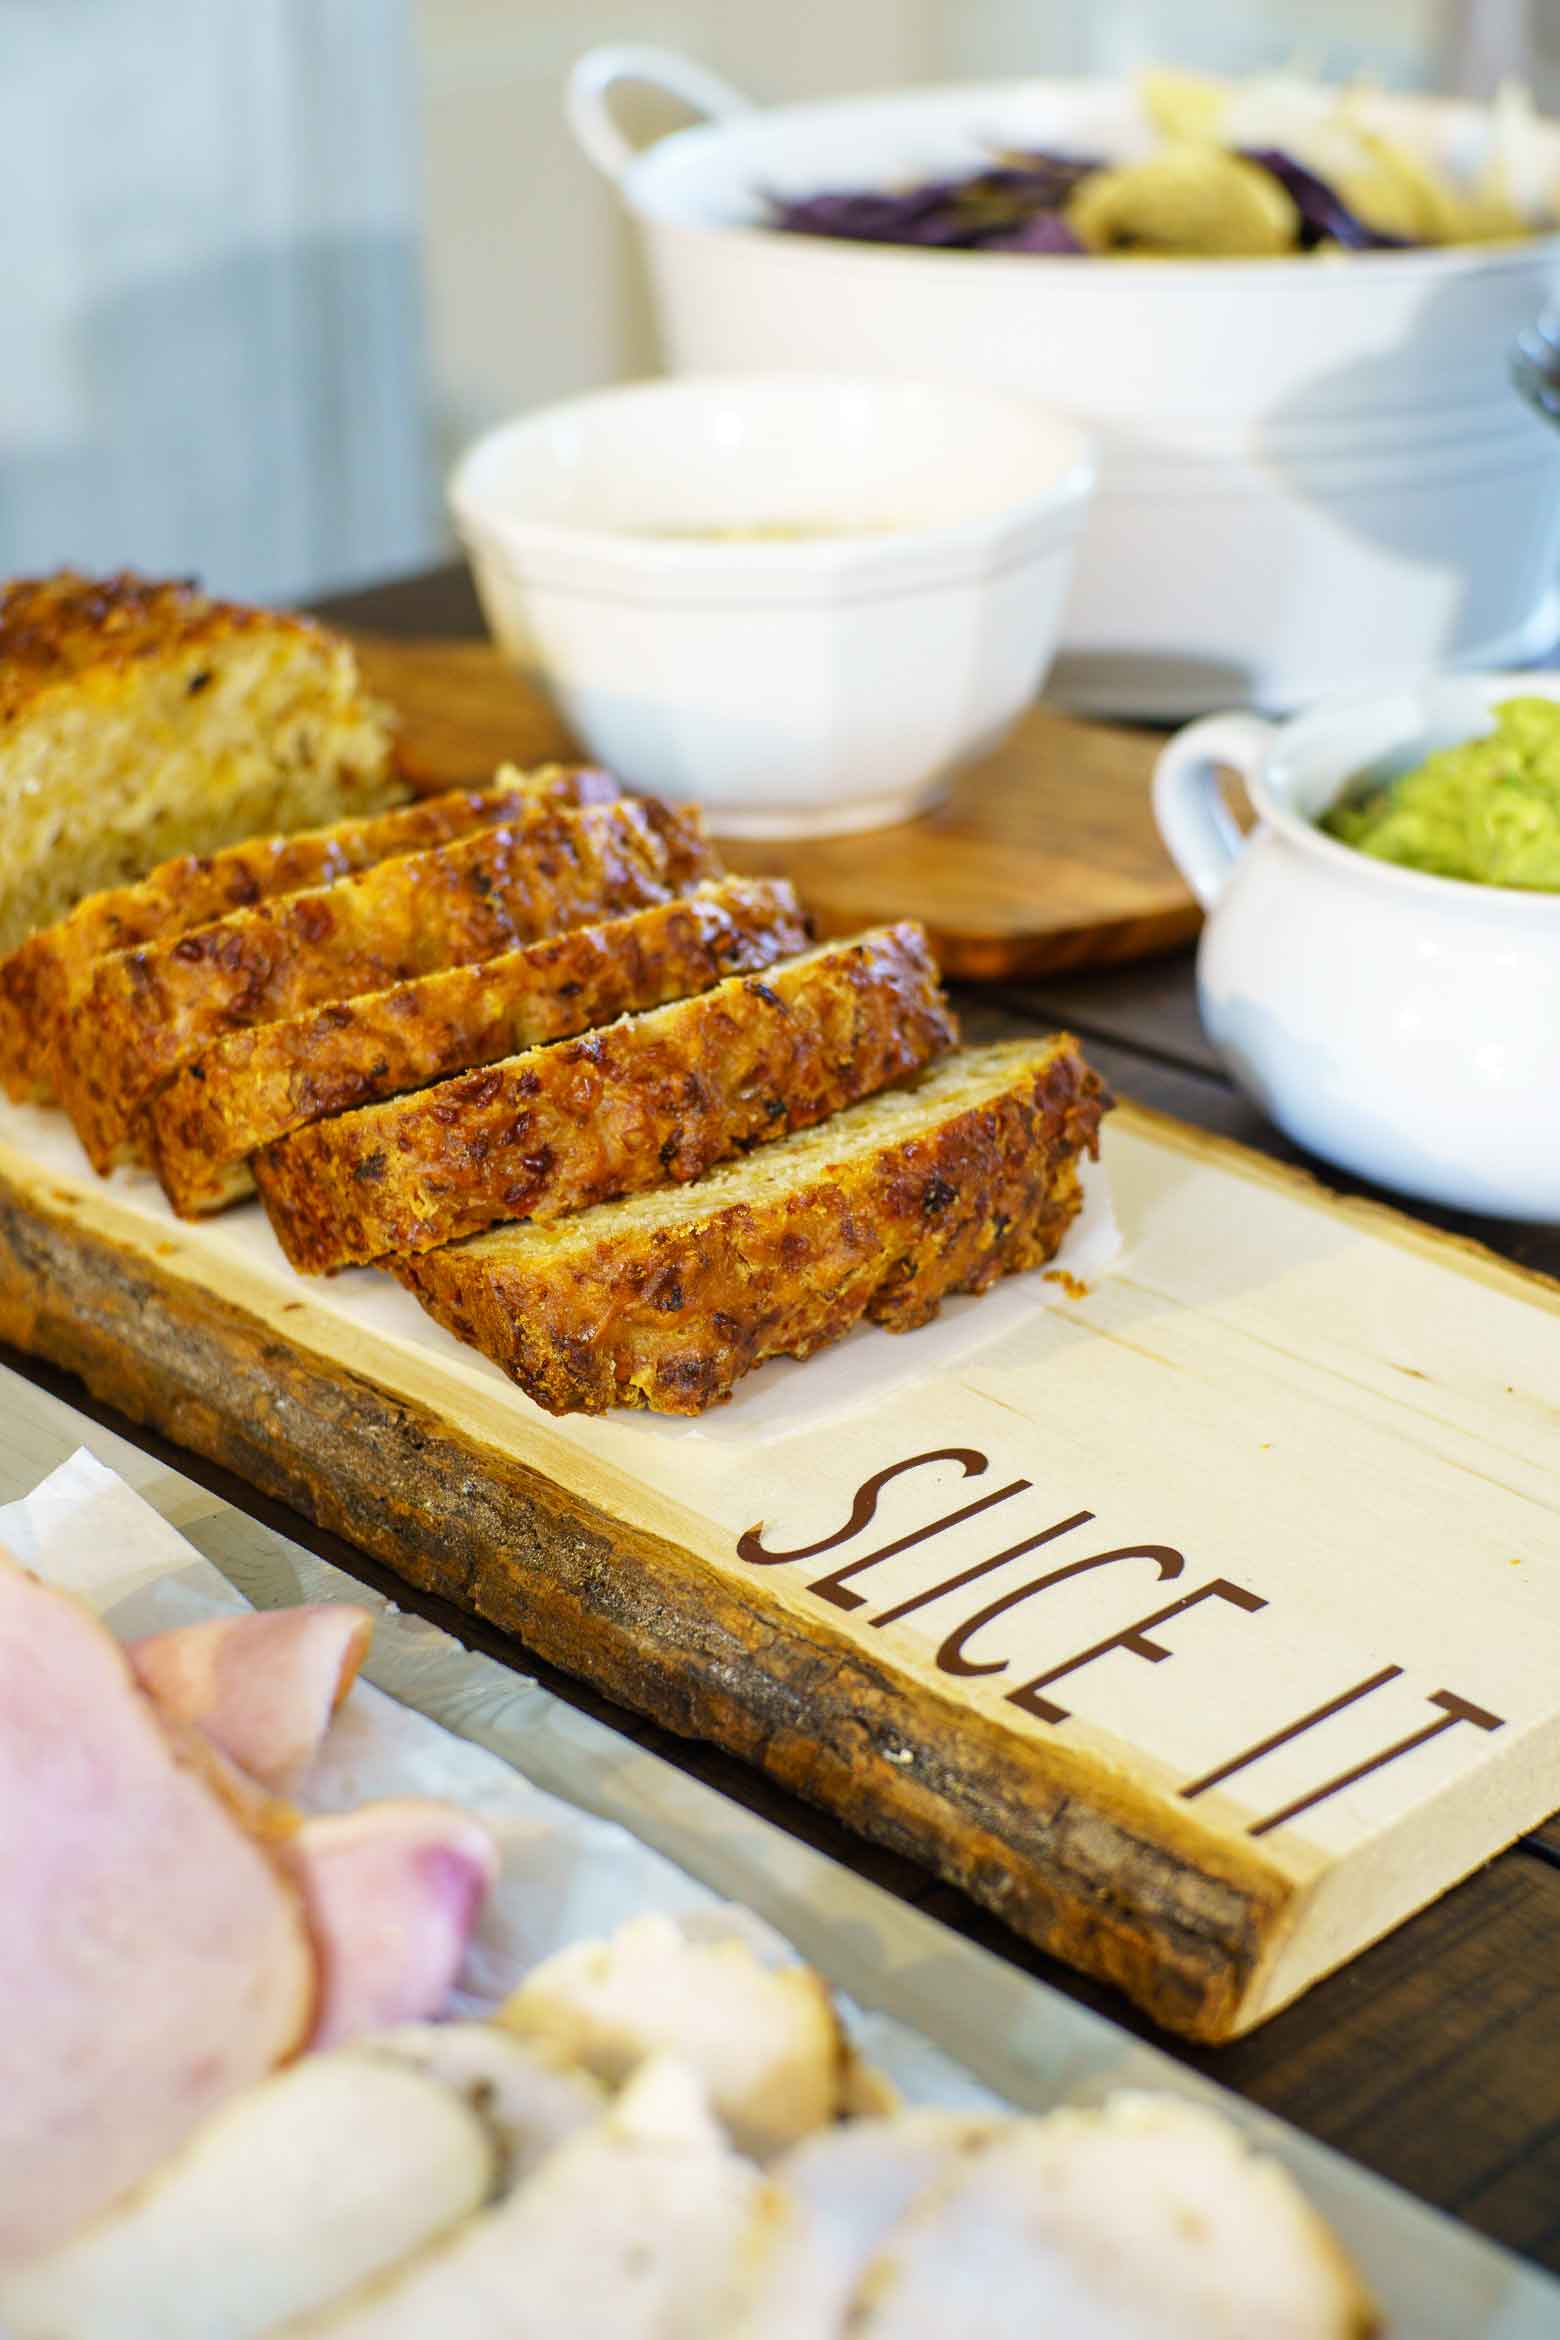
In addition to those files, I thought it would be funny to do another cutting board. This time I used an actual slice of wood that I purchased at the craft store. Since I was slicing the bread on it, I used the phrase "Slice It". You can find that file plus a bonus down below.
Be sure to get the recipe and step by step photos on how to make the grilled onion and cheddar cheese Dr Pepper Bread towards the bottom of the post.
For me, the bulk of the project was building the the oversized bread board, the crate and customizing. It took me less than 2 hours and is something that could easily be done well in advance of a party. The bread cooks up in just under an hour, and assembling the meat, cheese and antipasta spread can be done while it's cooking. The party was a breeze to create, and everyone was able to pick and choose what they wanted to feast on. It was a big success!
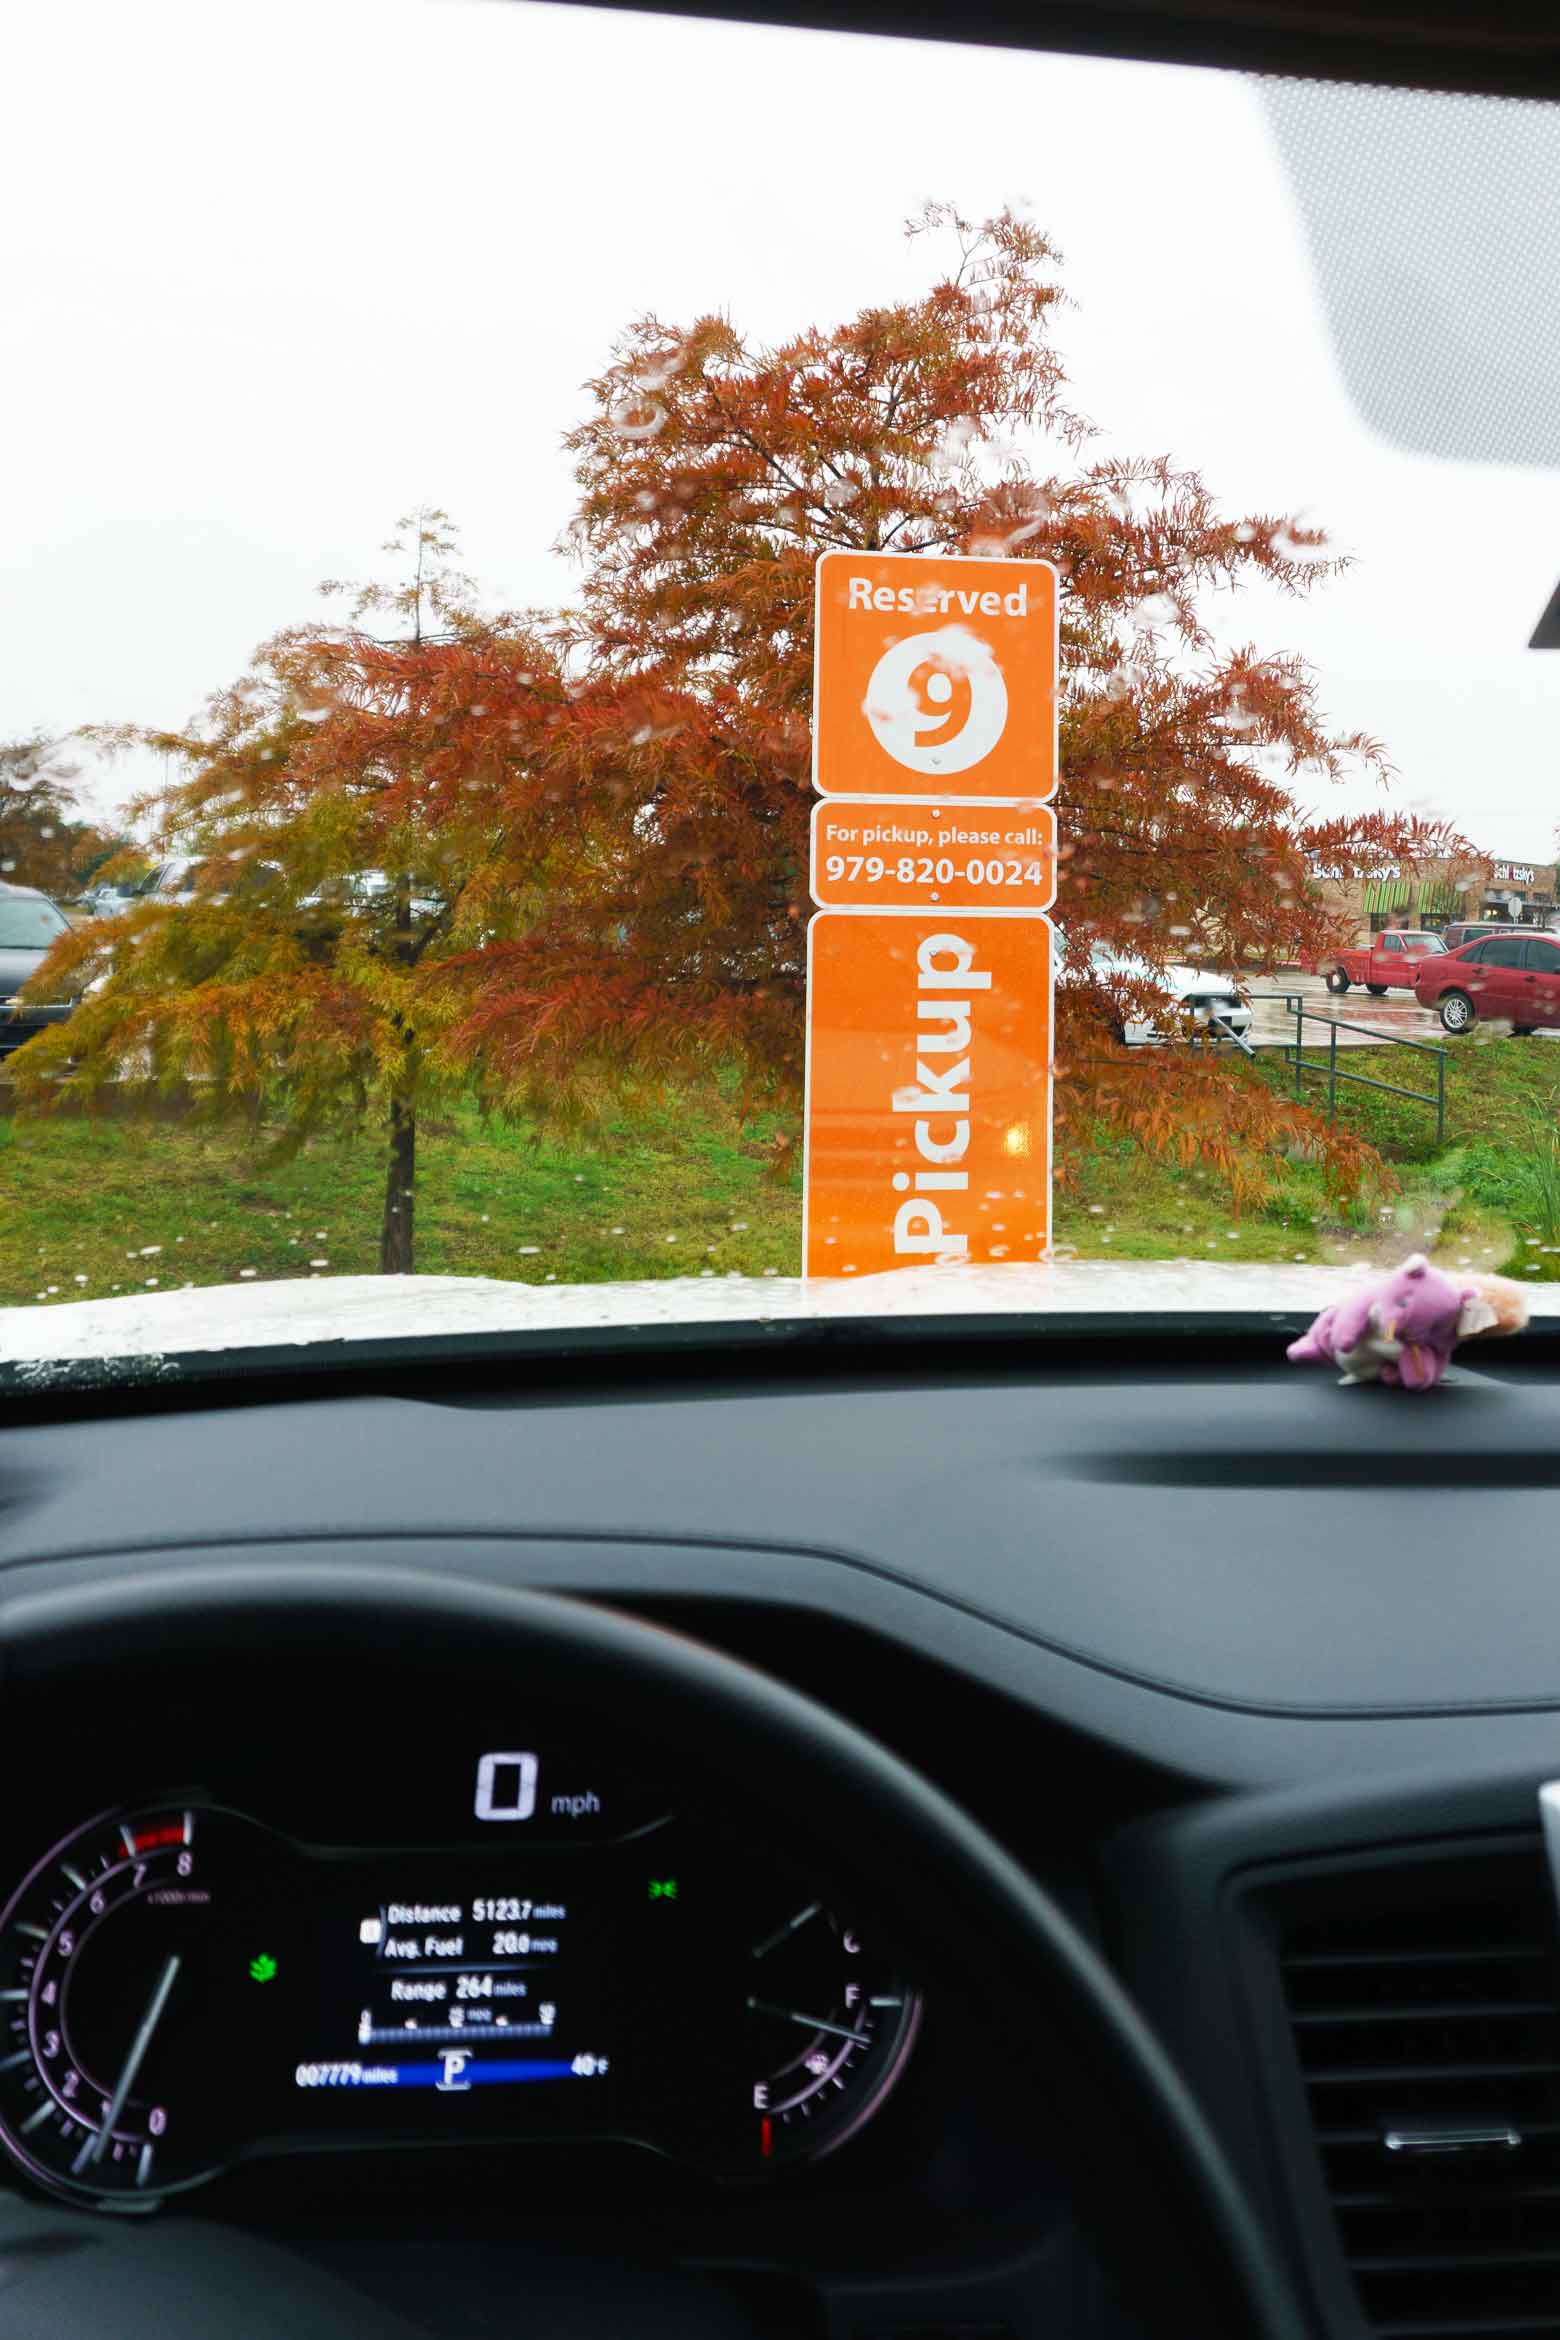
Want to know what else is a big win???? Getting your groceries at the Pick Up spot at your local Walmart. It was cold and rainy the day I went, so it was with such joy that I pulled up to this parking spot and got all the goodies I needed! Grocery pick up is just ahhhhhmazing!
Yep, 40 degrees is cold in Texas. The Walmart grocery pickup service is such a wonderful, genius, timesaving idea. It's my new favorite thing!
That and the Dr Pepper Bread!
📋Recipe

Grilled Onion and Cheddar Cheese Dr Pepper Bread
Ingredients
- 1 ½ tablespoon olive oil
- ¾ cup yellow onion coarsely chopped
- 3 cups flour
- 2 tablespoon baking soda
- ½ teaspoon salt
- 8 ounces mild cheddar cheese grated in large size shreds
- 1 12oz can Dr Pepper
- 3 tablespoon butter melted
Instructions
- Preheat your oven to 375 degrees.
- In a medium sized skillet, heat olive oil on a medium heat setting. Once warm, add in chopped onion. Allow to caramelize and become golden in color. Stir often to prevent burning.
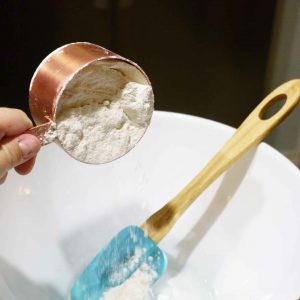
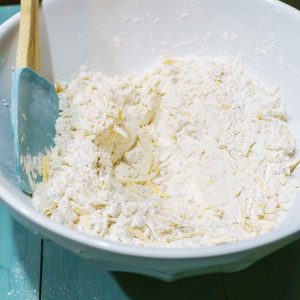
- While your onion is sautéing, combine the flour, baking soda, and salt in a large bowl. Mix well.
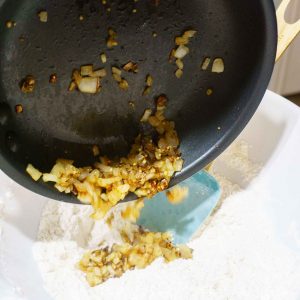
- Grate your cheese and set aside. After your onion has cooked and is translucent and browned, place with your flour mixture.
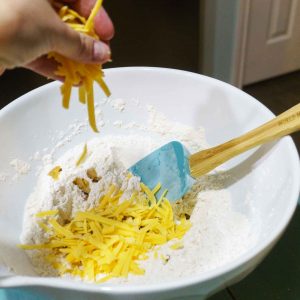
- Top with the shredded cheese:
- Stir to incorporate the onions and cheddar.
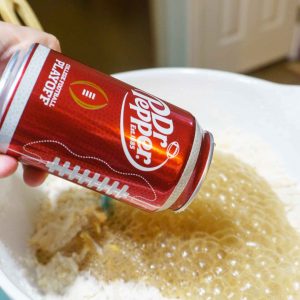
- Next, make a well in the middle of the flour mixture. Then, slowly pour the Dr Pepper into the mix.
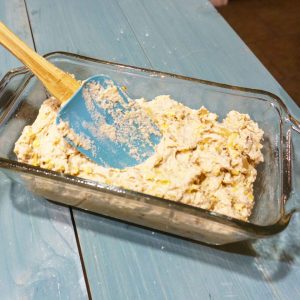
- Stir just until the mixture has come together. You don't want to over mix.
- Place in a loaf pan that has been greased with non-stick spray or butter.
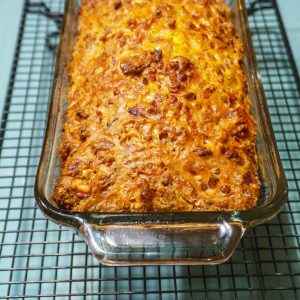
- Bake for 40 minutes. Coat the top with 3 tablespoons melted butter, cover with foil and bake an additional 5 minutes. Make sure your bread is cooked through (a toothpick should come out clean from the center). Cool on a wire rack for 5 minutes, then remove from the loaf pan.
- Try to resist eating it while it cools! Your house should smell amazing!
Nutrition
See more awesome Dr Pepper College Football Championship Party Recipes and find a Dr Pepper event HERE.
Follow Dr Pepper on social media to stay up to date!
Facebook | Twitter | Instagram



Comments
No Comments